After 6 years of living in this apartment, we finally got a dishwasher. I am a very happy camper! No more cleaning the dishes by hand. But before we could use it, we had to do a couple of tweaks to our kitchen cabinets to fit it in.
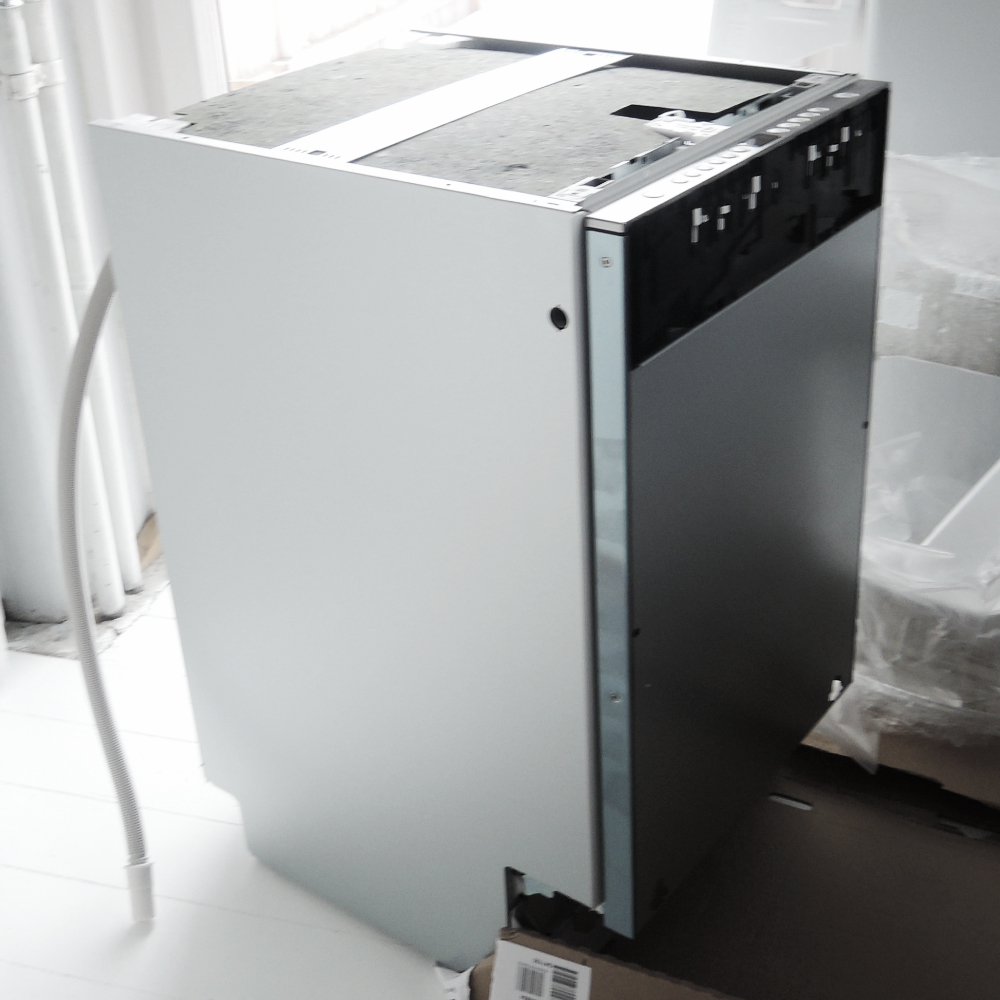
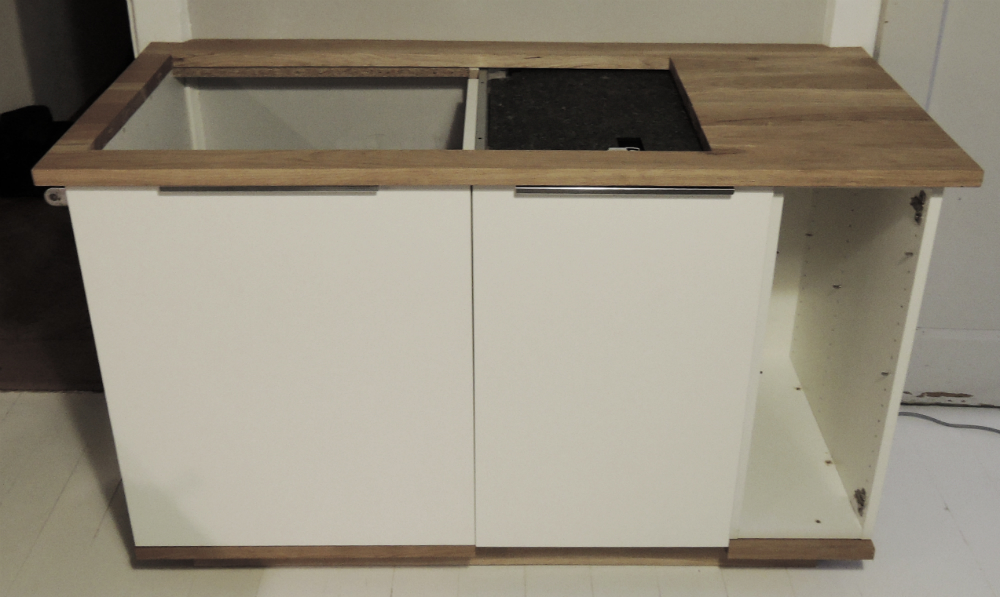
The existing cabinets were 60 cm in width each, so together 120 cm, but there was a space for approximately 130 cm in width. The plan was to keep one cabinet (60 cm), add the dishwasher (45 cm) and cut the remaining cabinet from 60 cm to 25 cm. That way we would get 130 cm all together. With that plan in mind, the counter and the legs wouldn’t fit, so we also had to make new ones. Ignore the state of the pantry door. It is on the to do list.
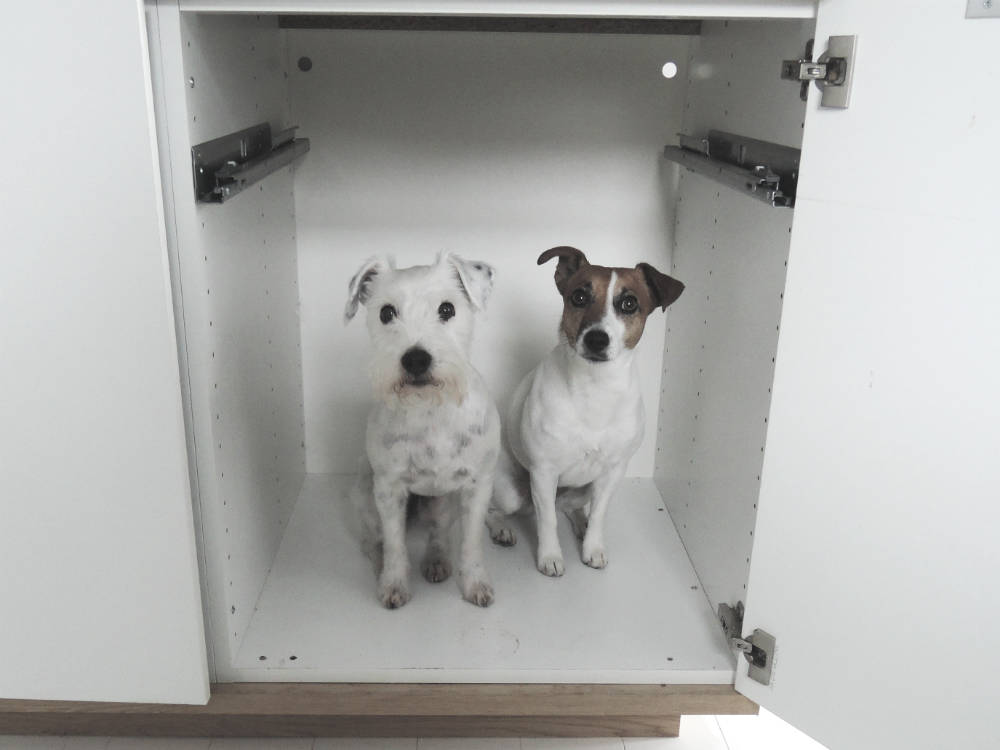
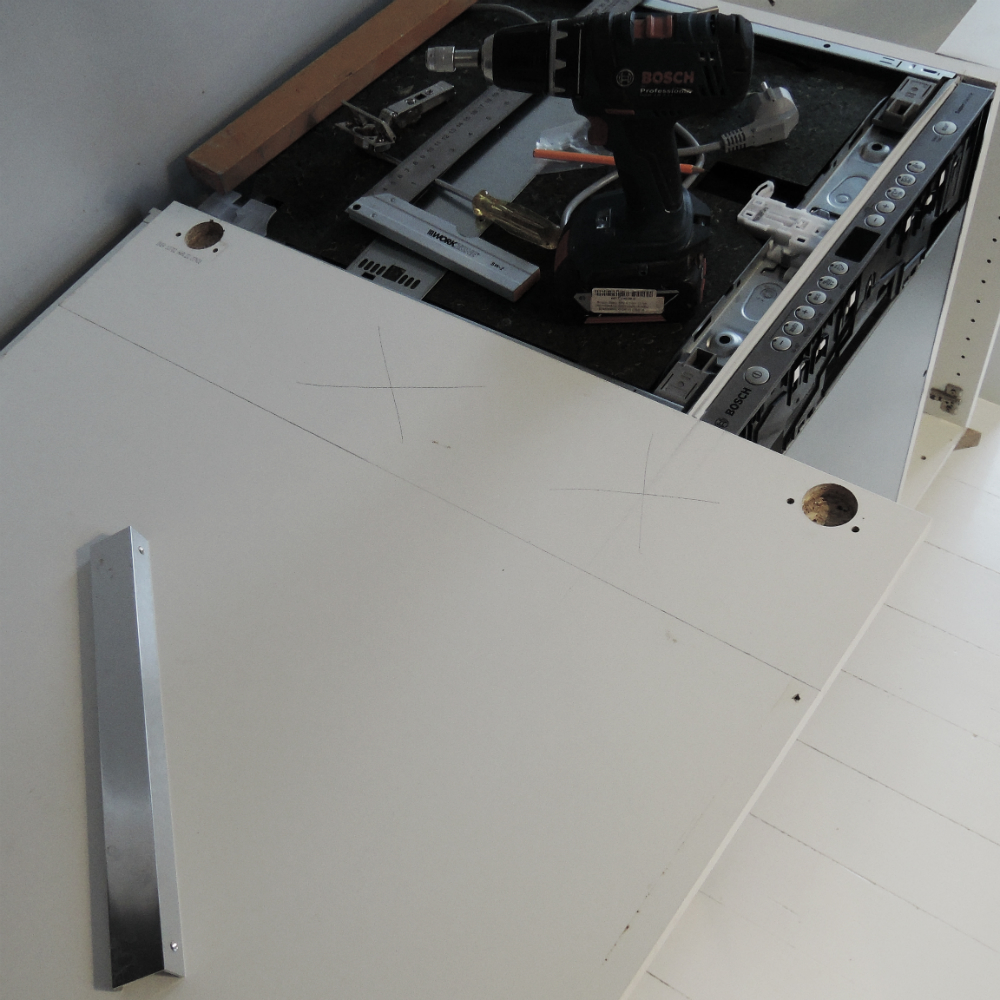
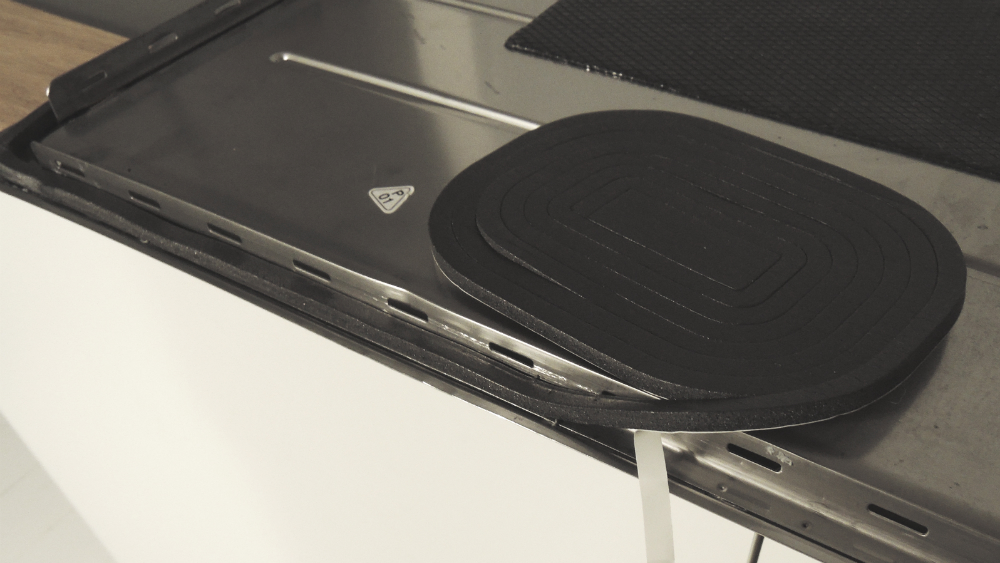
First we cleaned out the cabinets with the help of our lovely two furry assistants. Then disassembled the counter, disconnected the water and removed the right cabinet. Next came our brand new dishwasher (yaaay!). Evgen cut the right cabinet to size and screwed it back together. After the cabinets, he cut the front from the right cabinet to the width of the dishwasher from 60 cm to 45 cm. We installed the dishwasher according to the manufacturer’s instructions.


When we had that water pipe episode in March, we repainted the floors and the walls and made new legs/plinth for the cabinets. There was always a plan to make matching counters too, but well, we never got to do that. Now the dishwasher made us get back on track with that plan.
So back to the cabinets. We have to make a drawer for the right narrow cabinet. But, before we get to do that, Evgen cut two shelves from 6 mm plywood for the meantime, because we desperately needed storage.

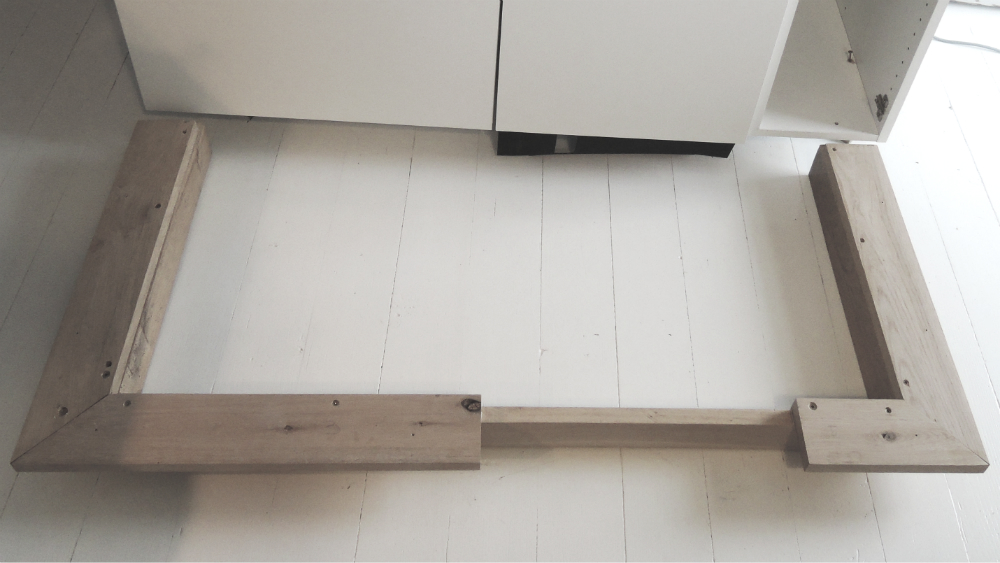
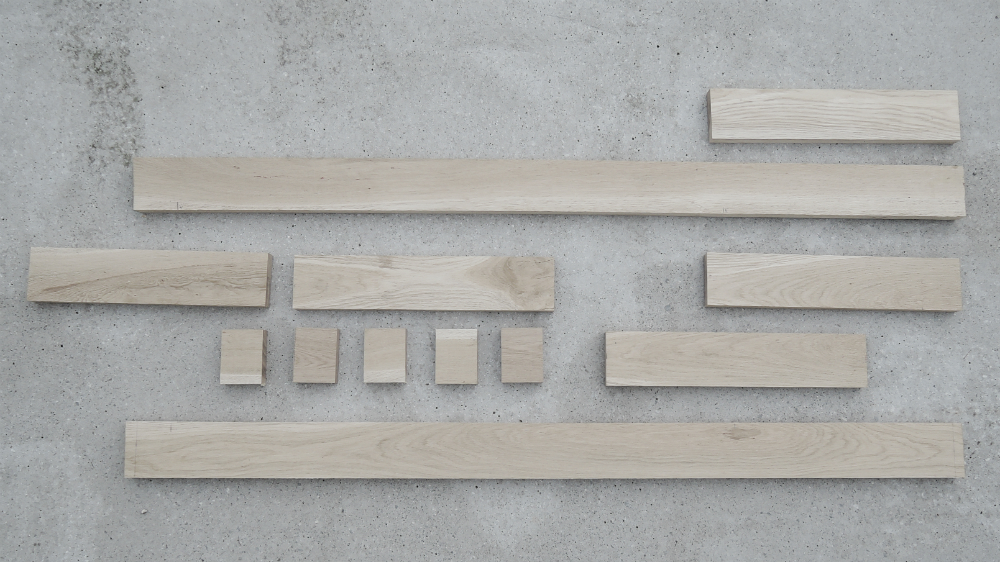
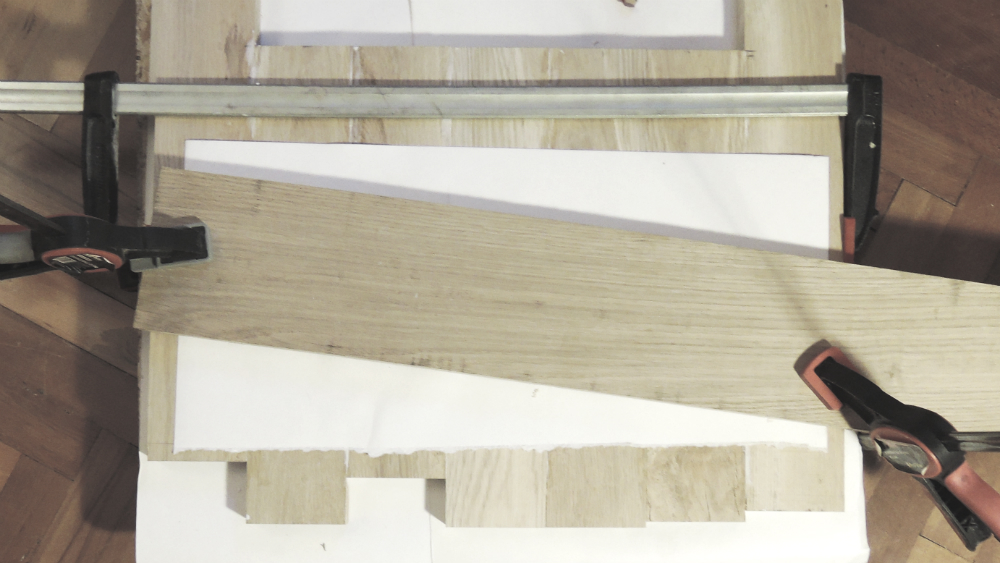
When the cabinets were finished, we redirected our attention to the legs / plinth. We could reuse the sides, but had to make a new front. The legs had to be lengthened to fit in our 130 cm scheme. But they had to be modified also due to the way the dishwasher door opens. But that is a story for the next post, since this one will be too long already. So Evgen cut the oak wood planks to the right size, sanded them and screwed them back together.


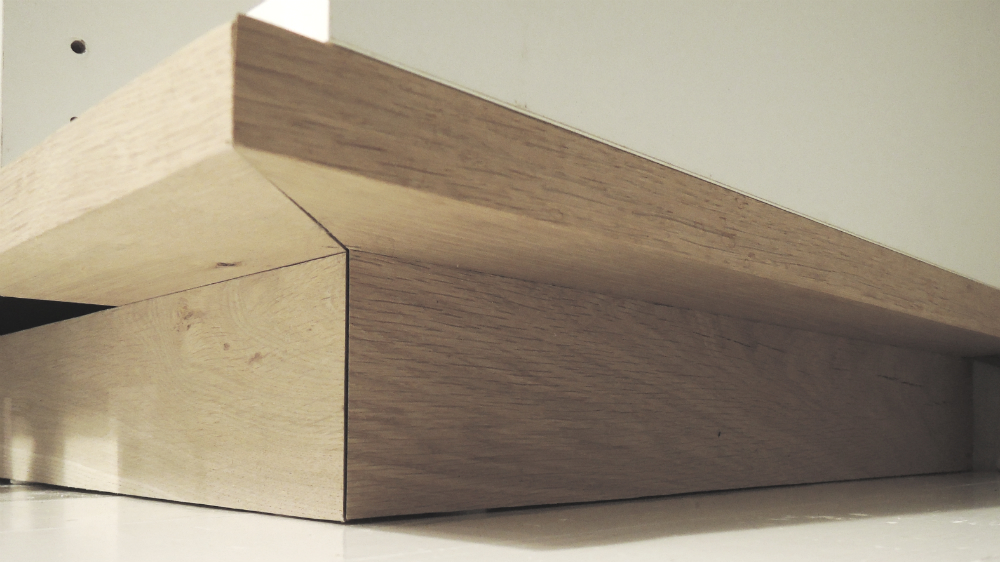
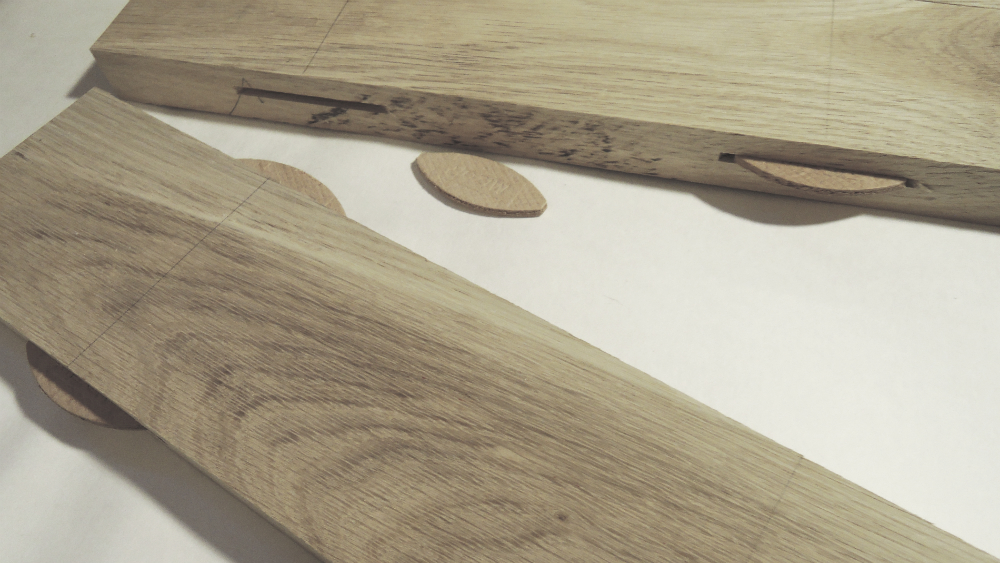
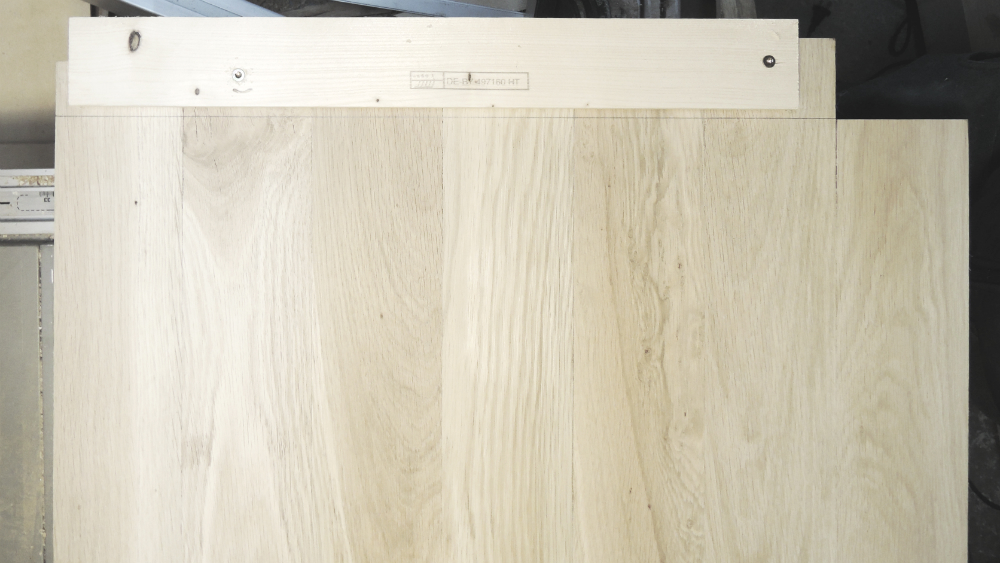
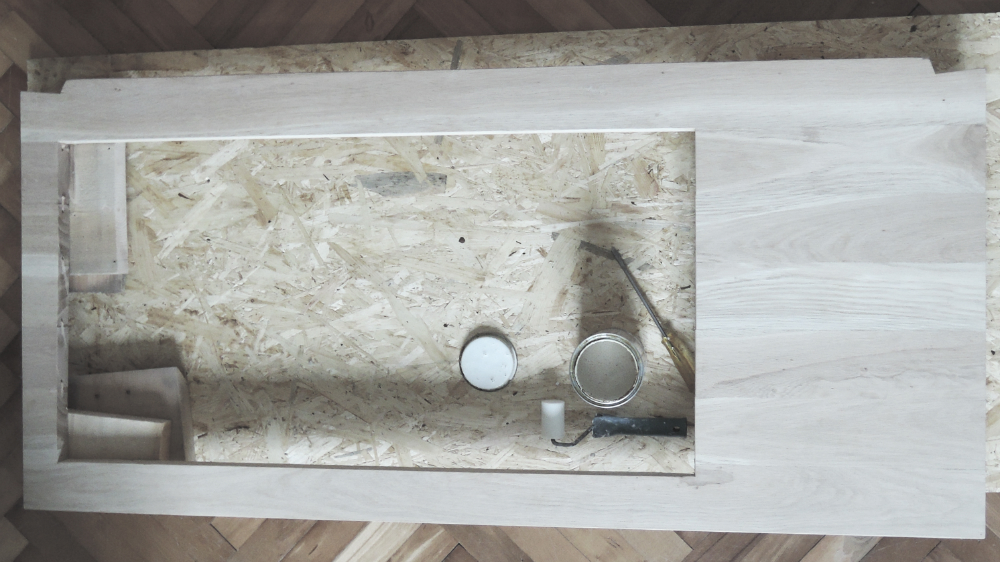
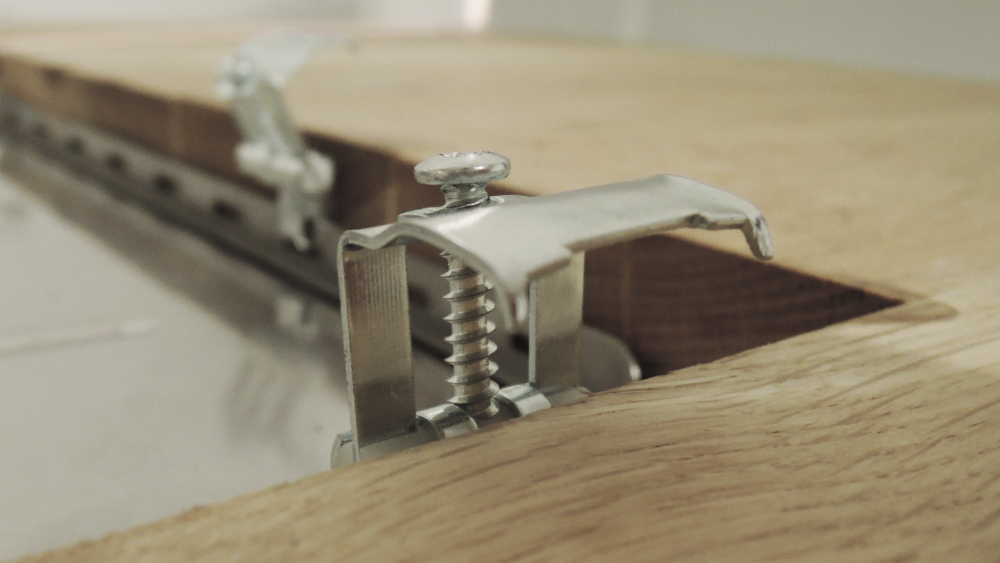
Last came the counter. Evgen first cut the oak planks to an approximately right size and planed them. He glued the pieces together with inserted little wood biscuits in between. For that, he used a wood biscuit joiner to carve out narrow slits from the planks. He left the counter to dry for about a day.

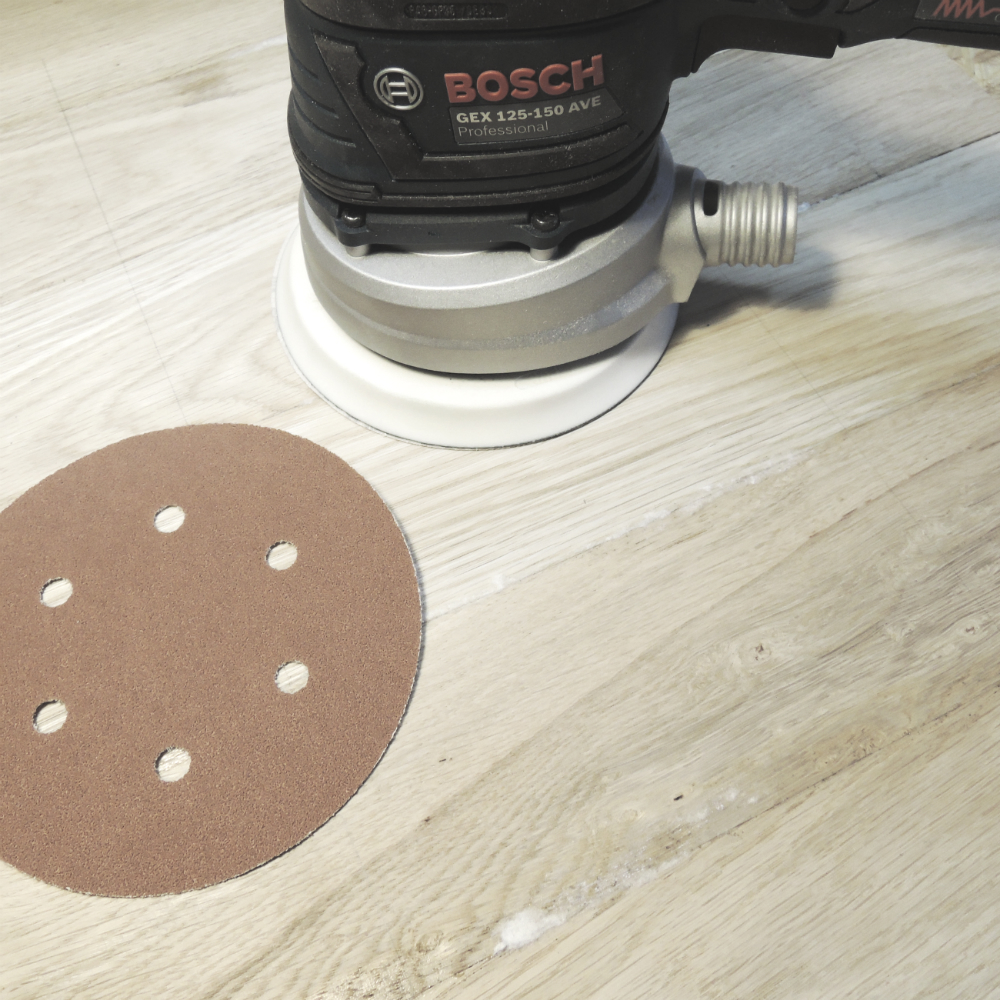
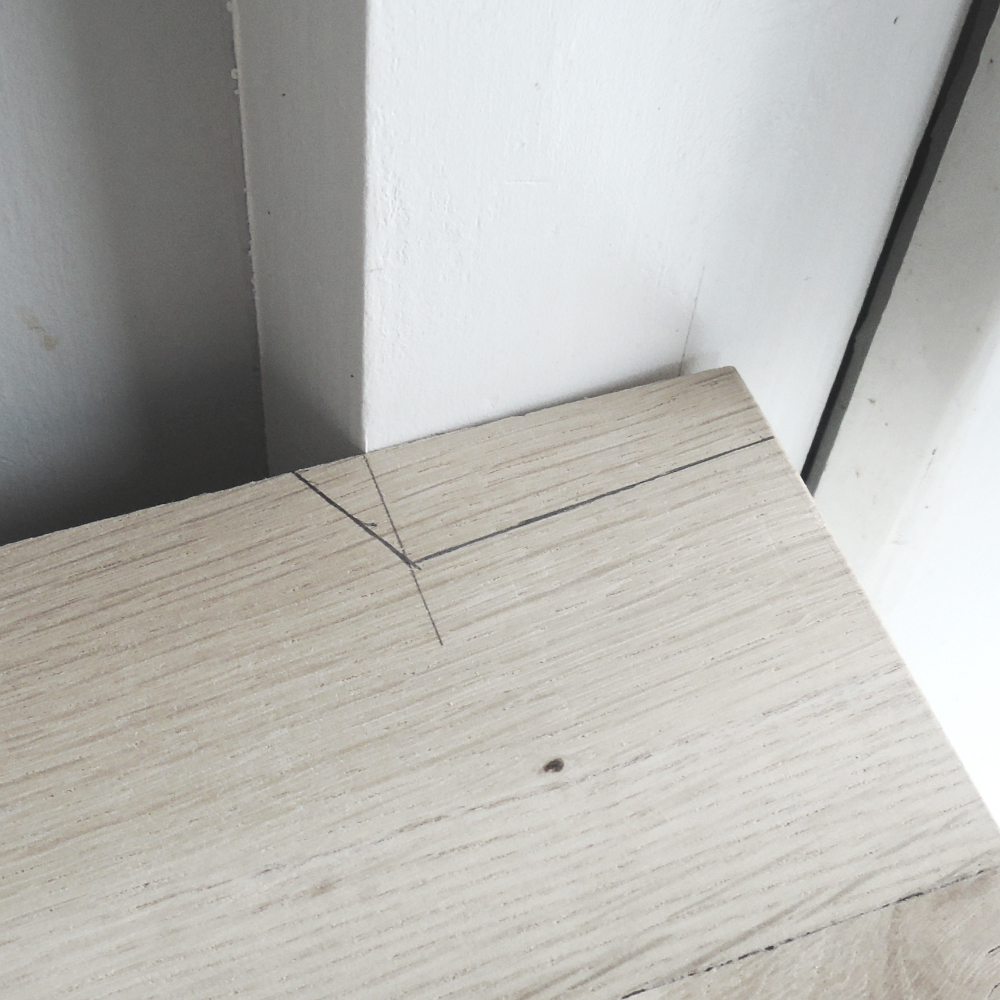
Then he sanded the planks first with a 60 grid and later with a 240. After that he cut the counter to the right size and then brought it back to the kitchen. There he drew around the door jamb on the back corners of the counter, so it would fit perfectly between the door frames.
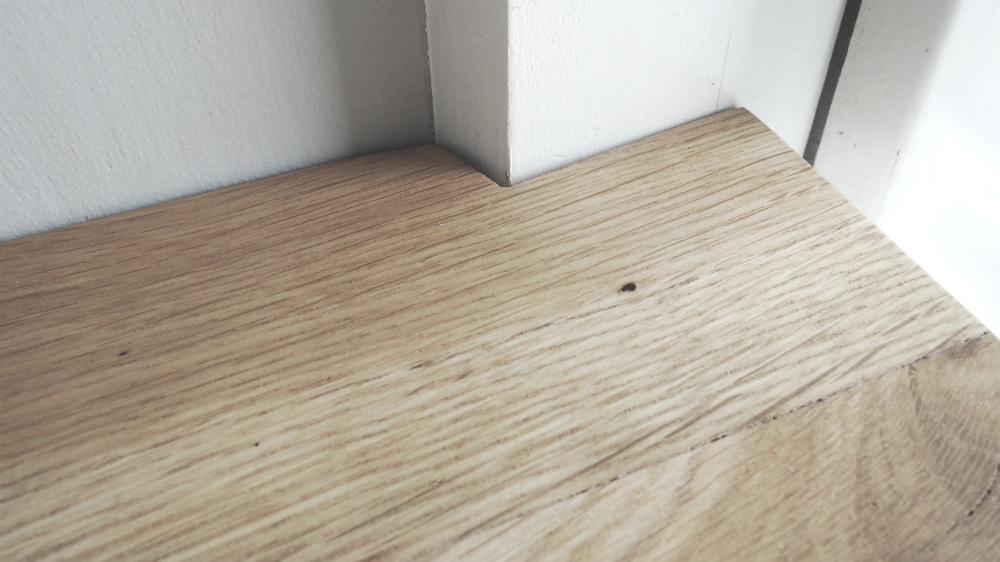
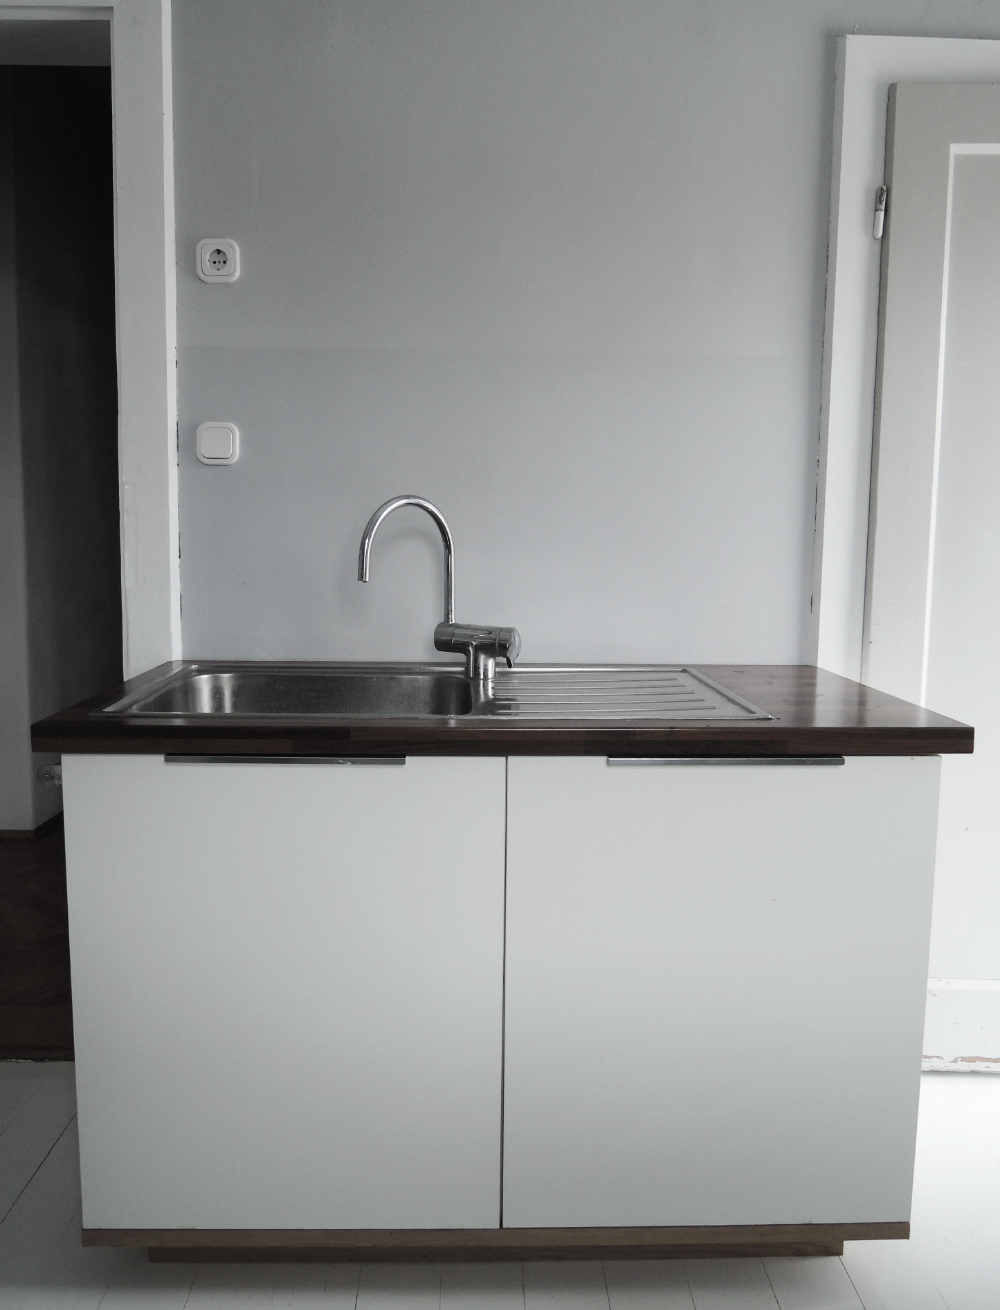
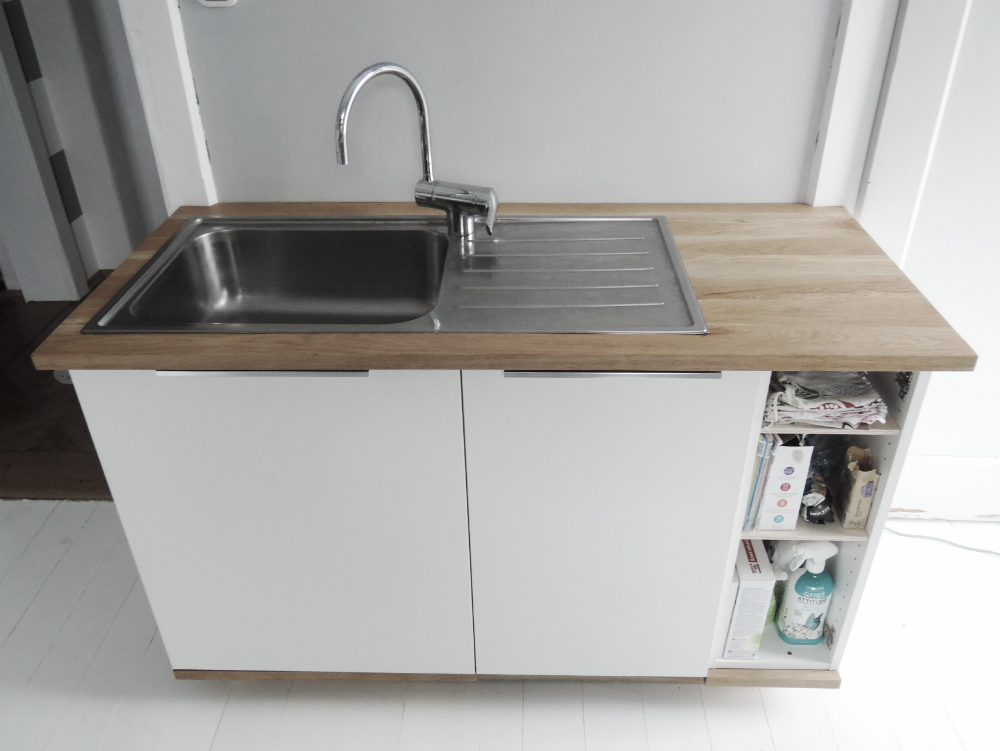
When we were happy with the fit, I oiled the counter a couple of times with Ikea’s Behandla oil. When it was dry, we reinstalled back the sink and the faucet and connected the faucet back to the water system.
What do you think of the semi end result?


The list for the kitchen: the door to the pantry needs to be stripped and repainted, above the sink we plan to make a shelf that will host my growing collection of cooking books and make a new counter on the other side of the kitchen. Easy peasy!
In the next post we’ll show how we made the drawer for the narrow cabinet and how we fit the dishwasher’s front to the cabinets. So, to be continued…
1 thought on “new kitchen addition”
Comments are closed.