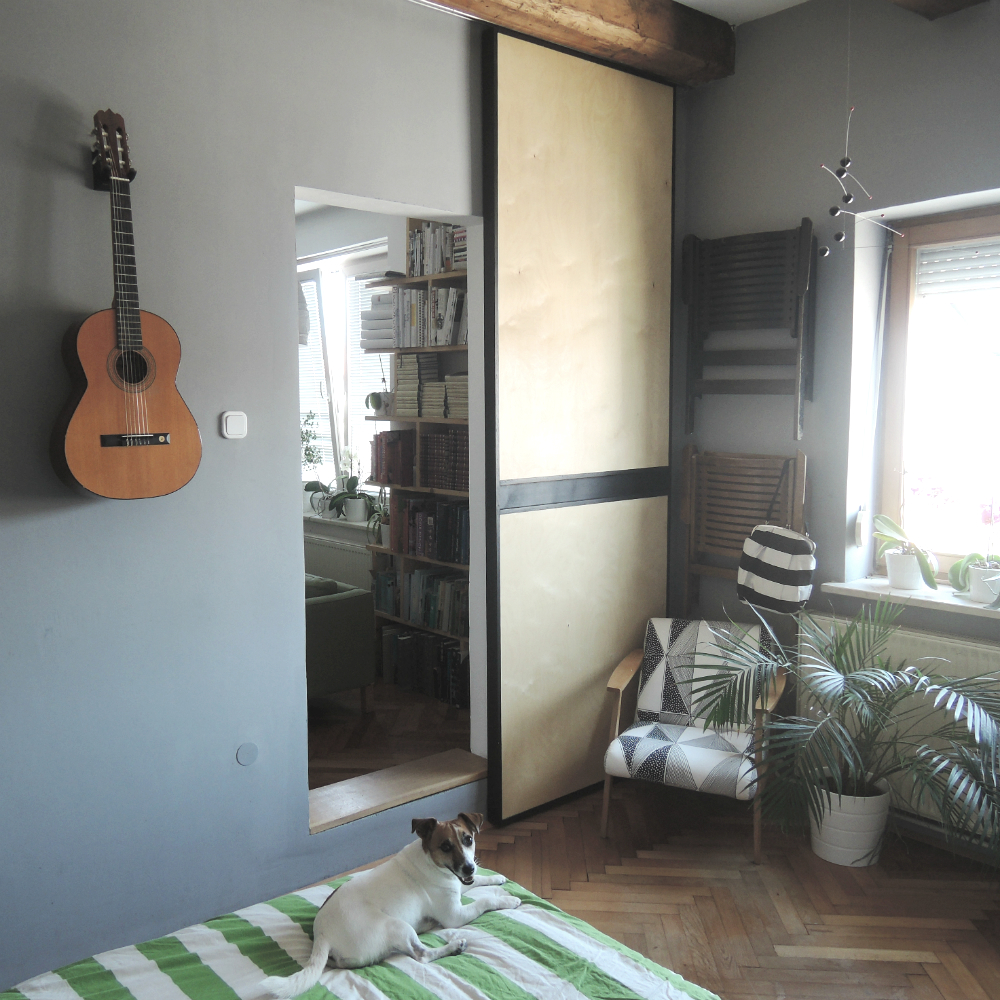
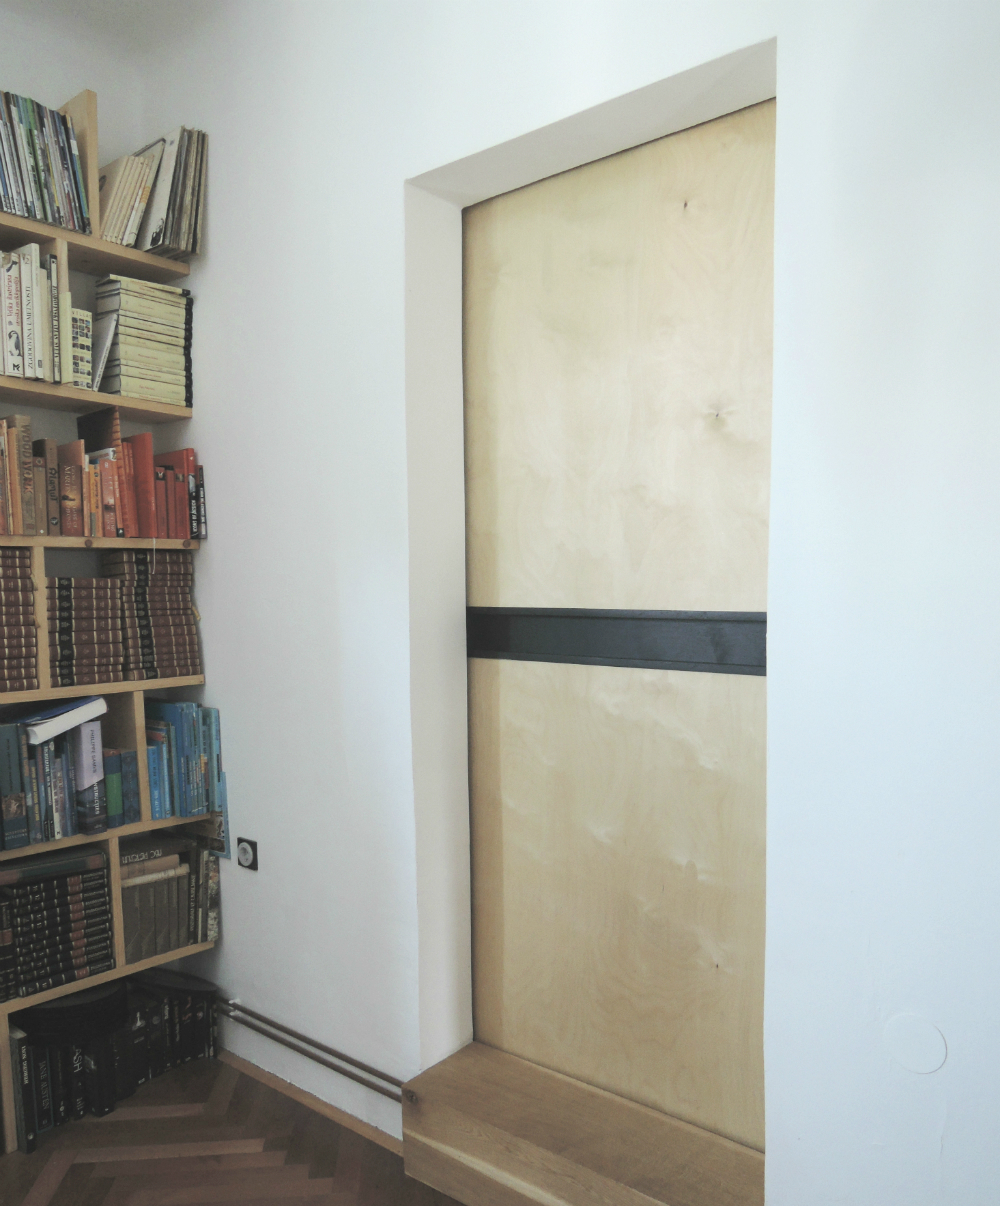
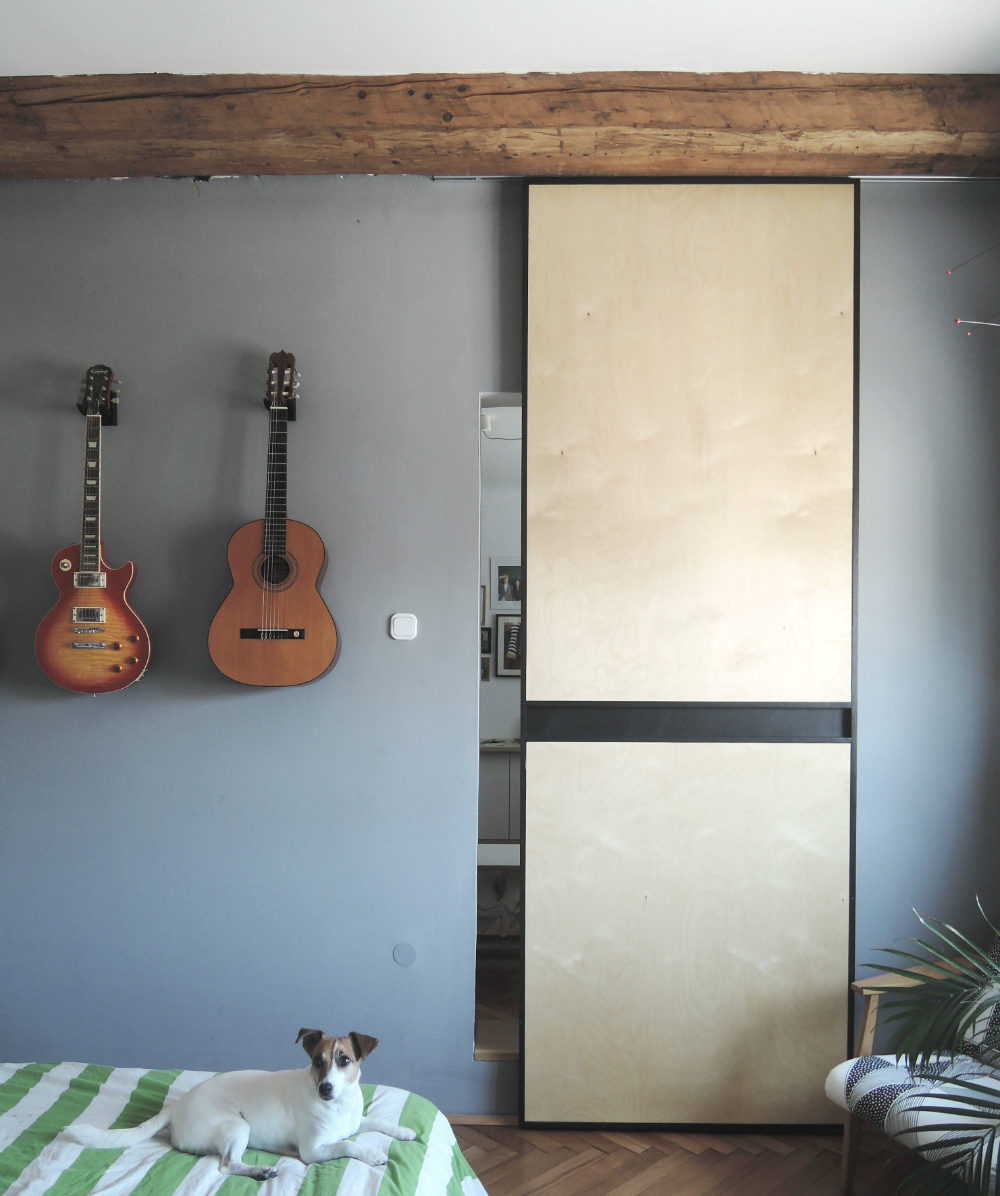
We have a weird little step from our living room to the bedroom. That is because the pipes for the heating run right underneath it. Don’t ask us why! We really don’t know why you would run the pipes that way. Evgen made an oak step to hide them as much as we can. But we still needed a door to separate the living room from the bedroom. We could not make a simple plain door because of the step, so our only option was a sliding door. With sliding door we would also save a lot of space, since we don’t have it that much there. The door is also almost always open and that way it can be hidden in the corner during the day.
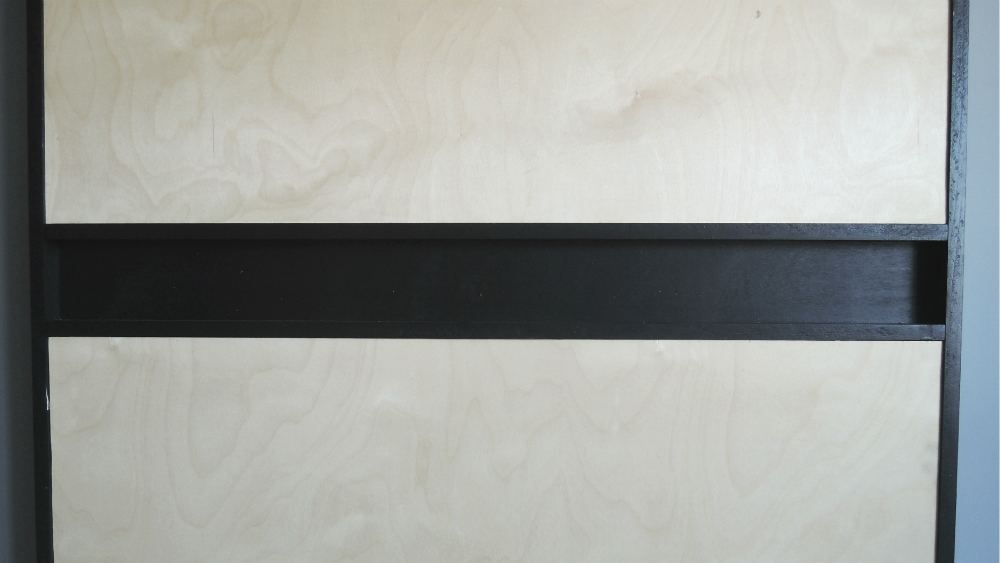
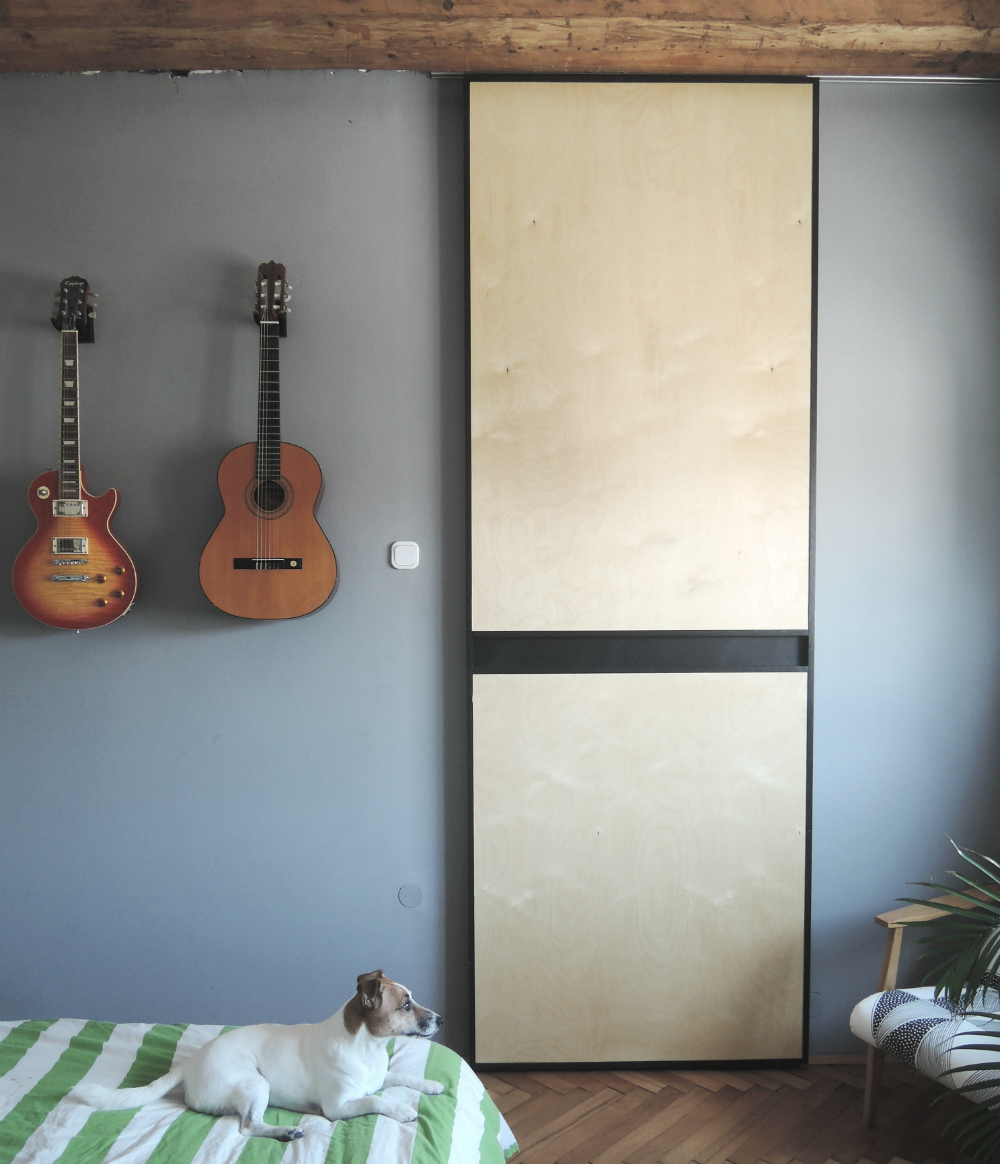
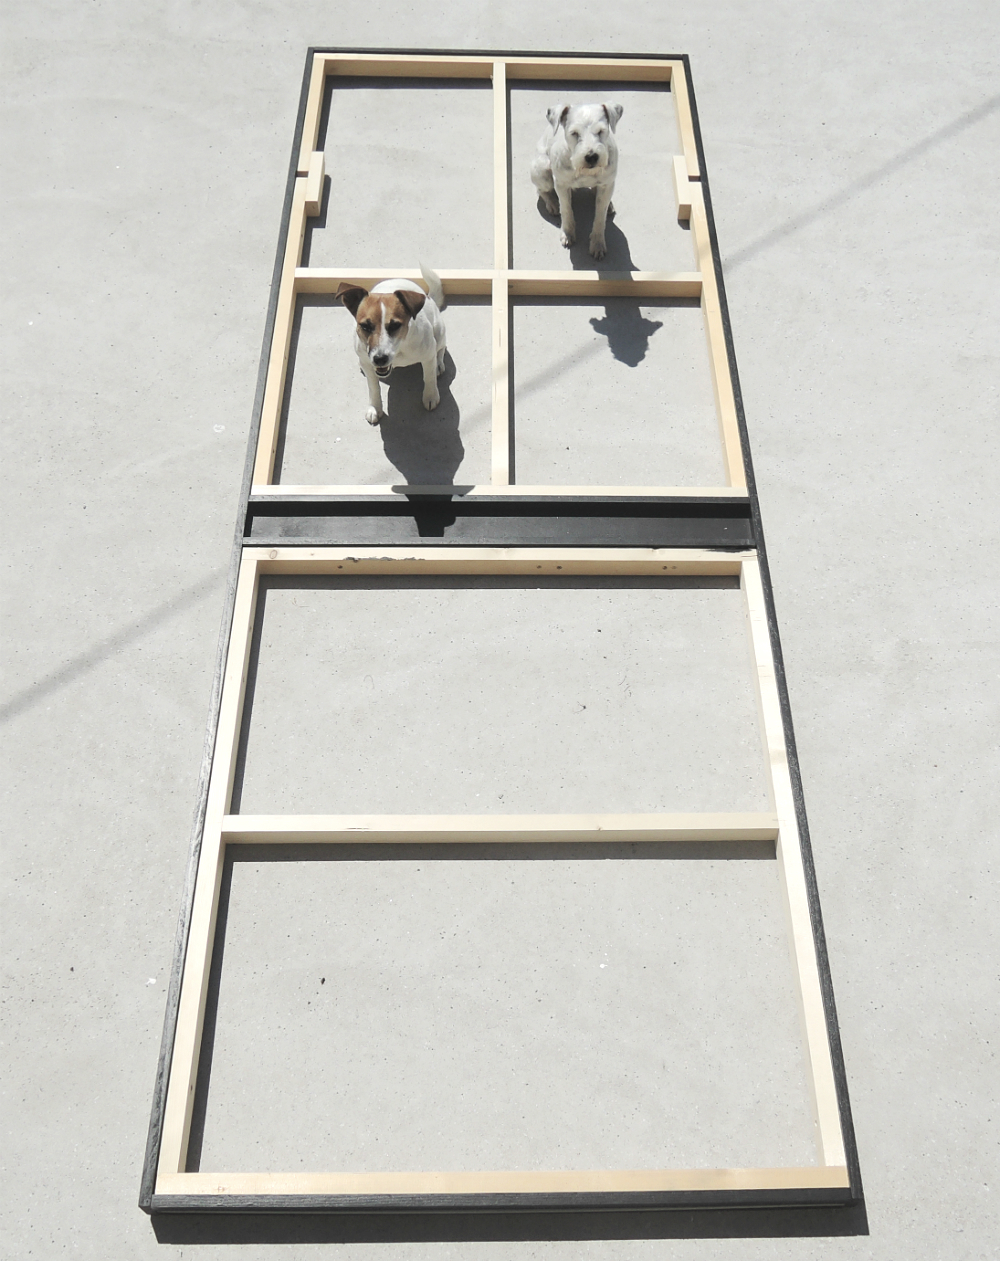
So first of all, again, we drew up a design. Since the door will be from floor to ceiling, we wanted a horizontal feature to break the height a little bit. The insert also plays the part of the handle. There are two inside frames, in between these two a black insert, around them a slick black frame and just four regular plywood panels to cover everything. Modern, minimal, maybe even with a kind of a japanese twist.
First of all, Evgen inserted an aluminium mechanism under the ceiling where the frame will hang and slide. On the floor, he drilled a hole in the floor and screwed in a little plastic guide. We forgot to take photos of this part, but it is just a simple plain store bought mechanism for sliding doors.
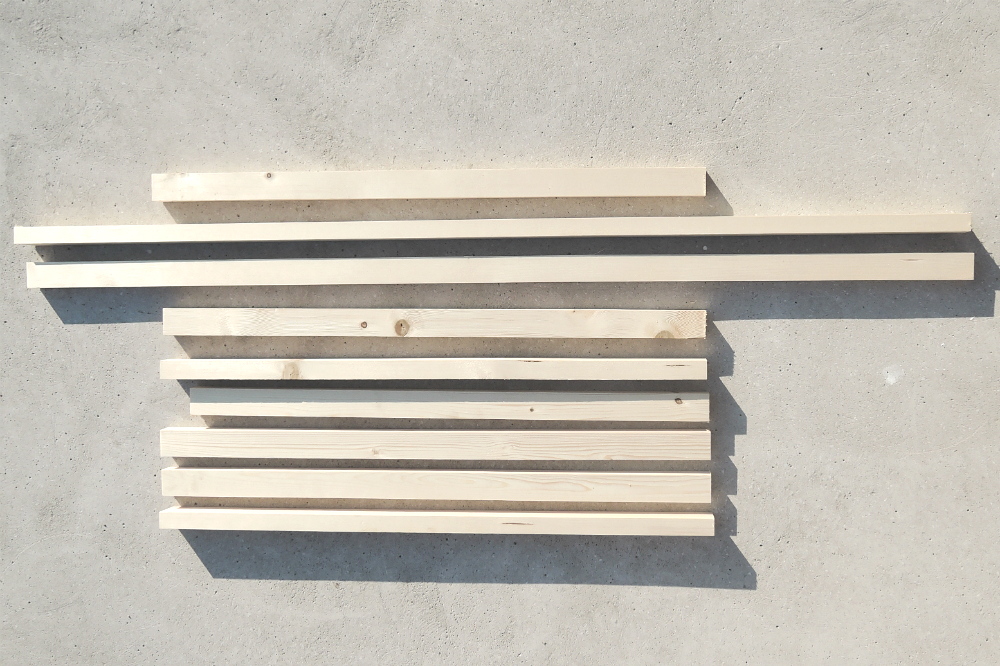
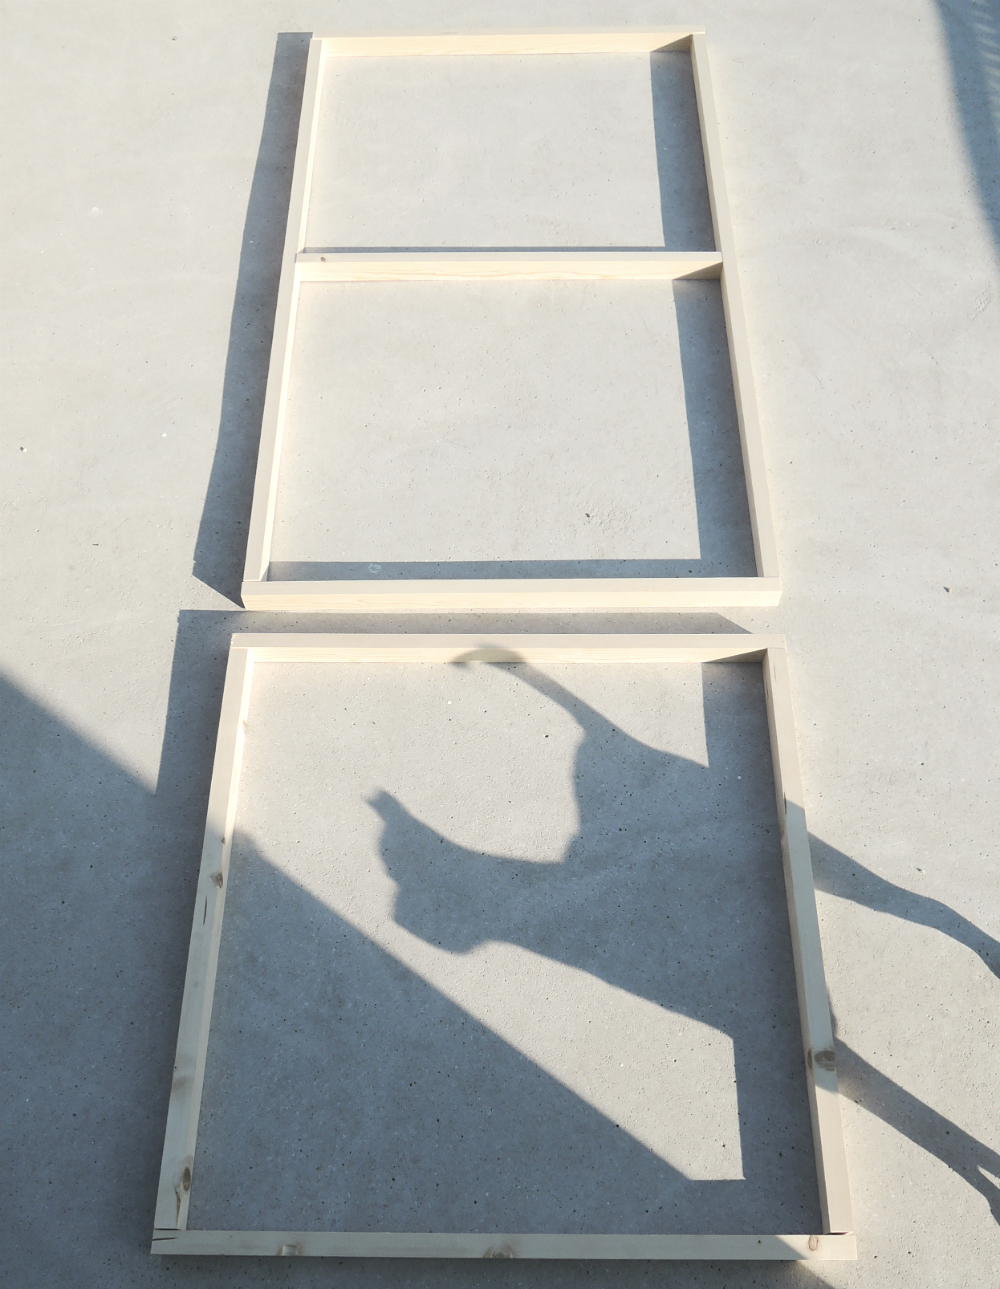
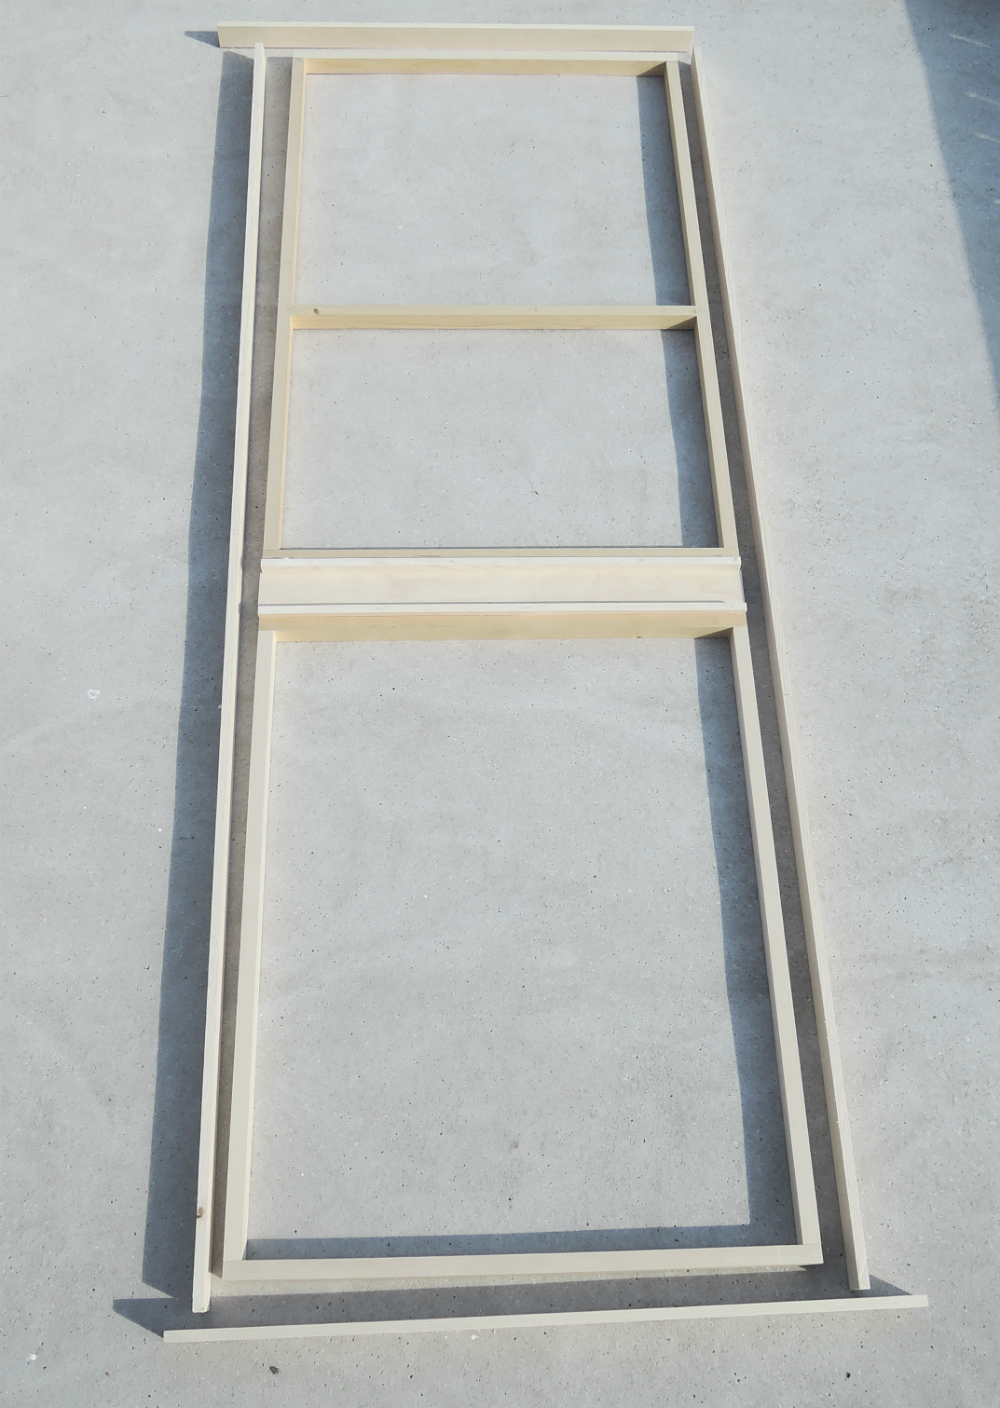
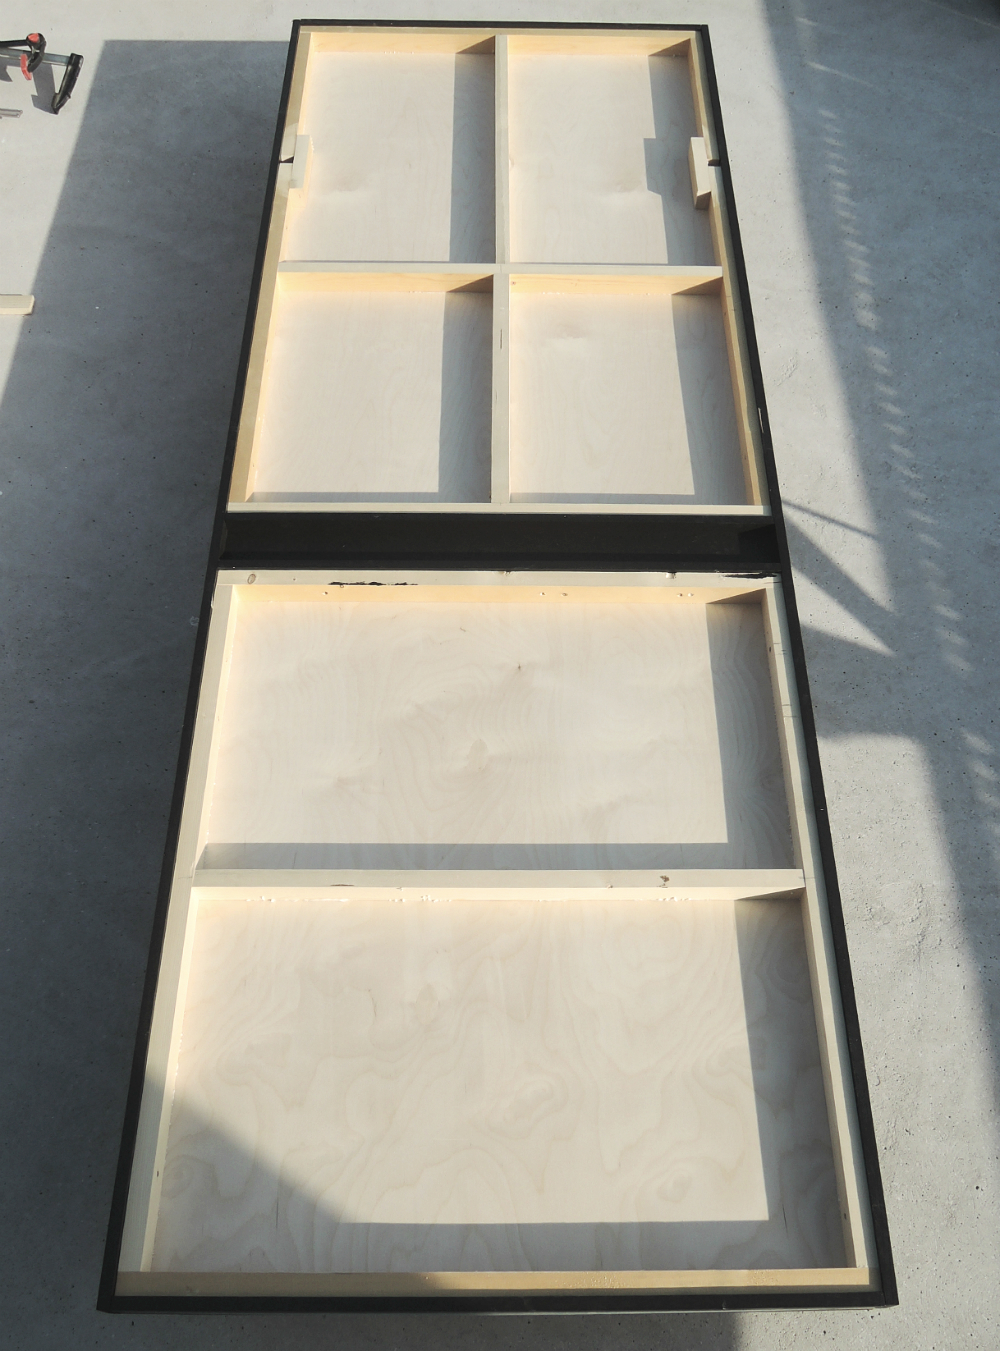
Evgen cut a bunch of planks to the right size which are for the basic inner framing for the door. He screwed them together and inserted another plank in the middle for added strength.
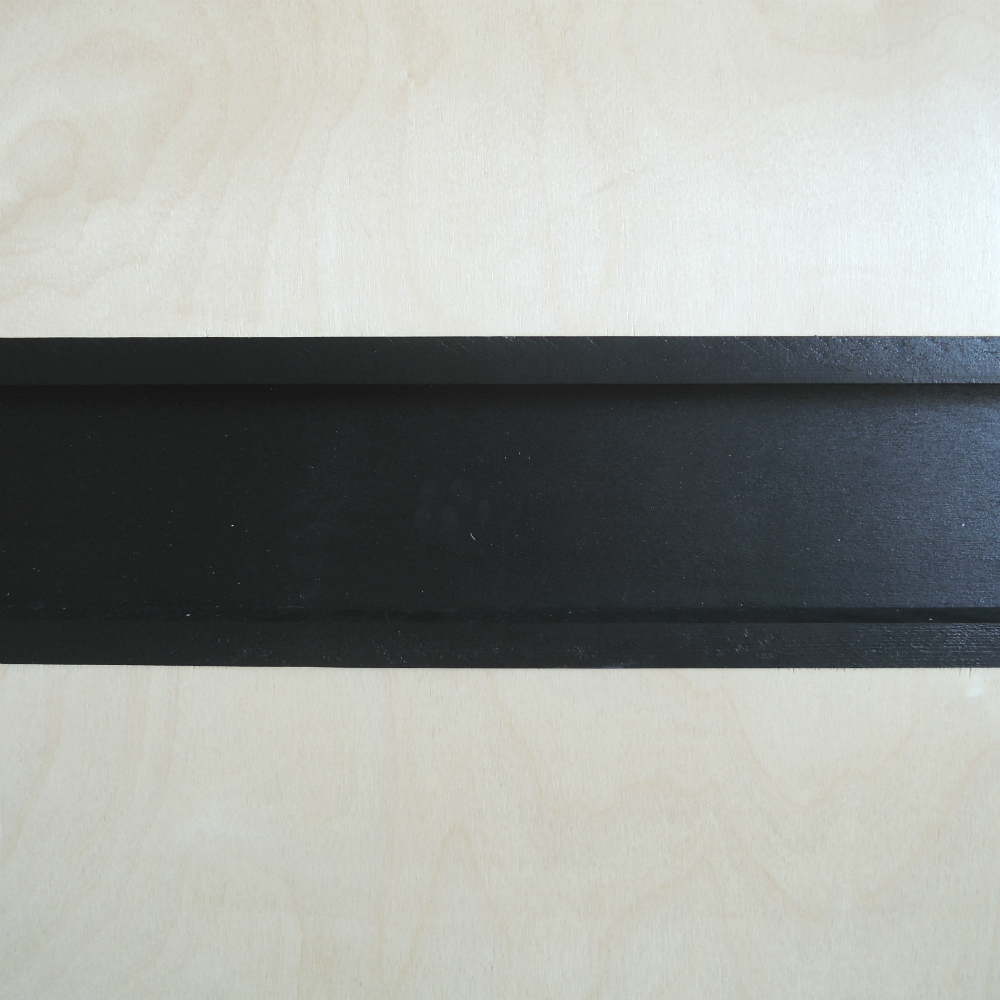
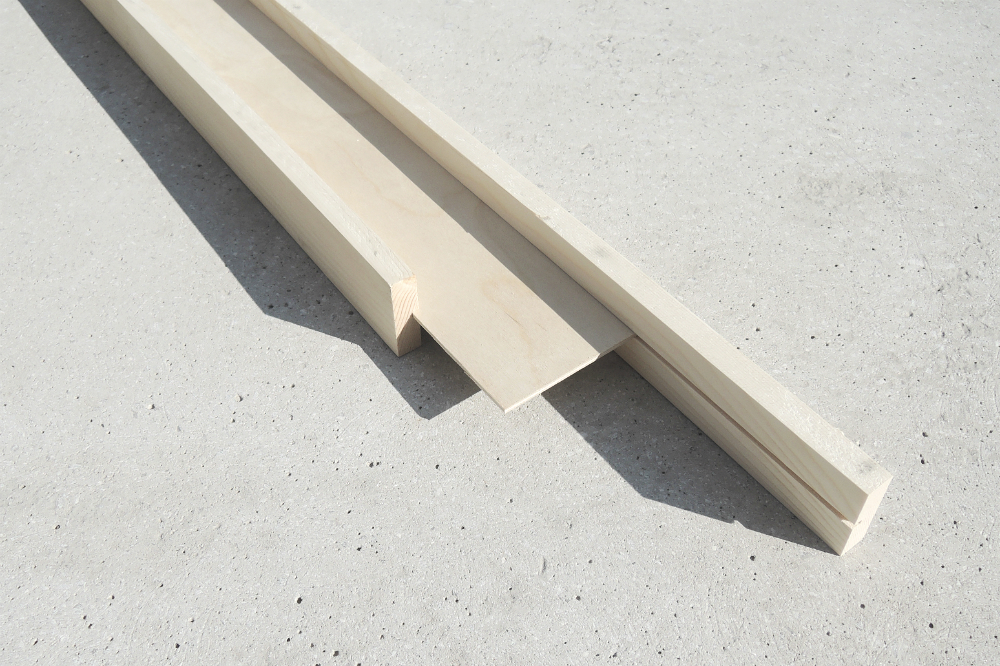
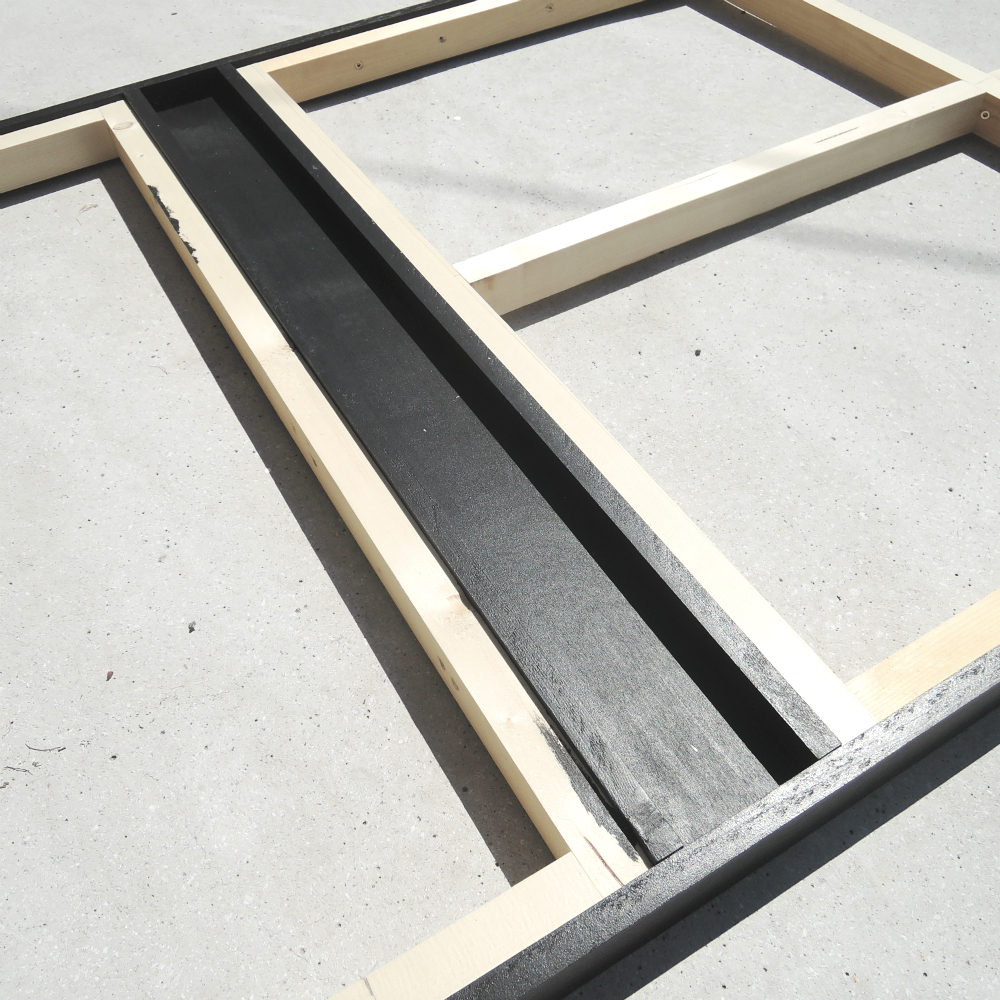
For the middle black insert, where the cross section represents a letter I, he cut two planks and a small piece of plywood panel. He cut a groove in each plank where the panel will slide in. Then, he painted them all black and when they were dry, assembled them together.
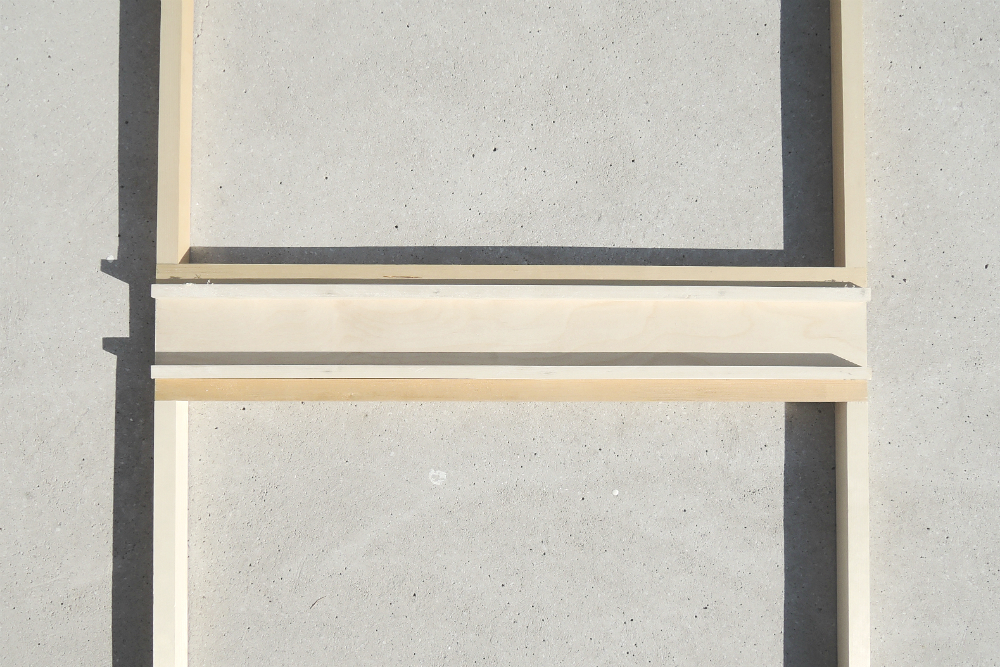
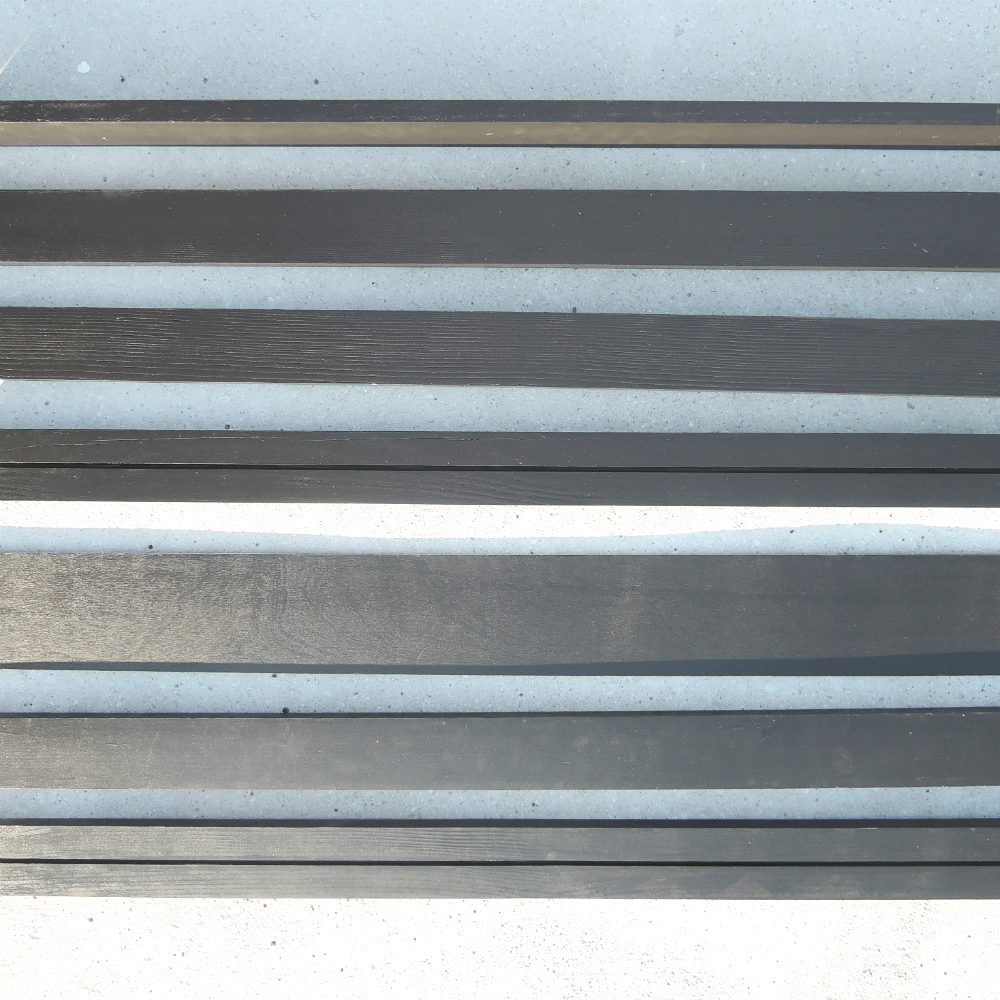
The same procedure was for the outer frame. He cut the planks to the right size, sanded, painted them and screwed them around the inner frame and the insert. He screwed them only from the top and the bottom of the door, so that none of the screws were visible. The outer frame sealed the inner frame and the insert together firmly.
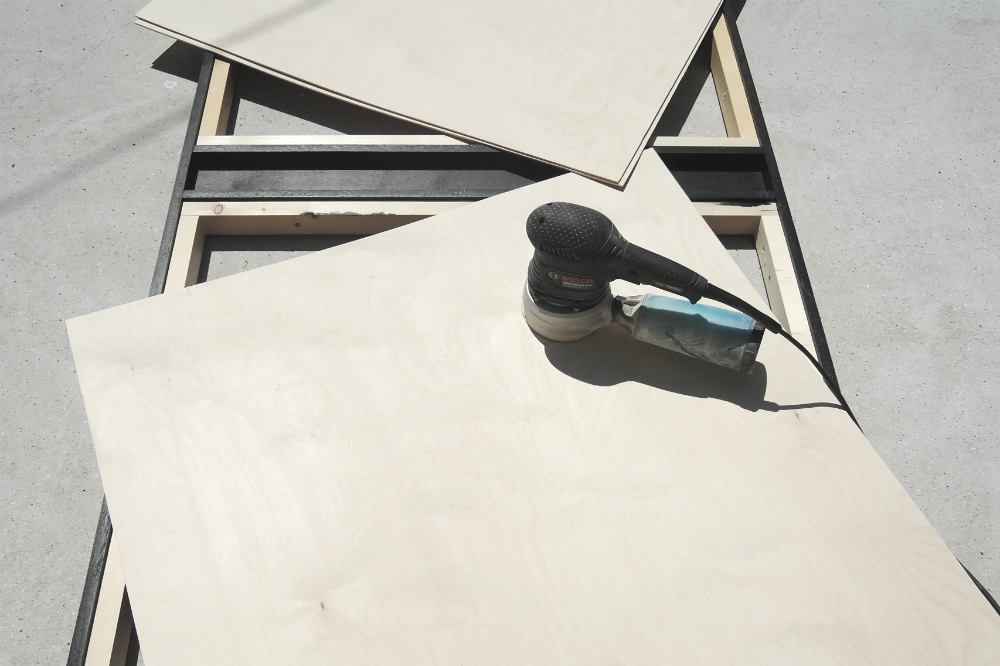
When it was all done, he precisely measured the blank space that was left. He cut four plywood pieces to the right measurements so that they fit snuggly in the frame. He sanded them and applied a couple of coats of water based lacquer over them. Of course he sanded with a fine grid sand paper in between coats. Then, he glued them to the inner frame and pressed them together with clamps.

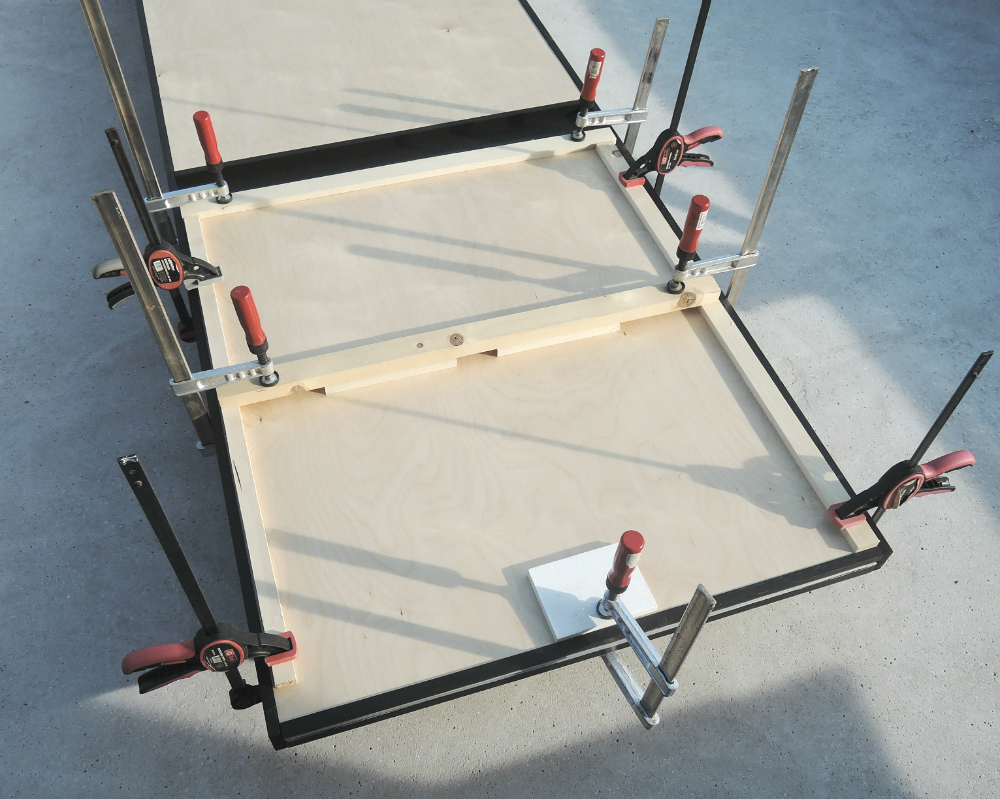
When it was all dry, all that remained was to hang them to the mechanism. What do you think?