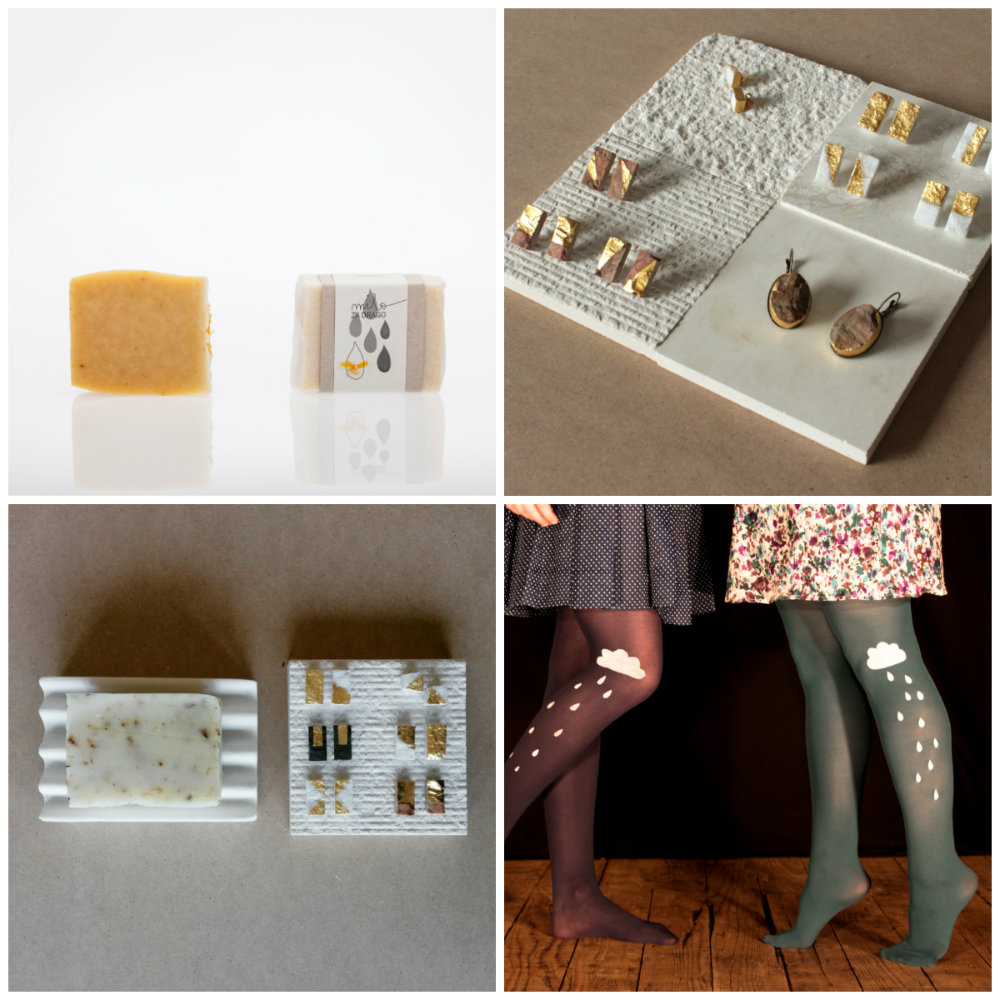
This year we have a lot of big birthdays coming up and my dear friend Anja’s came in April. Anja is half of the team at Milo za drago. They are two girls making handmade natural soaps, hand painted tights – Hulahopke for all ages and their last project is Bella opera – gorgeous jewelery made of natural stone and gilded with golden leaves.
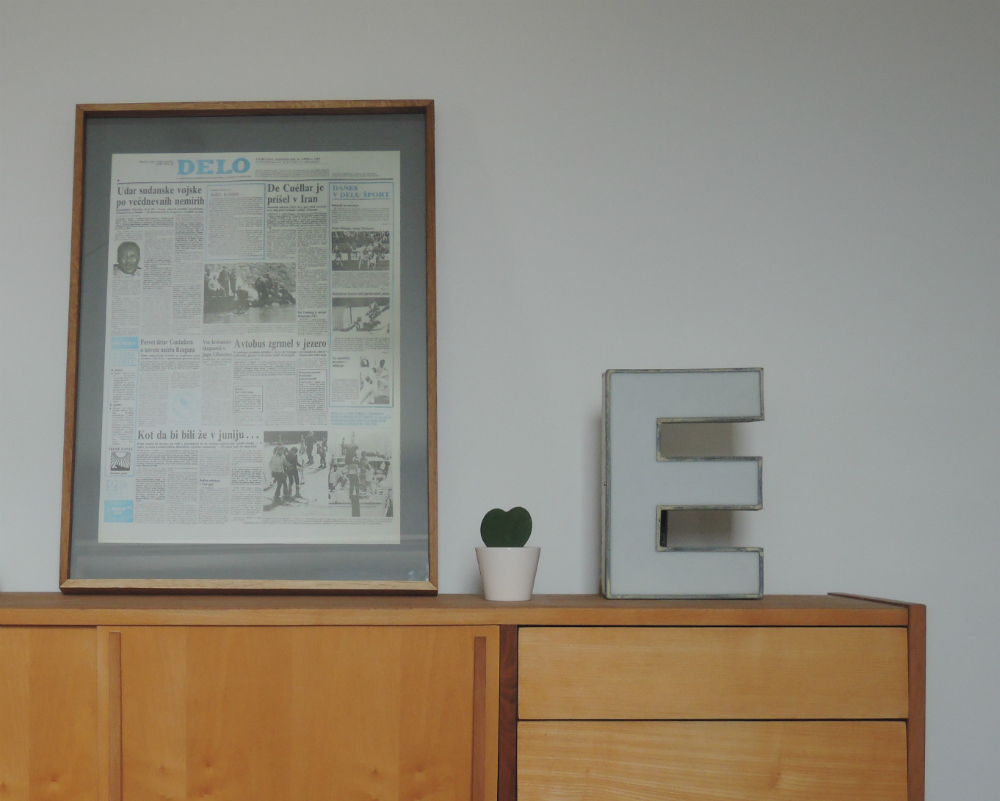
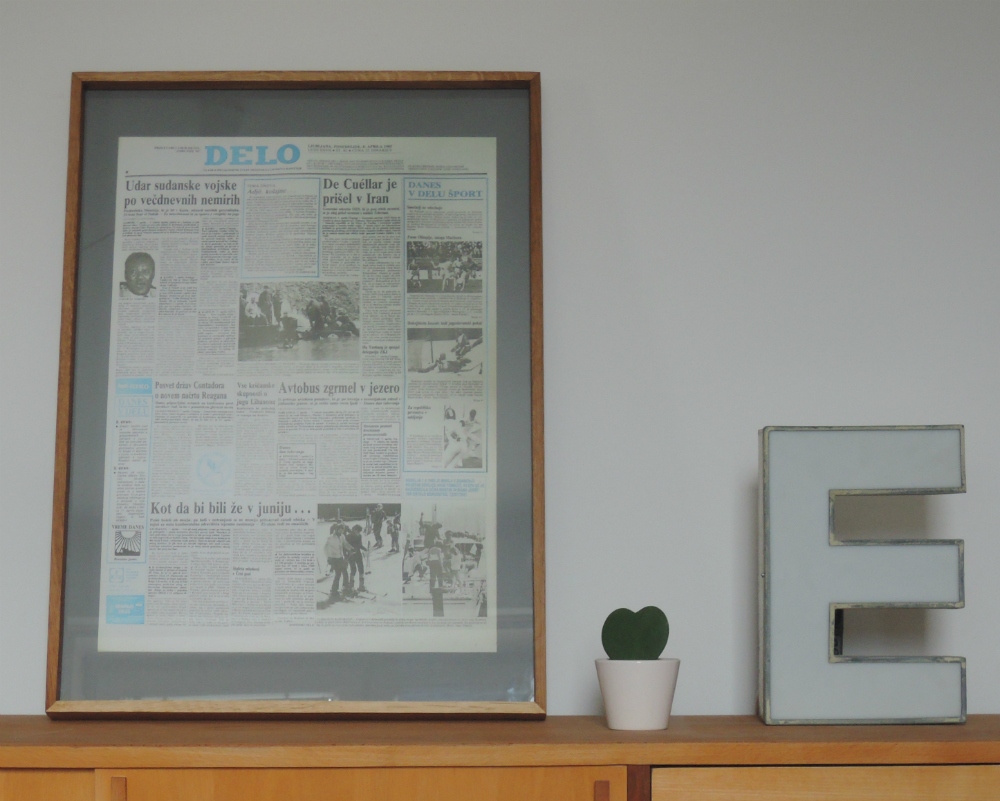
So, with two other friends, we came up with a sentimental idea for her present. We got a news cover from the exact day and year that she was born. Now all we needed was a nice frame to put it in. Oh, where, oh where could we get one? Evgen to the rescue!
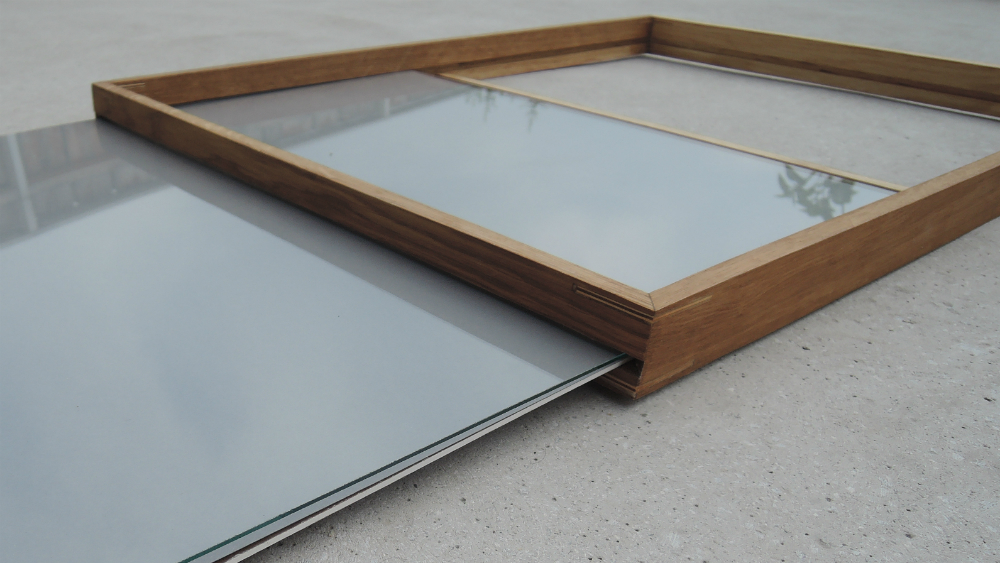
The problem with some store bought frames is that they are not sturdy enough, if you want to change the picture is a pain in the … and they are probably not even made out of wood. Evgen’s design was simple, very minimal, the corners of the frame were reinforced and it was made out of oak. The idea is that you would just slide the sandwich of the glass, the picture and the backing right into the frame. That way you can have all the control. You don’t have to turn the frame around to check if the picture is still in the right place or has it already shifted out of the center and it’s not aligned with the frame anymore.
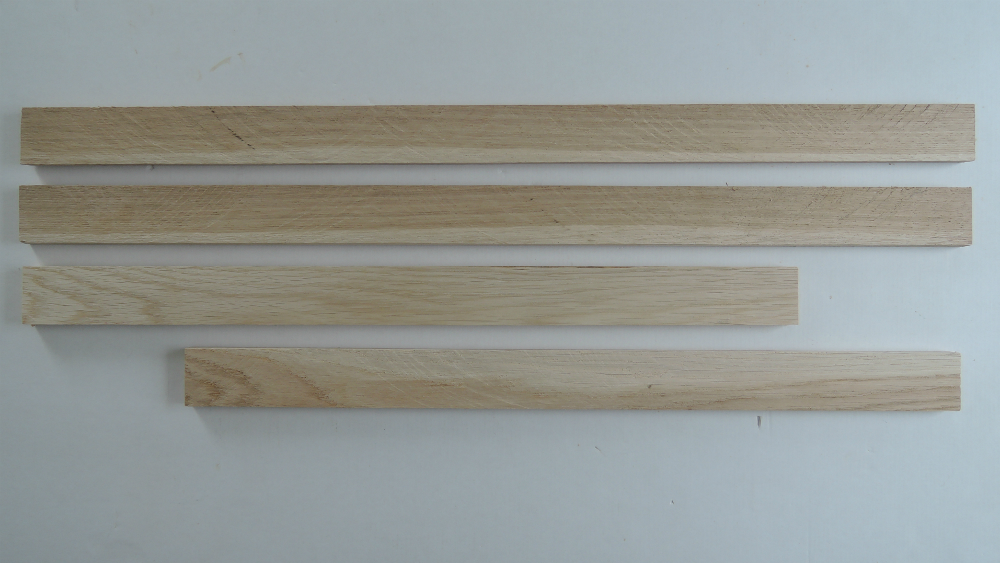
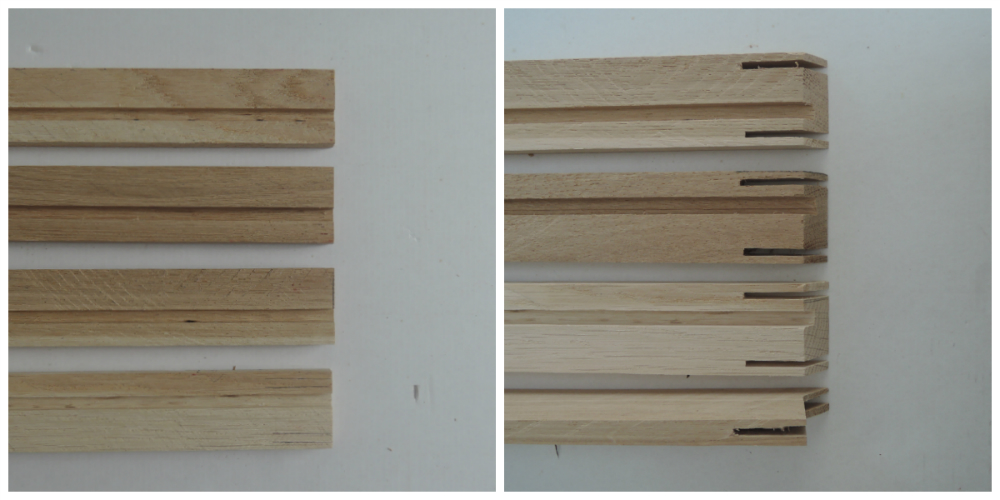
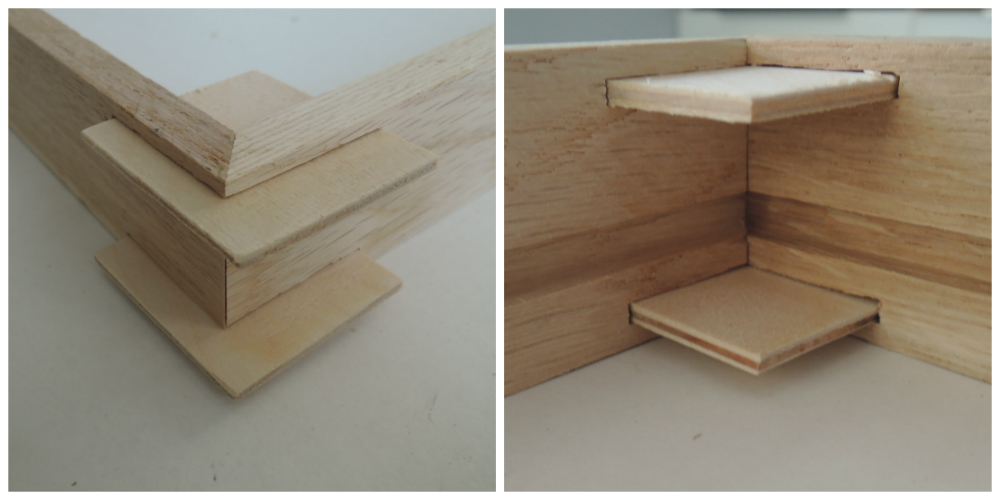
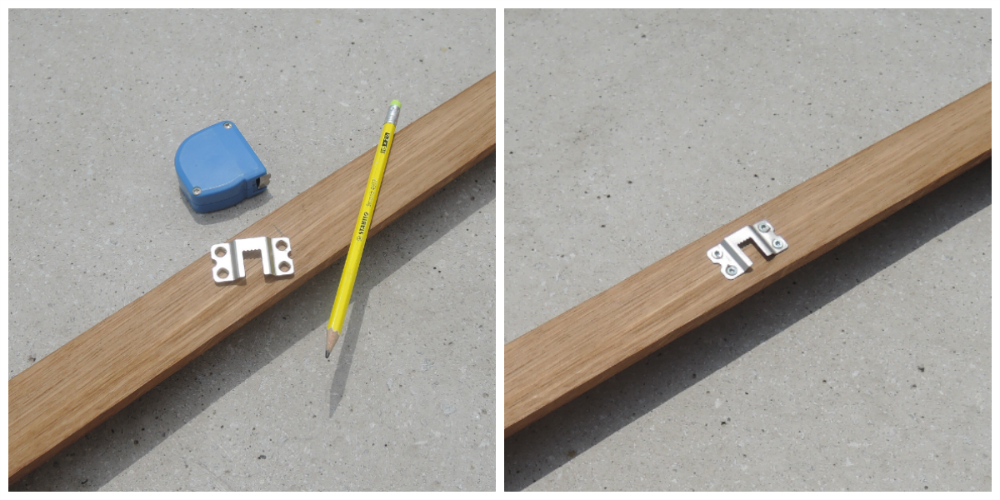
First he prepared a couple of planks and cut them to the right dimensions. Then he made a groove in each of them where the picture would slide in. At the end of each plank he cut out two notches where the plywood insert would go. At the last photo here you can see all the parts needed for the frame ready to be glued together. The thin bottom piece is just an extra.
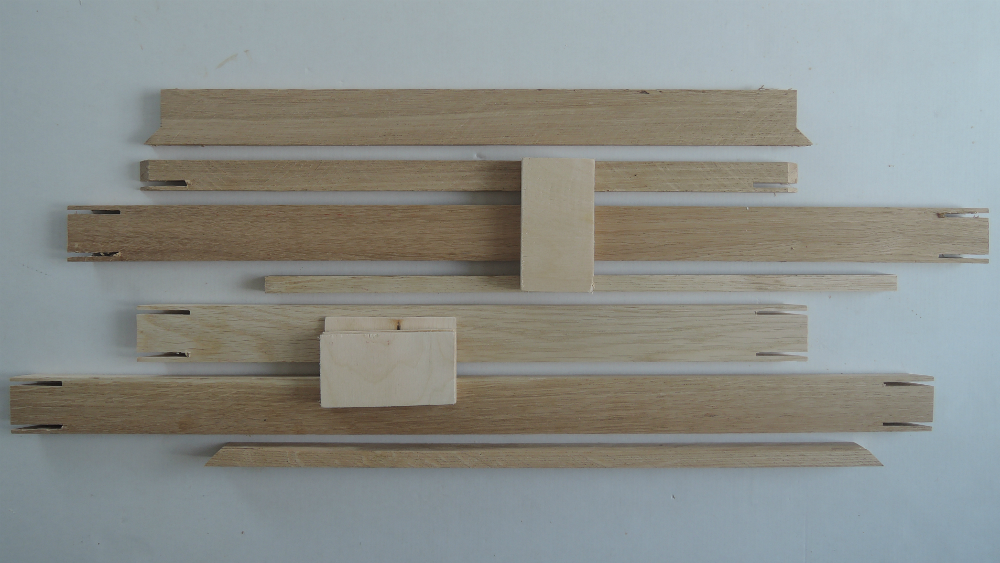
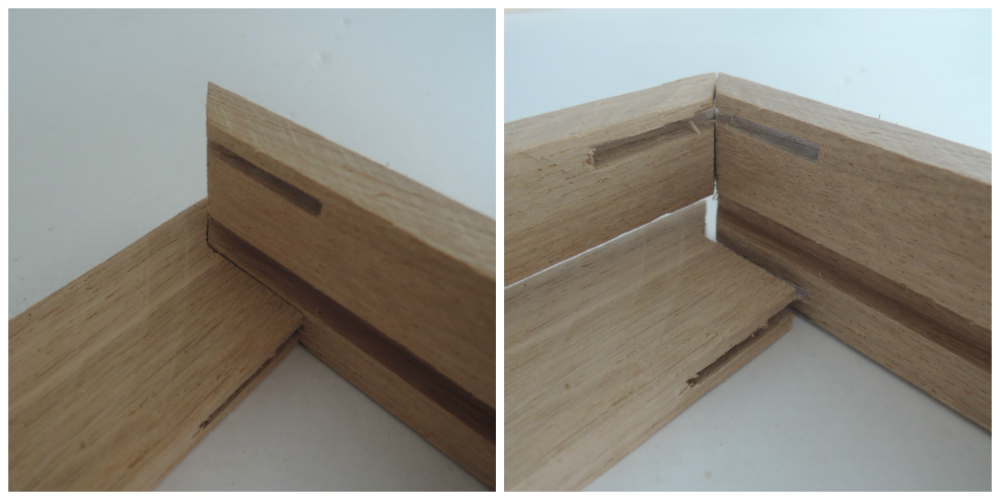
At the back of the frame, in the middle, there is also a thin plank with a square cross section for added strength and durability. It is glued to the frame with a little wood pellet insert on each side. Bottom two corners are different from the upper two corners, because the picture will be of course inserted at the upper part of the frame.

 Bottom corners
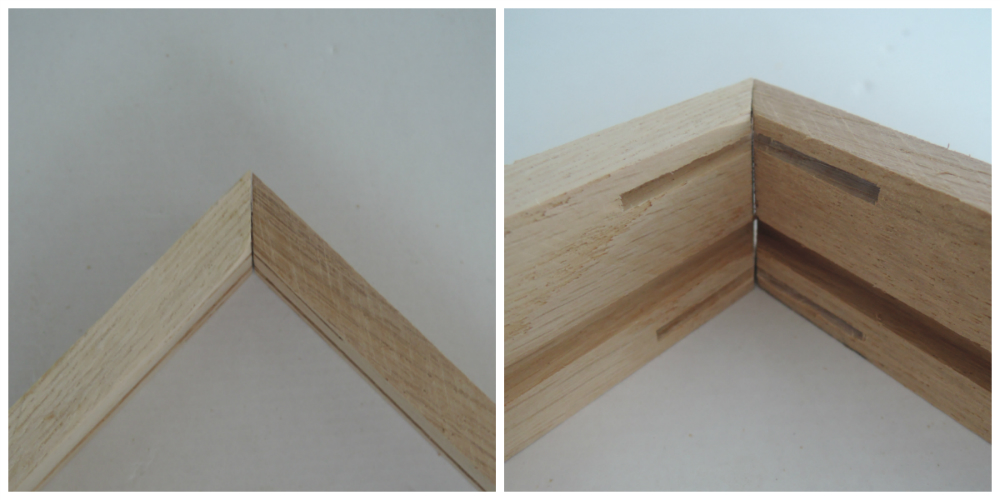
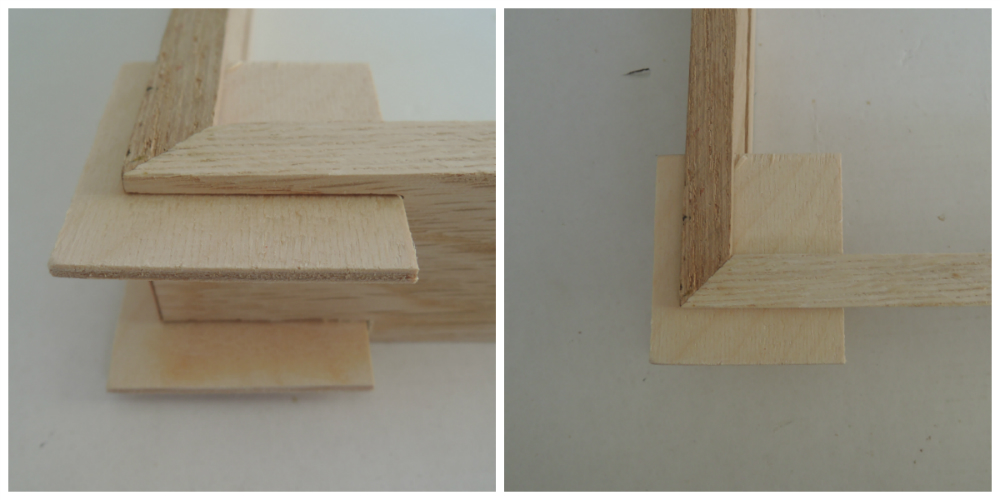
 Upper corners, where the picture will slide in.
 Corners with the inserted piece of plywood.
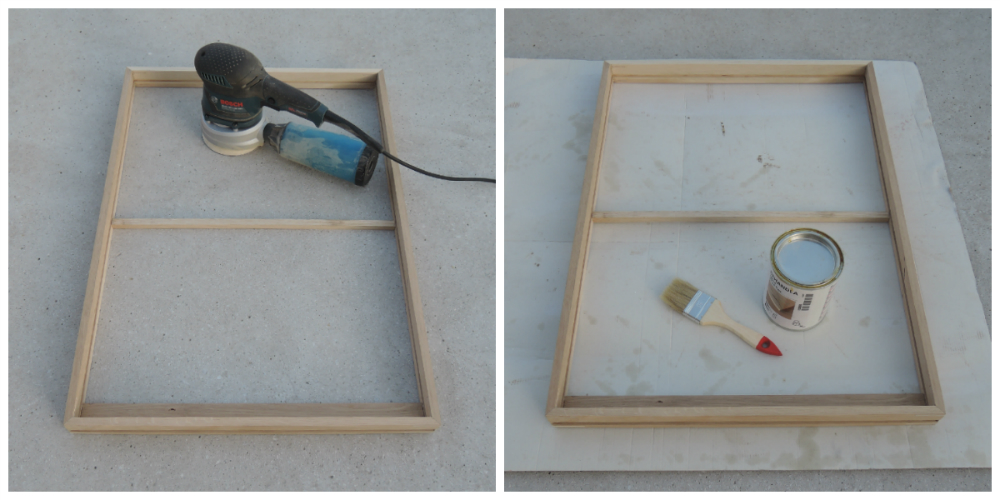
Now it was time for glueing all the pieces together. After he glued them, he pressed them together with clamps so that all the seams would be really tight. When the frame was dry he cut off the plywood that was sticking out of the frame in the corners. Next, you guessed it, he sanded it with 240 grid and applied a couple of coats of oil for the finish. Lastly he attached on a frame hook.

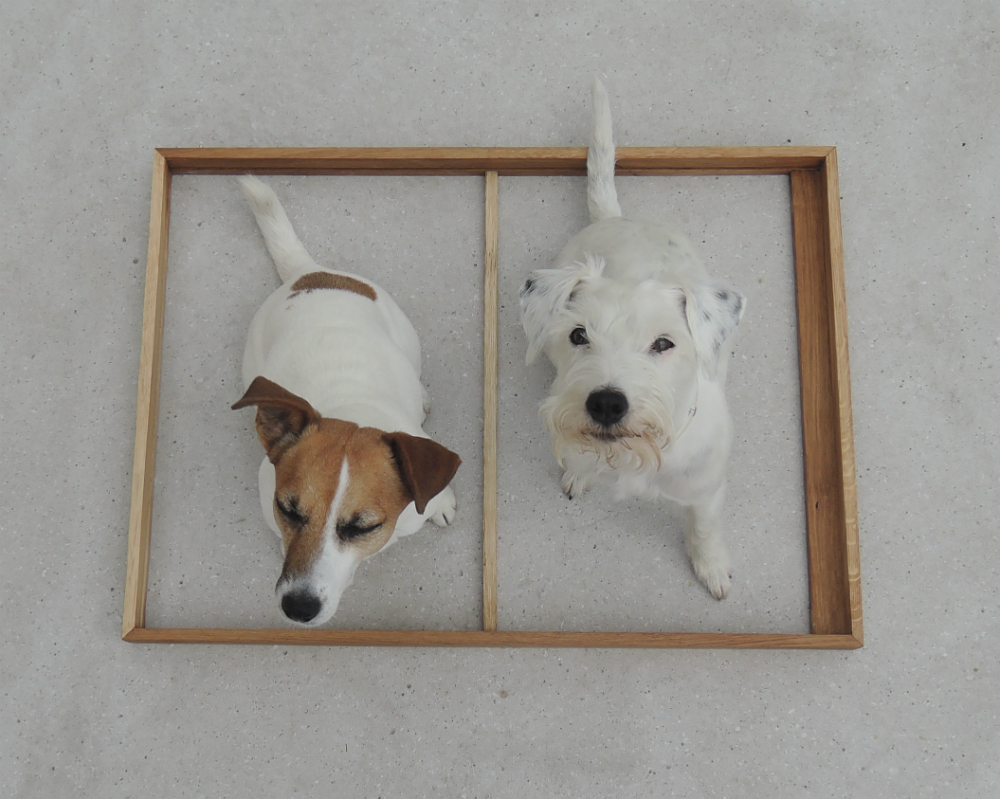
The frame is finished!

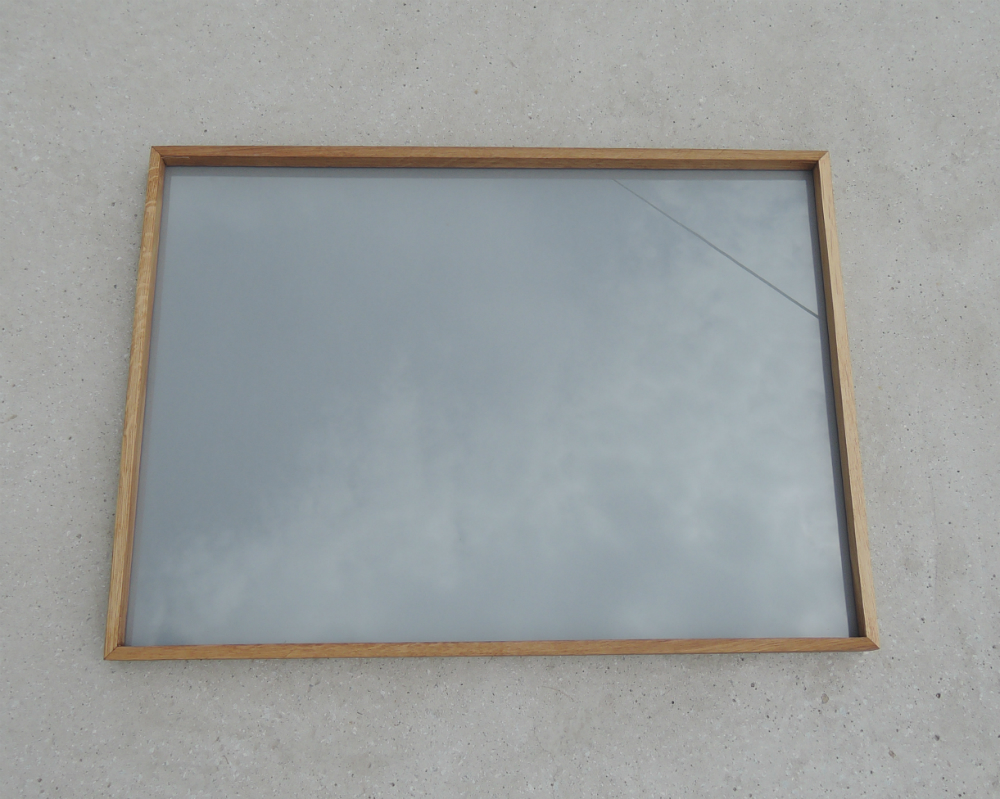
At a local glazier he ordered a piece of glass 50 x 70 cm with 3 mm thickness. Then he just assembled the glass, the picture and the backing board together and slid them in the frame.

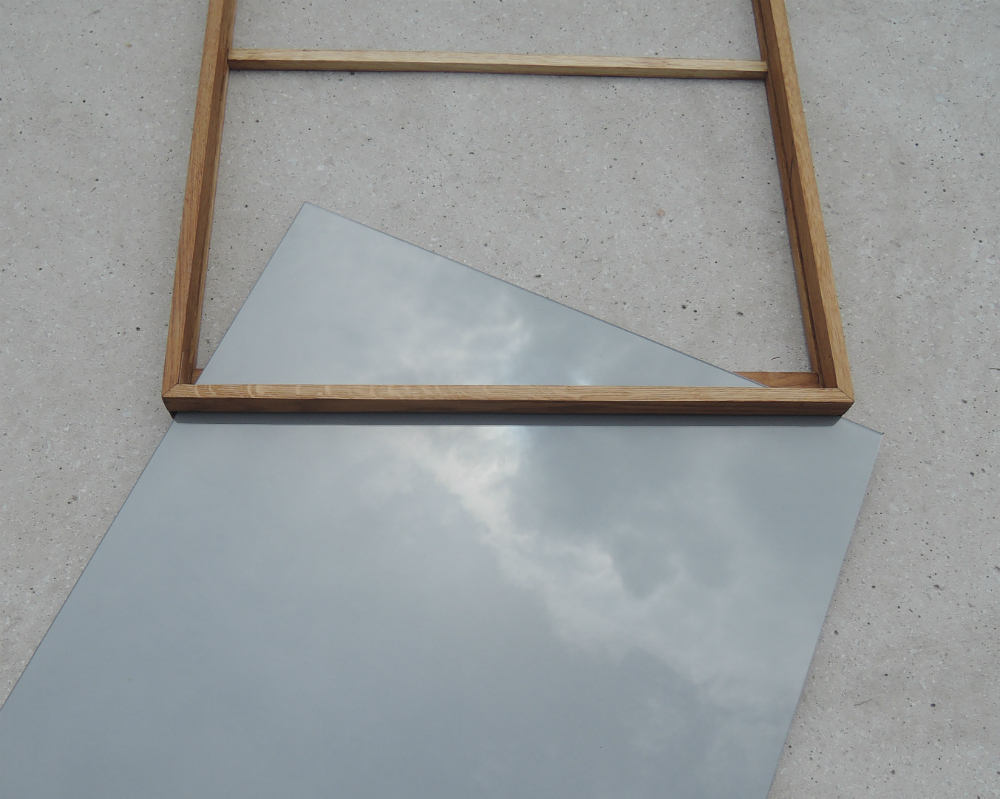
Oh, and in the photo below the glass in the upper right corner is not cracked, it is just a reflection of a telephone wire. 🙂