Remember when we redid that blue sofa in the Autumn? Well, with the sofa also came a footstool, but we just didn’t have the time to upholster it then. This brown box of sadness sat in our office since then and last week we finally found the time to make it shine again and unite it with the sofa.
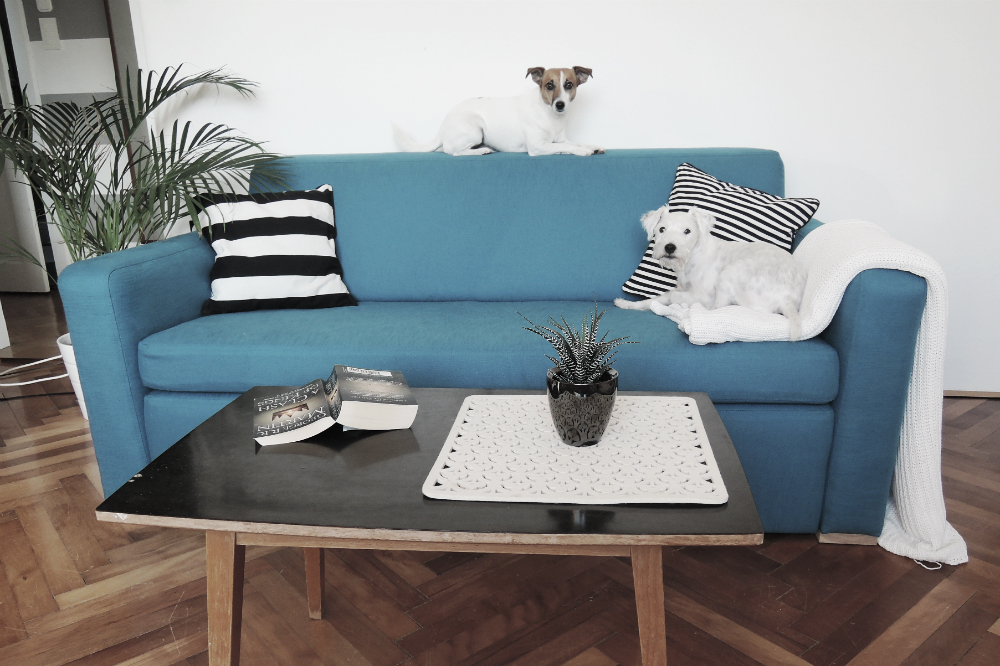
I must say, since this was our first big thing to reupholster, we are still very happy with the outcome. The owners of the blue sofa are also on the same page as we are. After more than half a year of use it is still very comfy and the fabric hasn’t stretched or faded.
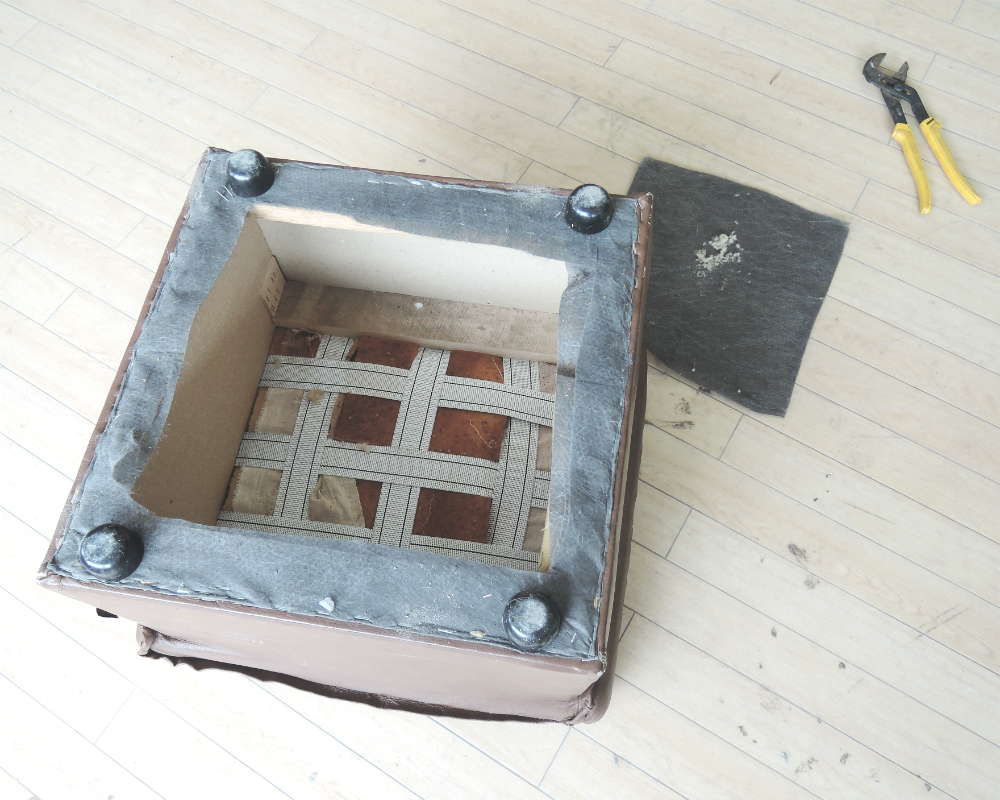
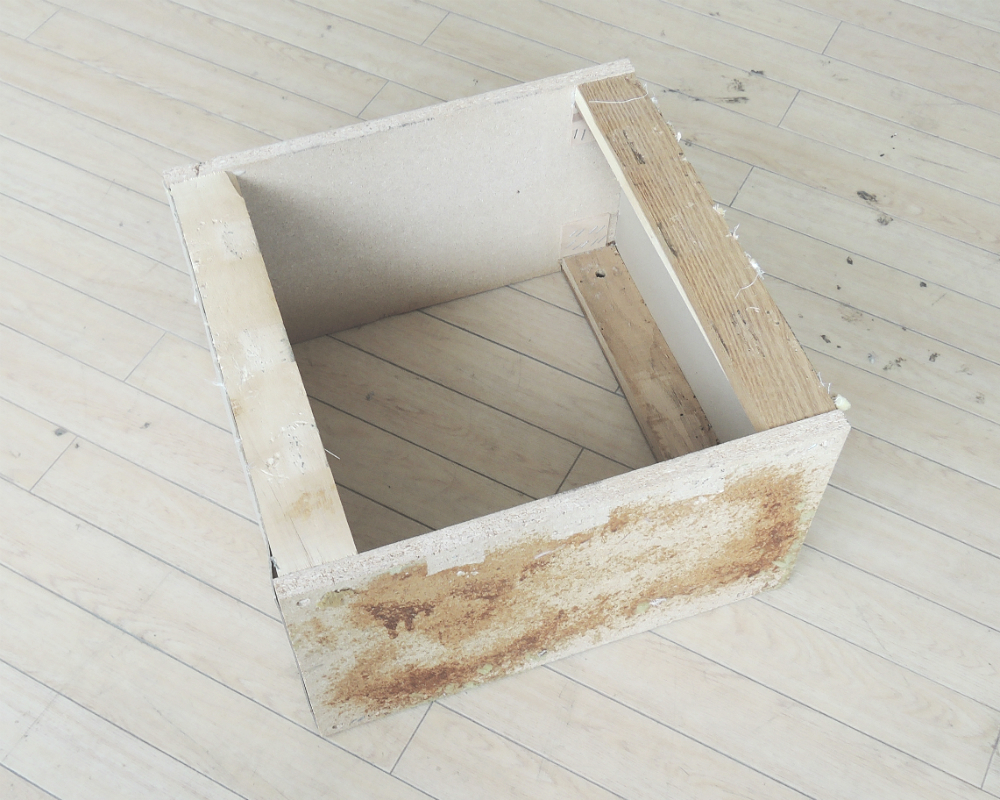
So this is this big box of sadness. It is covered in a brown faux leather that has seen better days. The fabric is damaged, torn and stained and the shape is definitely not appealing. The sofa was also once covered with the same fabric.

First we stripped it to the wooden box that was hiding underneath the old foam. Of course we discarded everything except for the box. Since this is really an ordinary box, we could just made a new one from scratch, but in the idea of recycling, decided to just work with what we got.
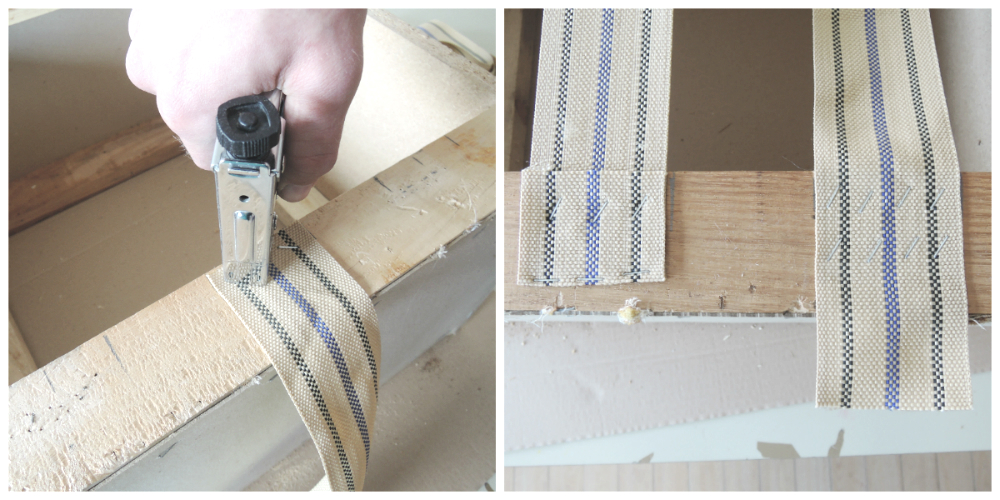
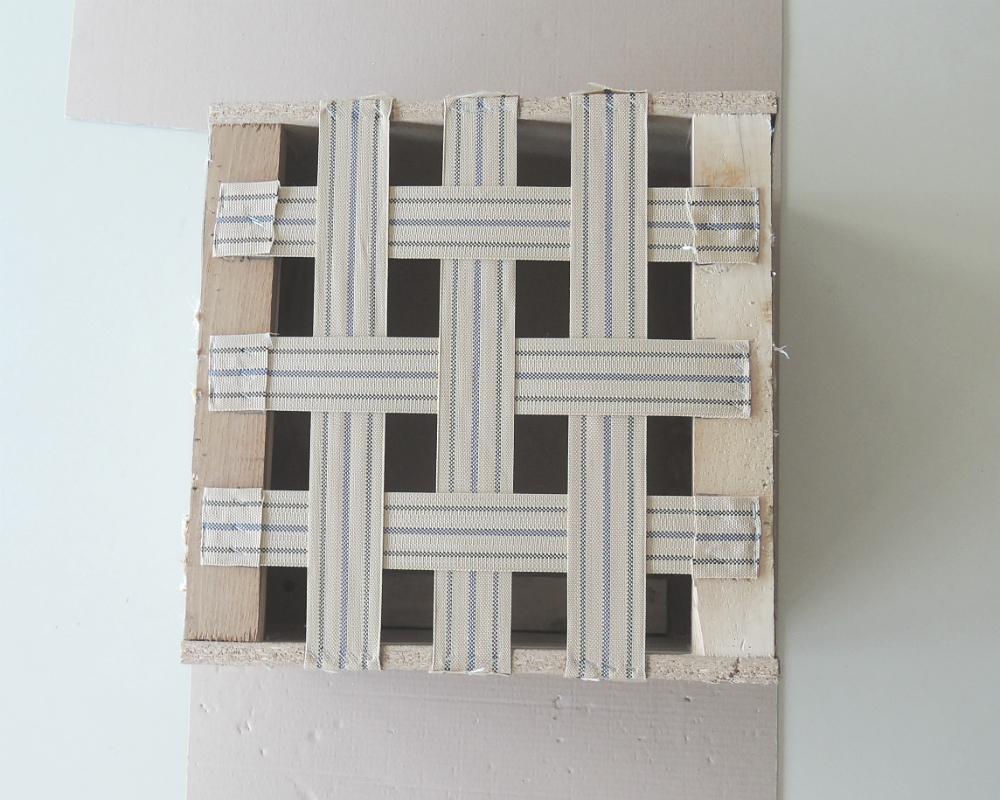
When the frame was nice and clean, we stretched the webbing over the top of the box and stapled it in to place. Over the webbing came on the burlap.

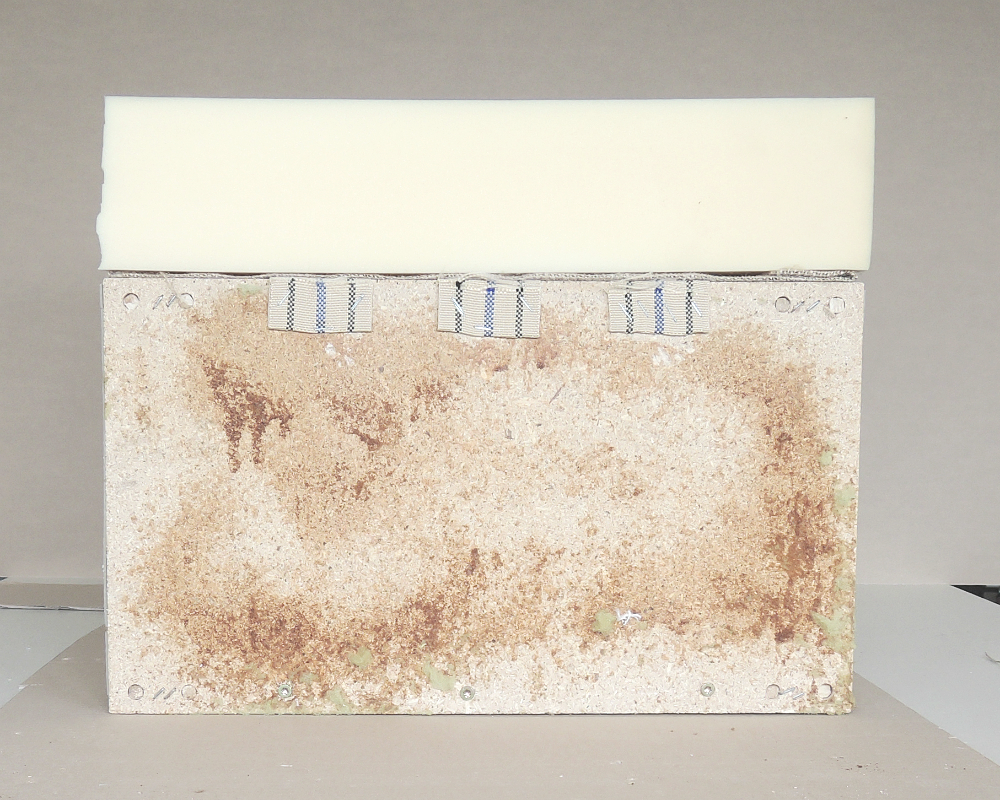
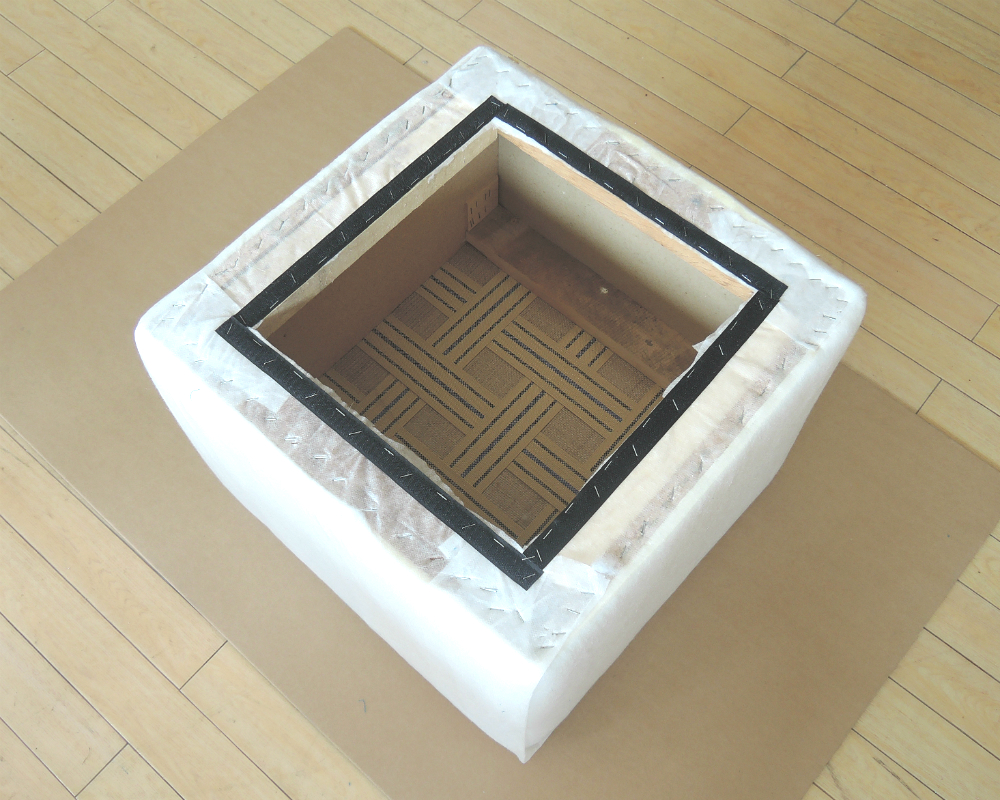
Over the burlap we stapled on a 10 cm thick piece of foam. Next, we stapled and glued a 1 cm thick piece of foam around the whole box. The foam even went over where the top 10 cm foam was for a nicer transition.
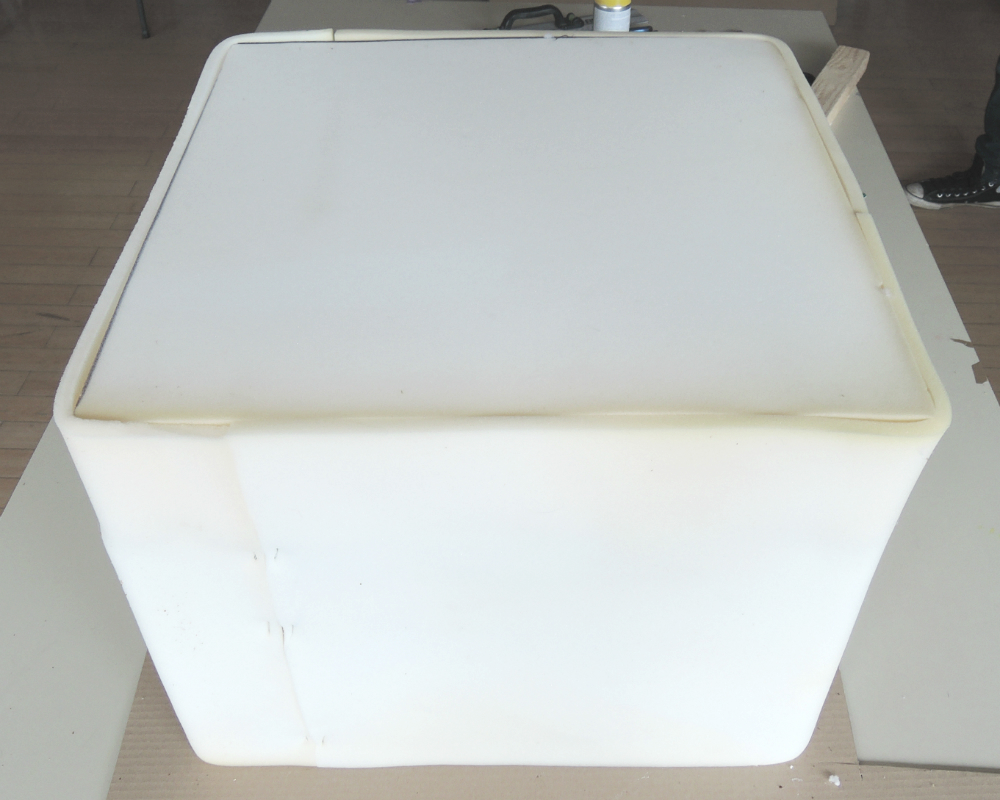
For an even nicer finish we covered the whole box in dacron. We glued it with a spray adhesive onto the foam. To make the footstool a little nicer for your hiney, we did three layers of the dacron on top.
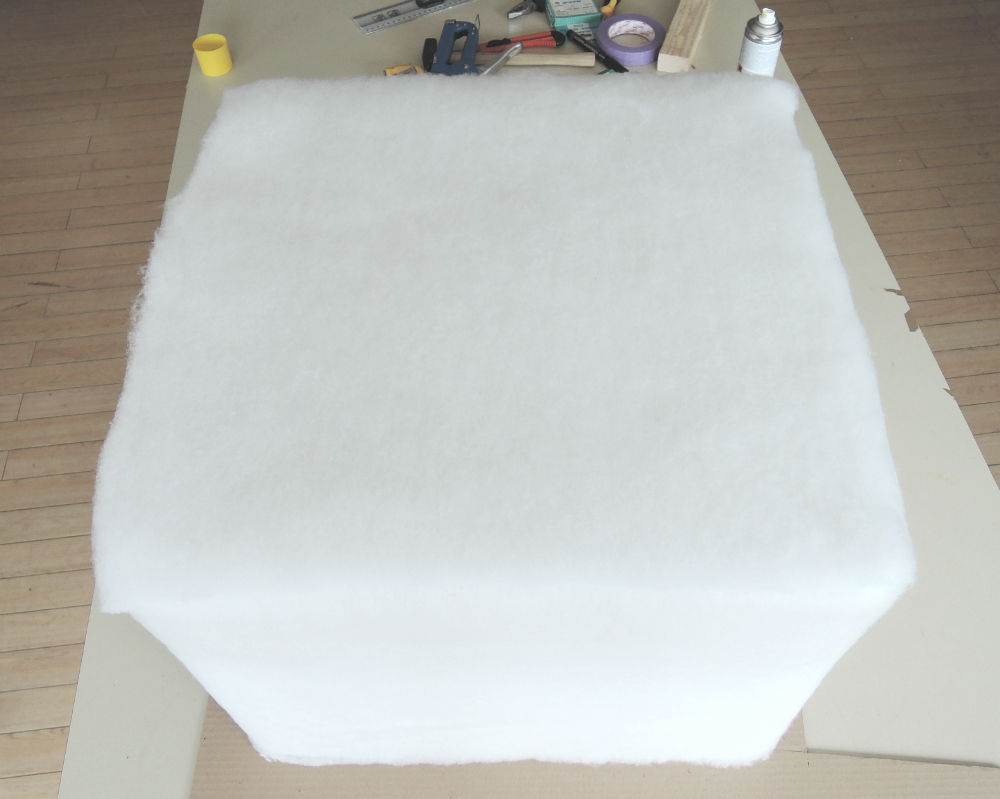
The last part was to wrap the whole box in a breathable piece of fabric. Unfortunately I don’t know what is it called. Pillow inserts are normally covered in that same fabric. If you know what it is, let me know! 🙂 I buy big cheap pillow inserts and use the stuffing that is inside for other projects like mr. rhino and am left with the empty pillow insert. I usually save them and recycle them like I did now.
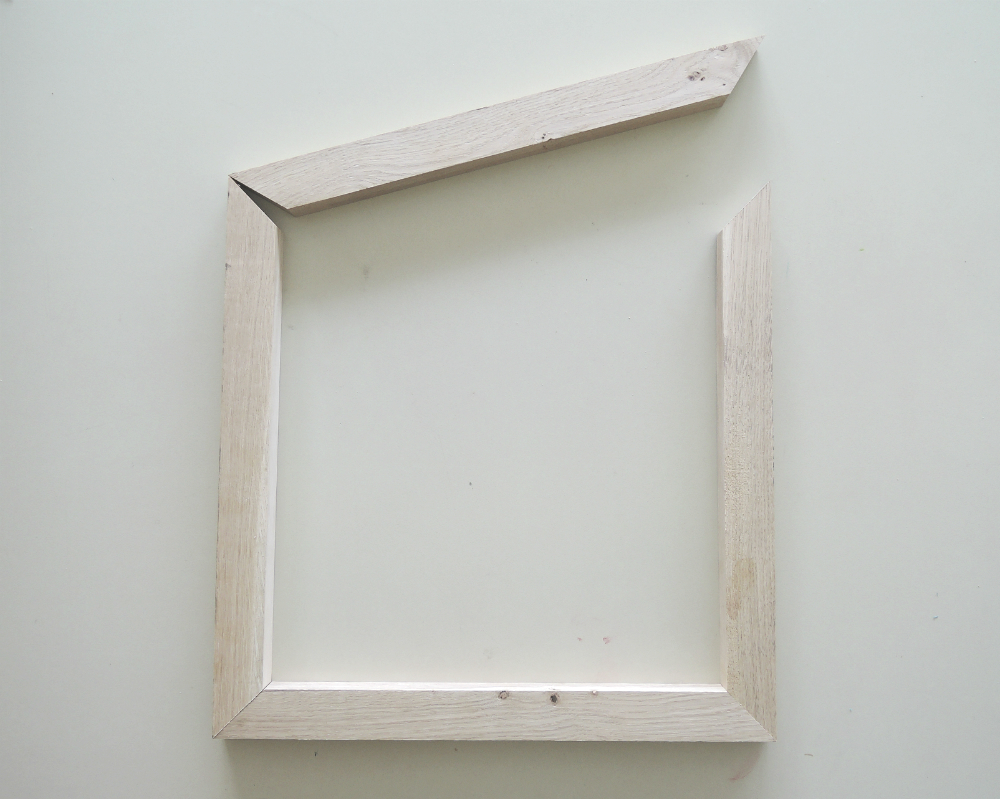
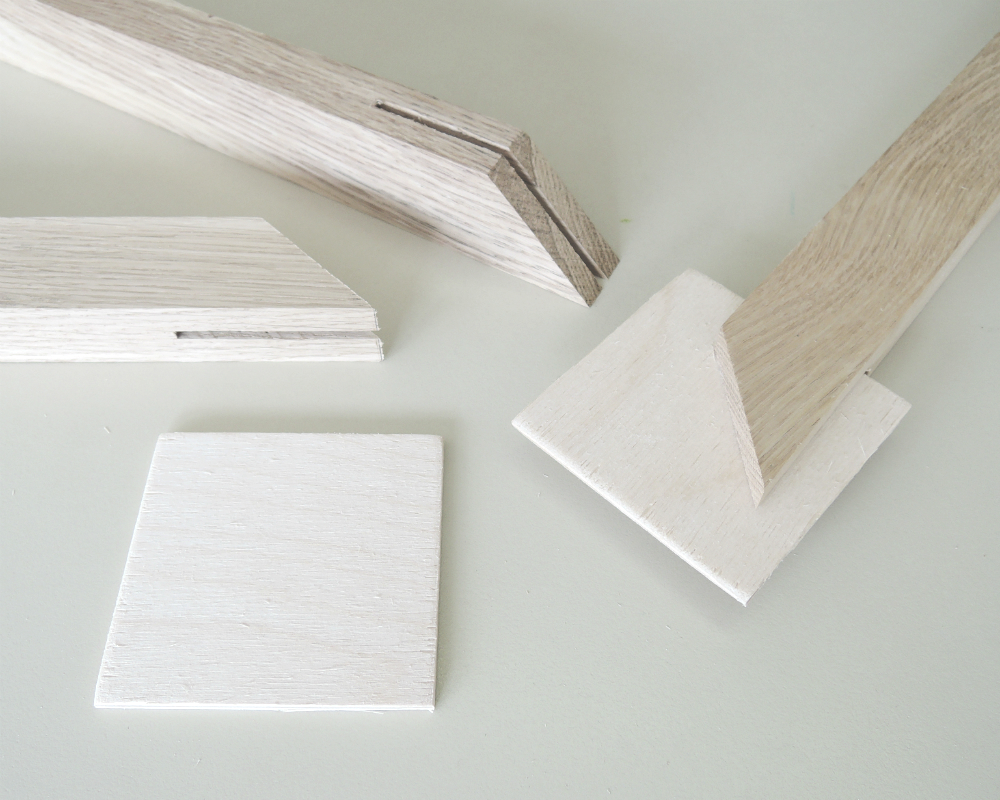
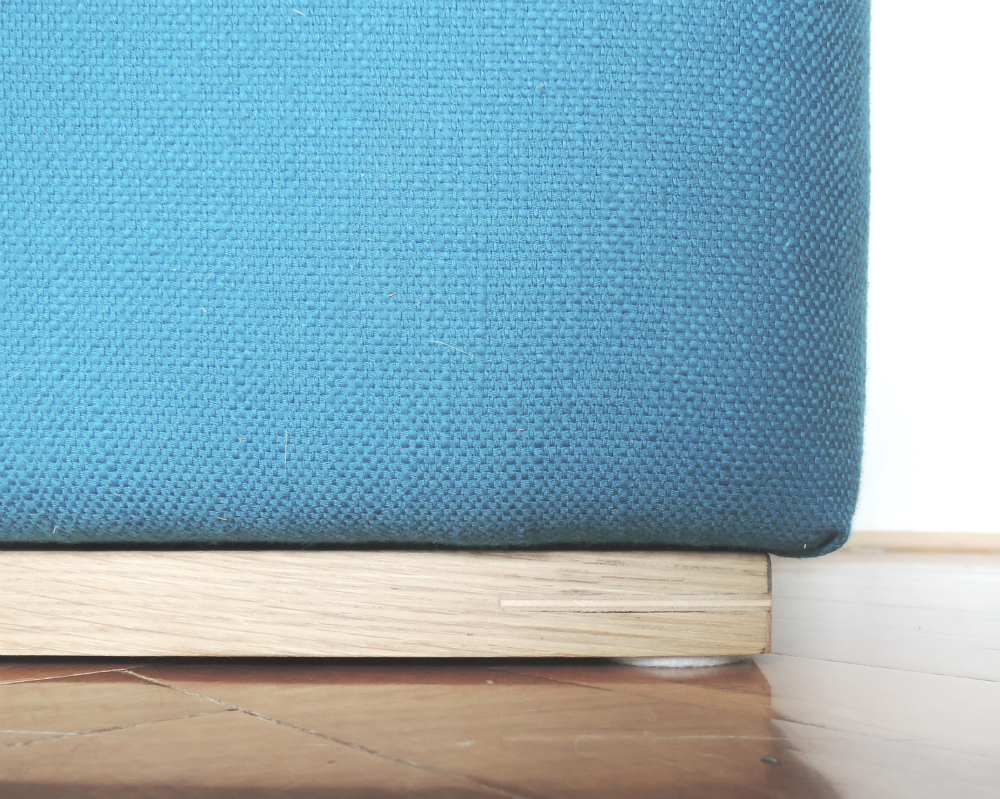
While I was sewing the covers, Evgen did the base for the footstool. He could just glue or screwed together four pieces of wood, but he wanted to try something new and to make the base a little more interesting.
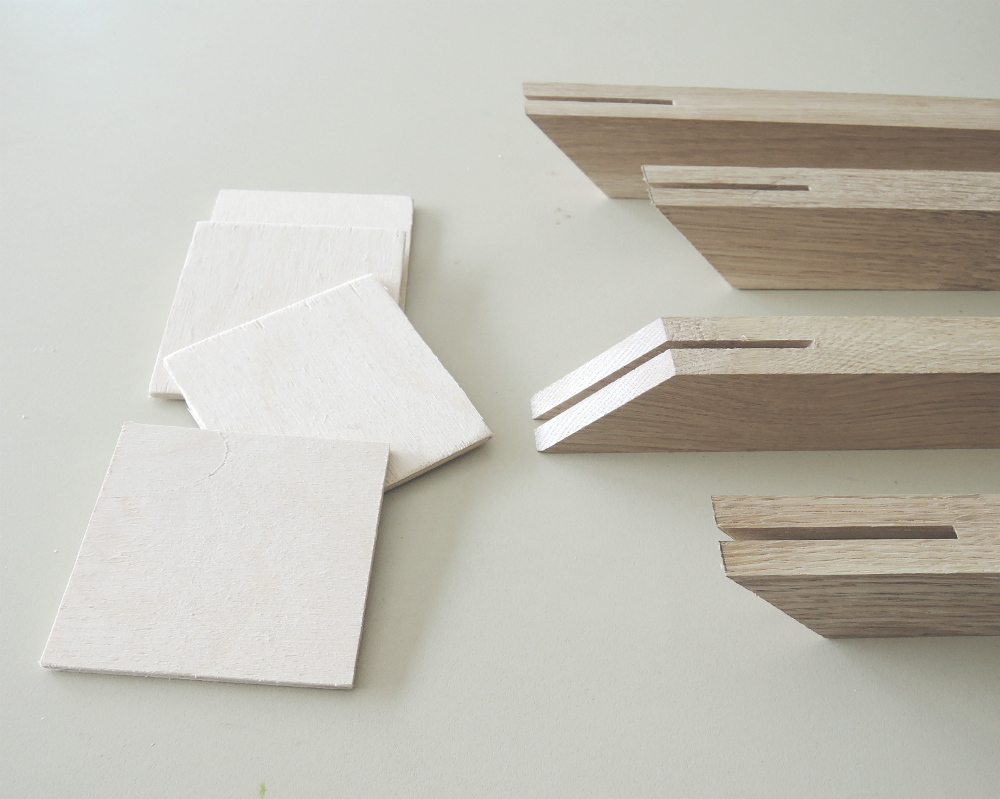
So, he cut four pieces of oak 44 cm long, 3 cm wide and 2 cm high. At the ends he cut them in an angle of 45°. There, he cut in each of the ends a groove (3 mm wide) with his table saw. Then he cut 4 square pieces (8 x 8 cm) of triple layer plywood and inserted them into two of the grooves at the end of the planks.
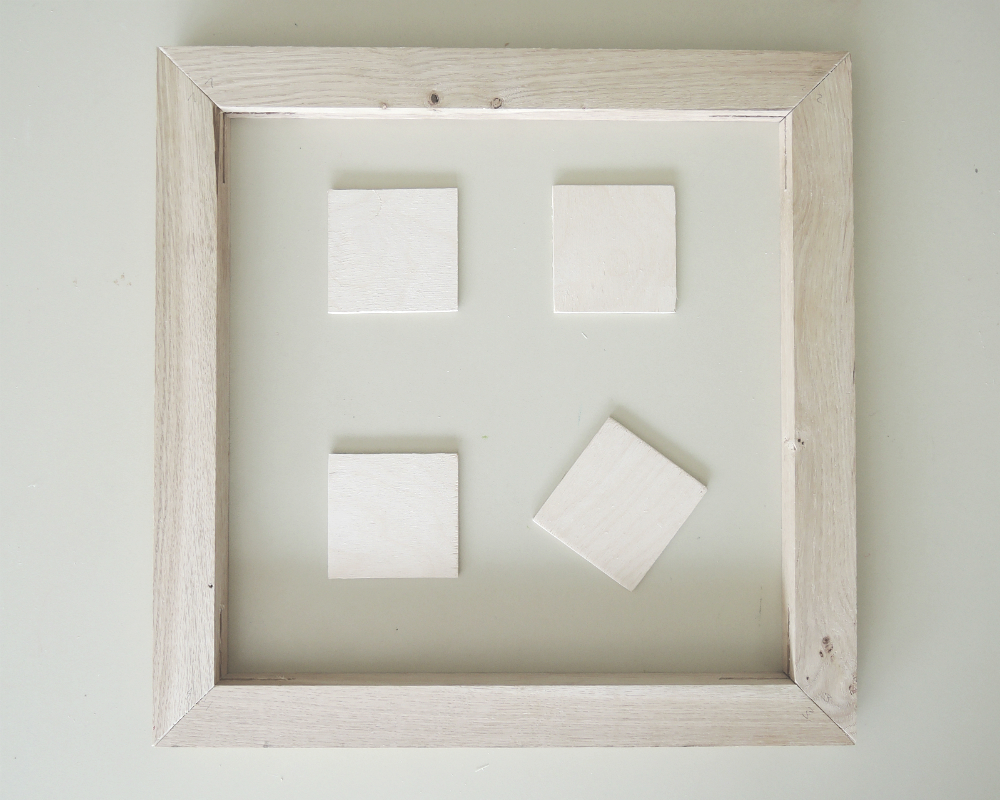
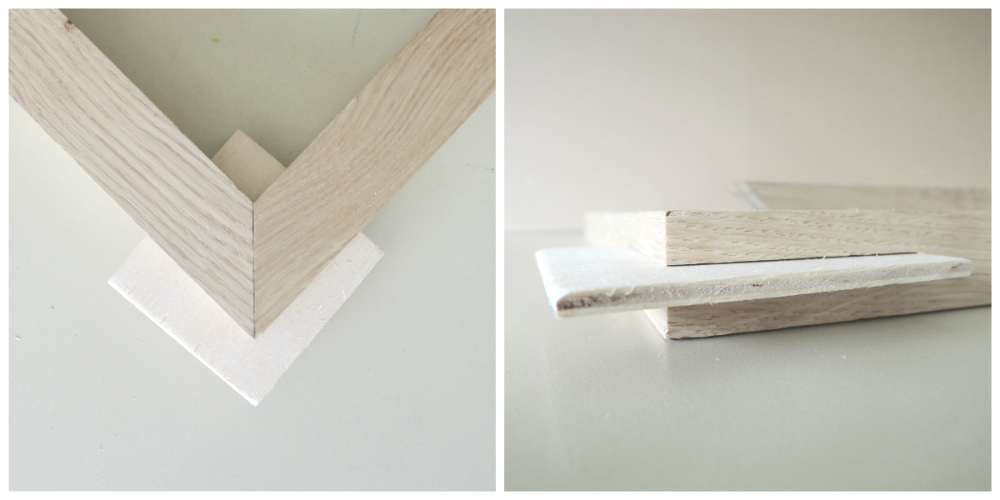
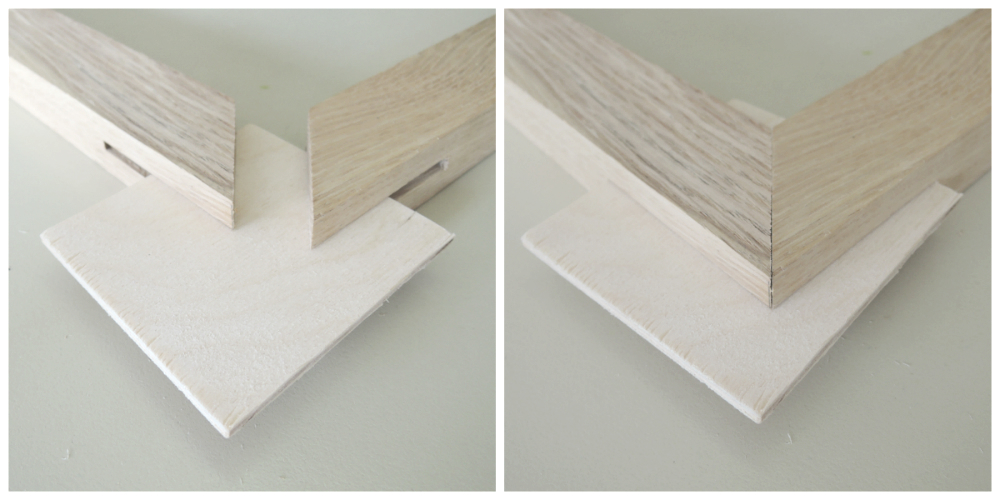
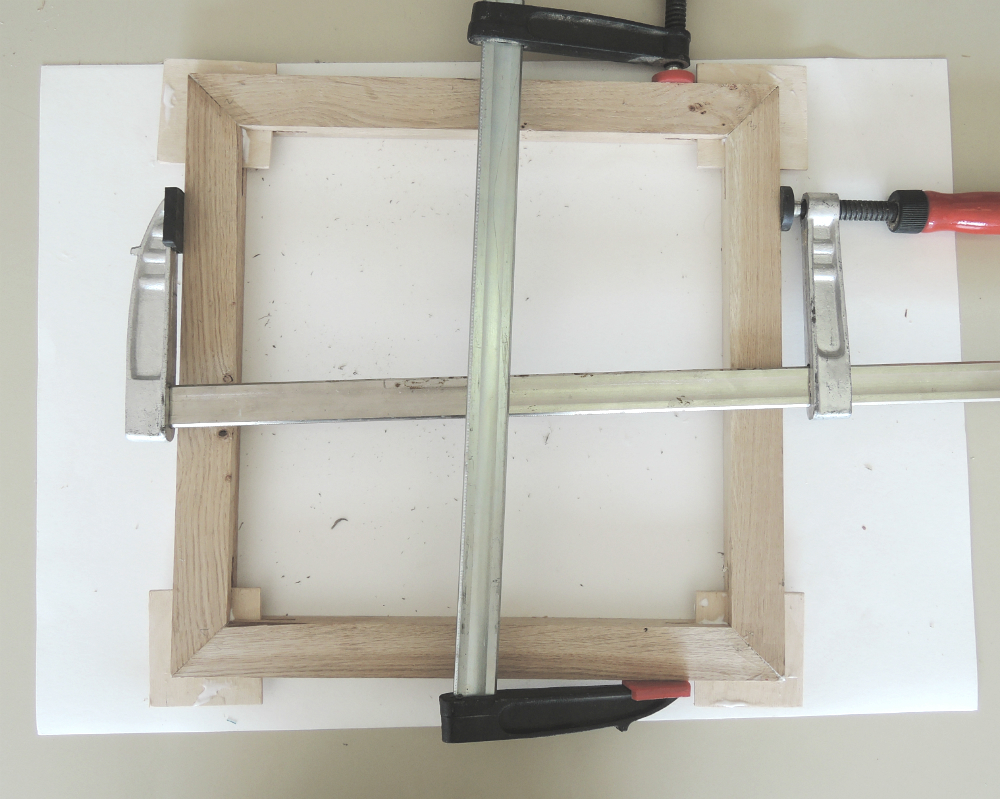
When he was happy with how it looked, he glued them together and left them to dry over night. The next day, he cut off the remaining plywood and sanded the whole thing. Lastly he applied a couple of coats of oil.

For the covers I just sew a simple box, with one top piece and two for the sides. The cover must be tight, even a little too tight, because the fabric will definitely stretch over time. And it will also shrink a little while in the wash. But of course you should wash your fabric before sewing. First I stitched the pieces together, then topstitched and lastly hemmed them together.
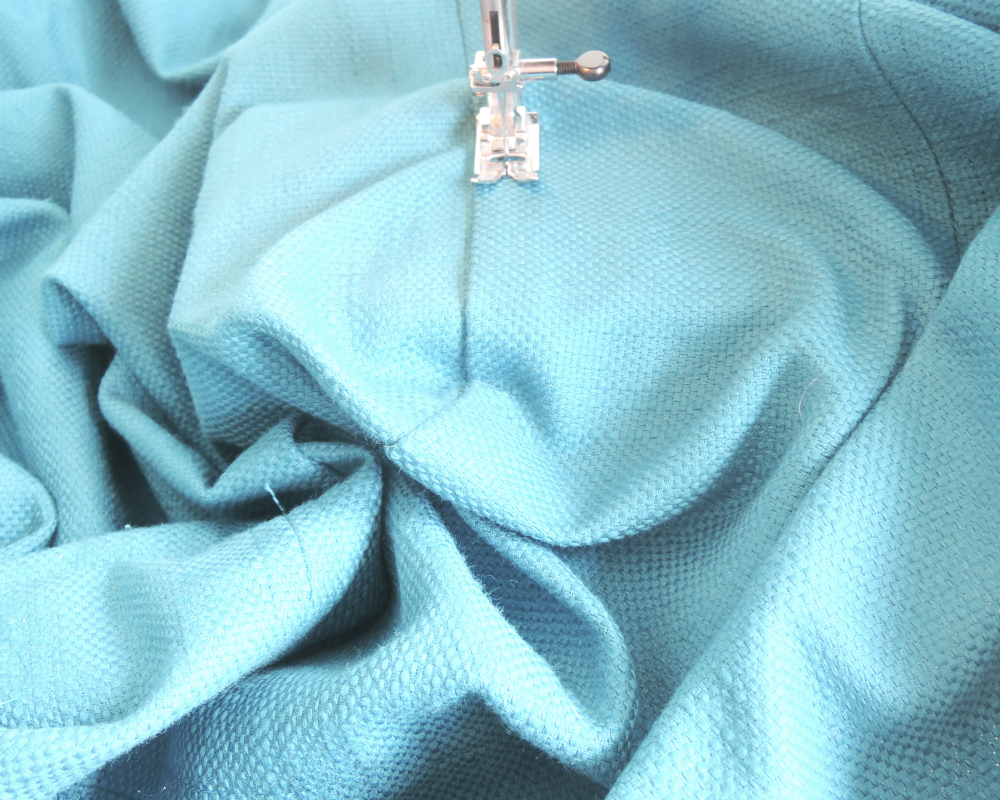
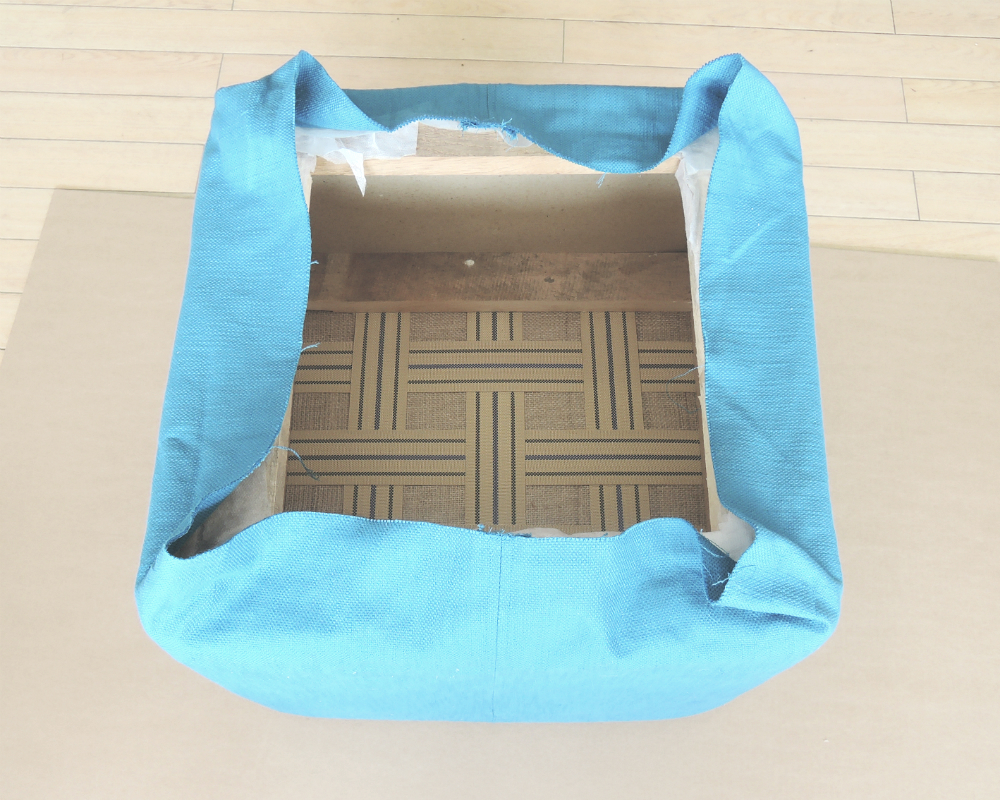
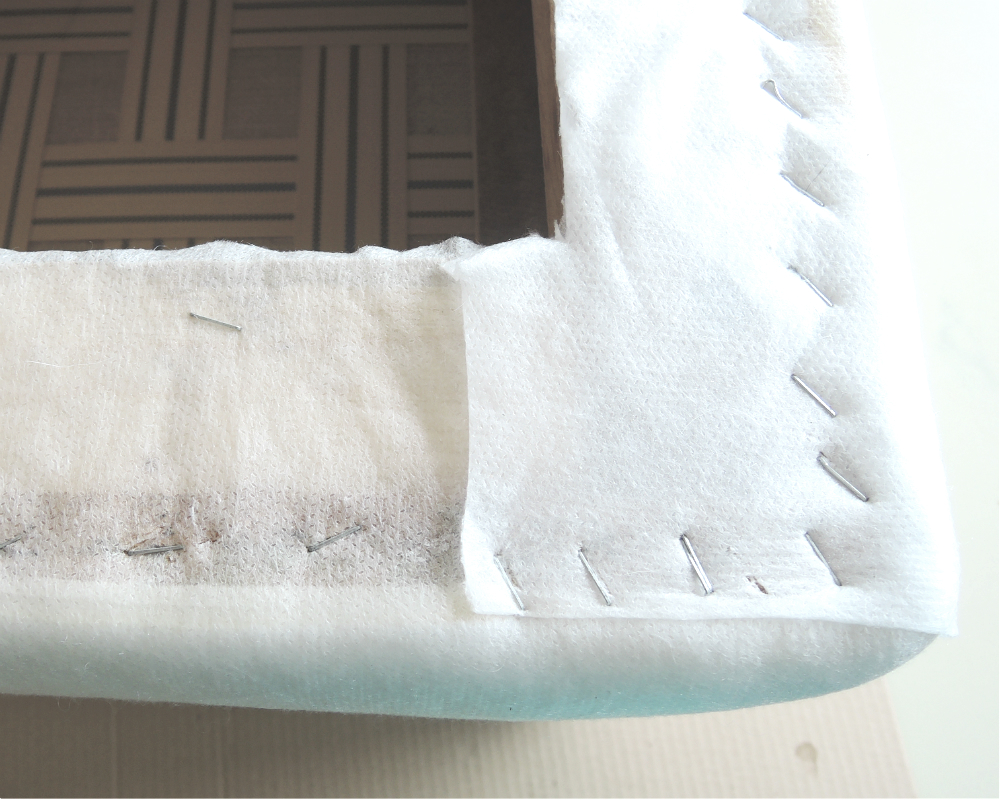
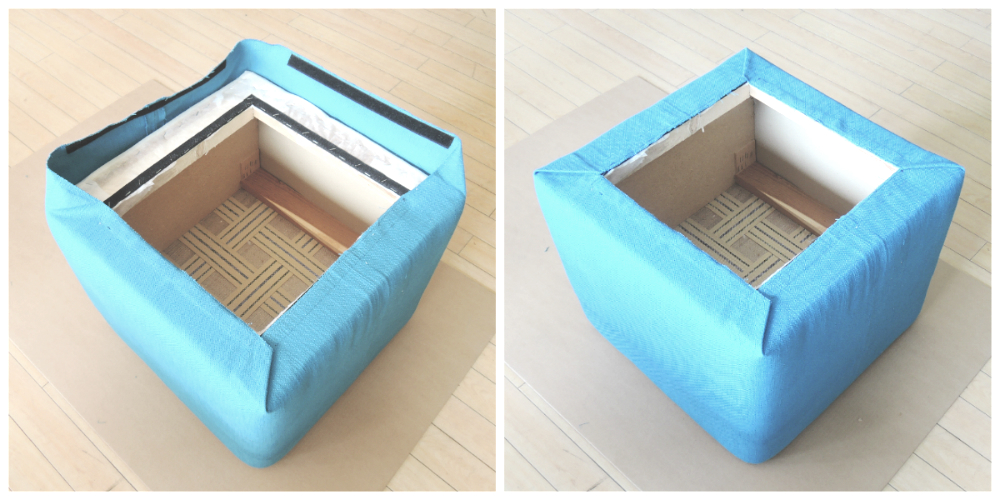
When I was happy with the fit, I stitched on the velcro tape on the bottom of the covers. I did four pieces of velcro for four sides. For a nice corner I folded the fabric in 45° or like an envelope. While I was sewing the velcro tape on the covers, Evgen stapled the other part of the velcro onto the footstool.
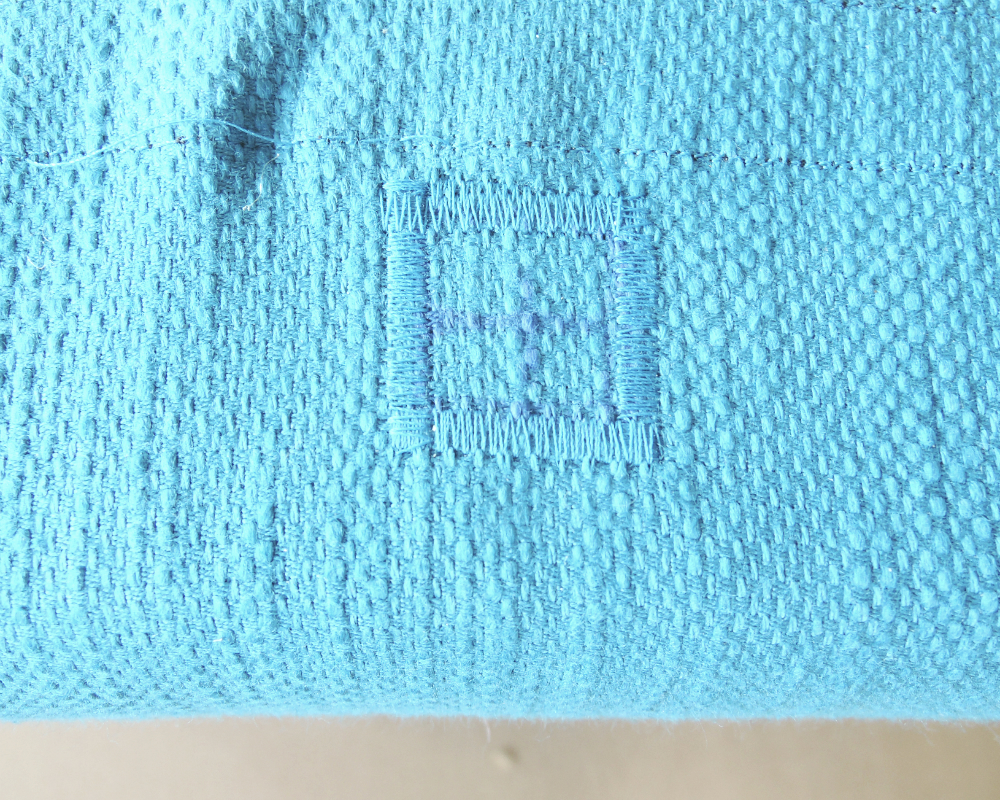
The wooden base was attached to the footstool with two screws on the bottom. So I had to make two little holes in the fabric for the screws to go through. I zigzaged around them to prevent them from tearing.
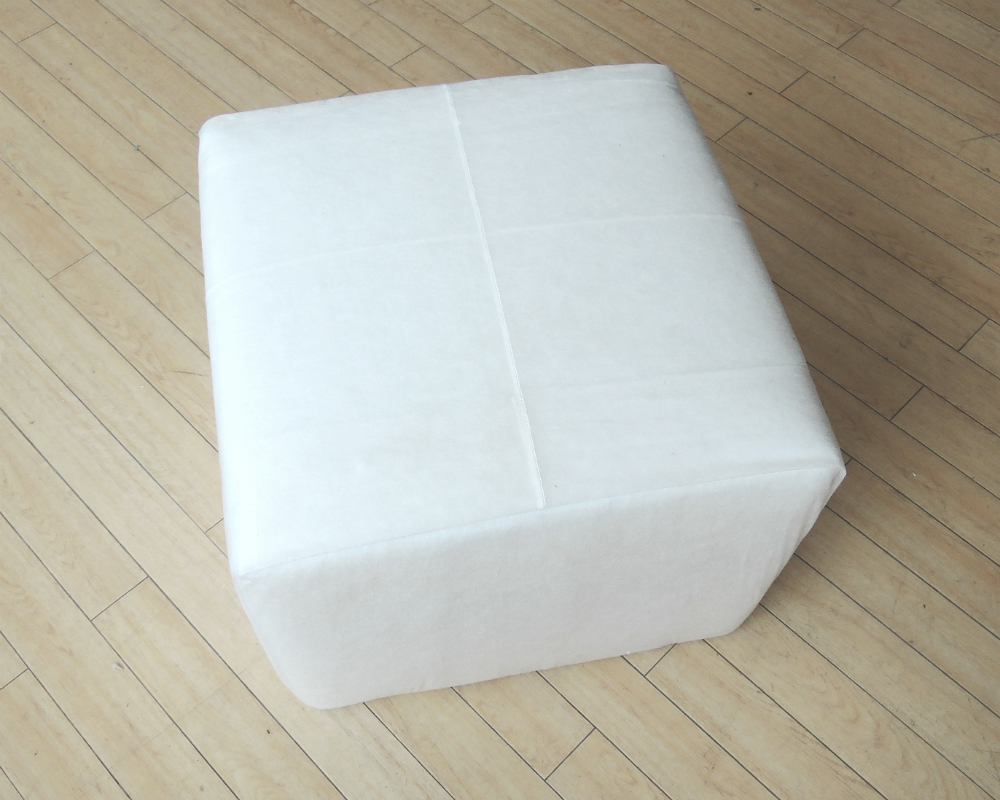
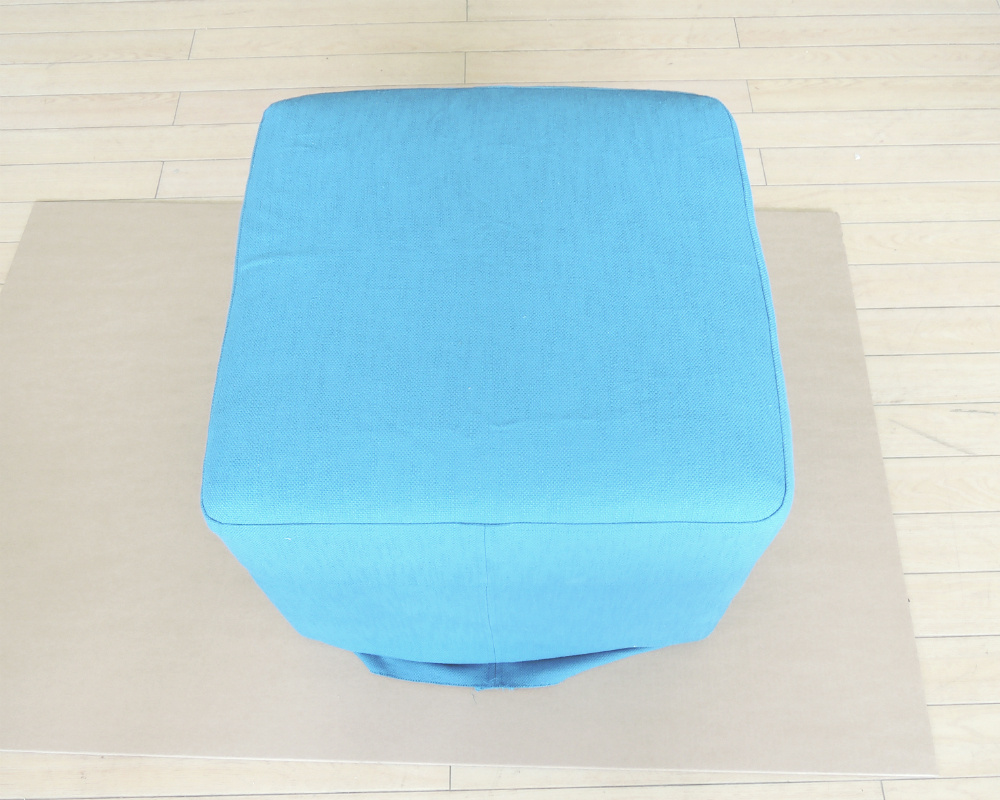
Them Evgen just attached the base to the box and TAA DAA! The footstool is finished!


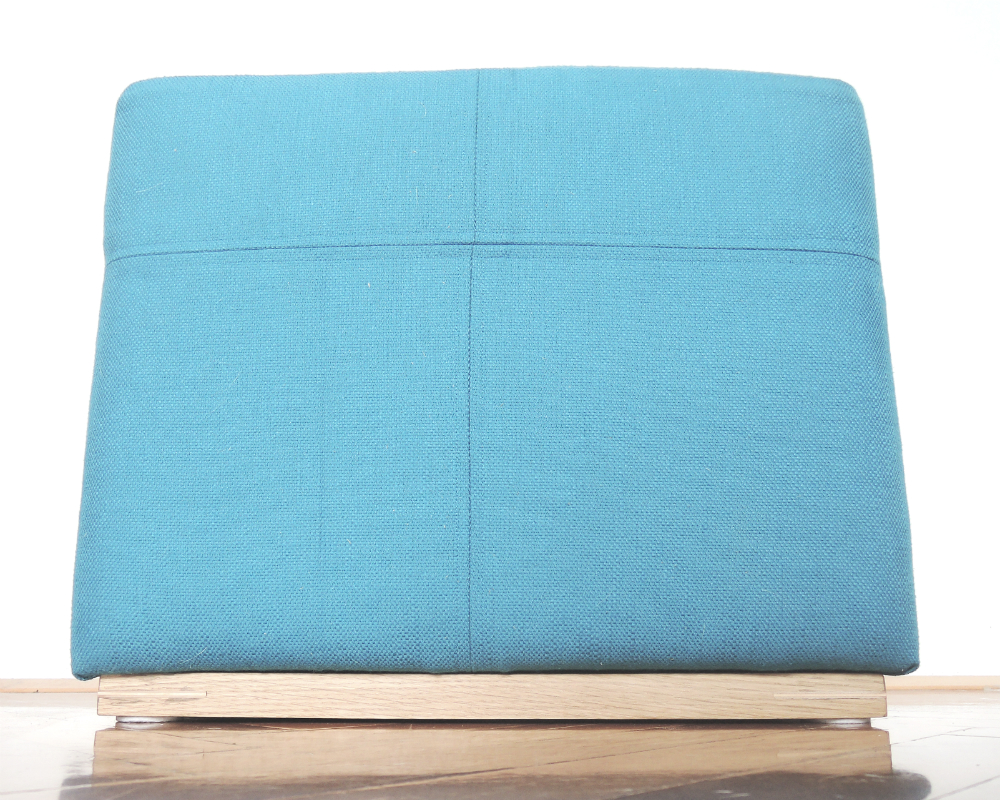

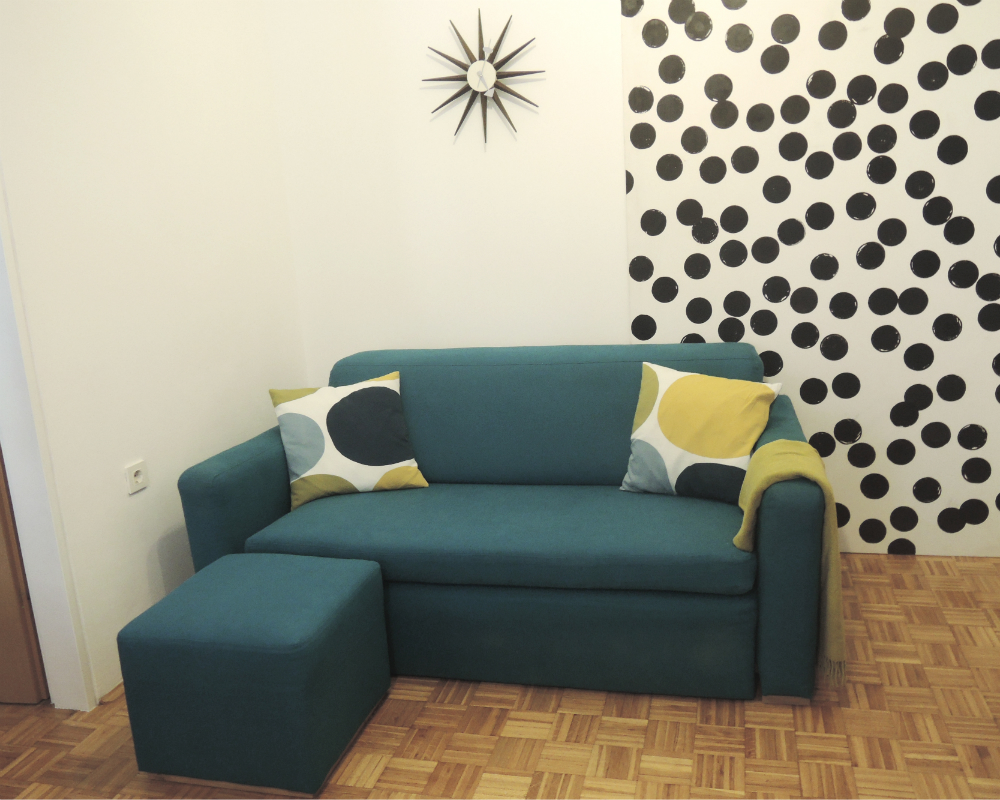
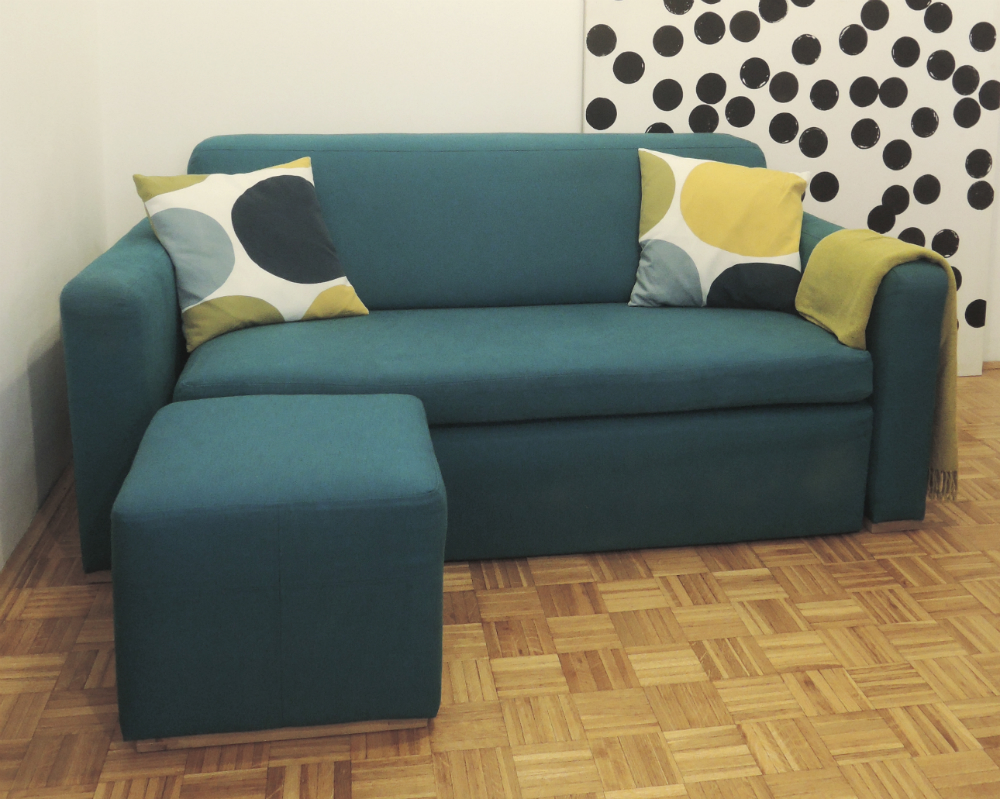
Here it is in its natural habitat and united with its sofa! 🙂