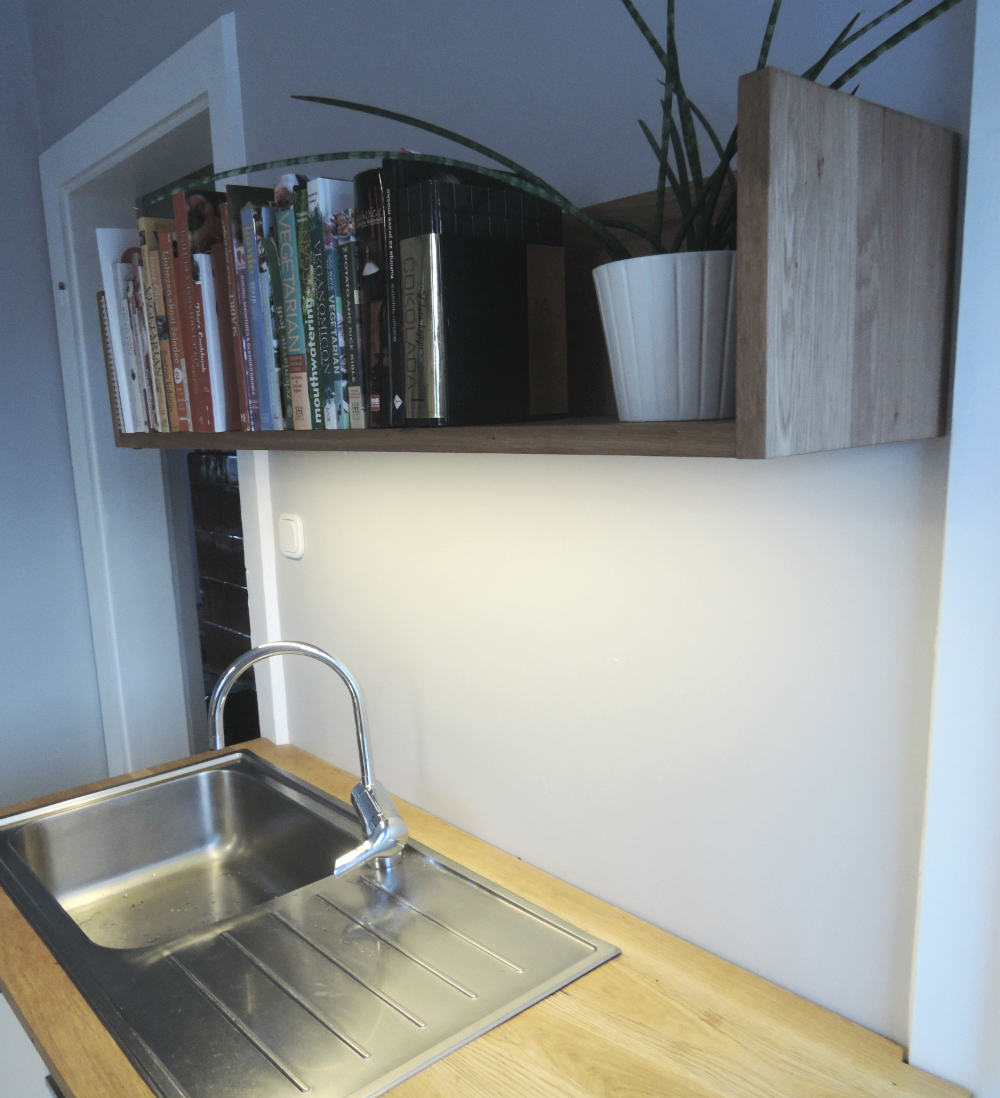
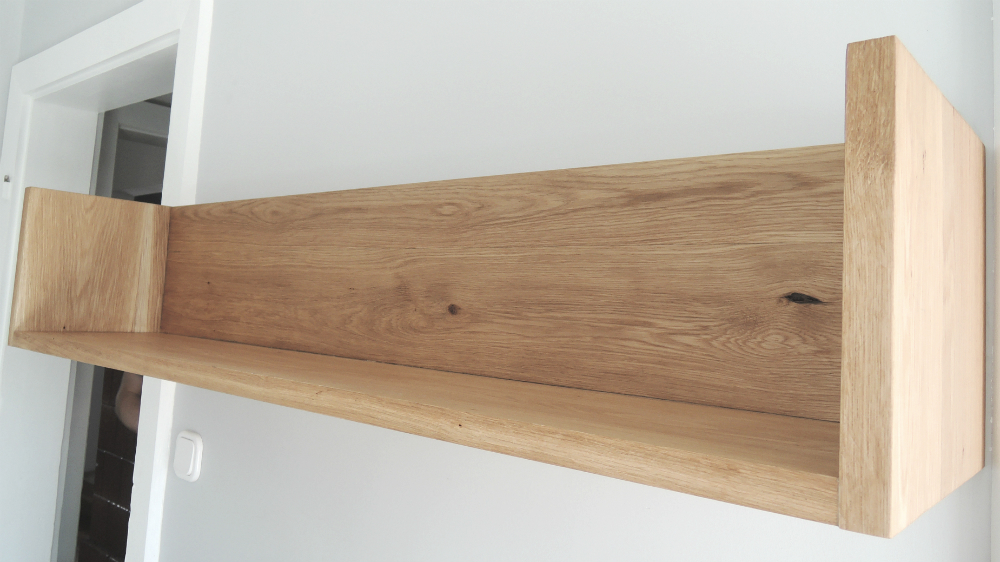
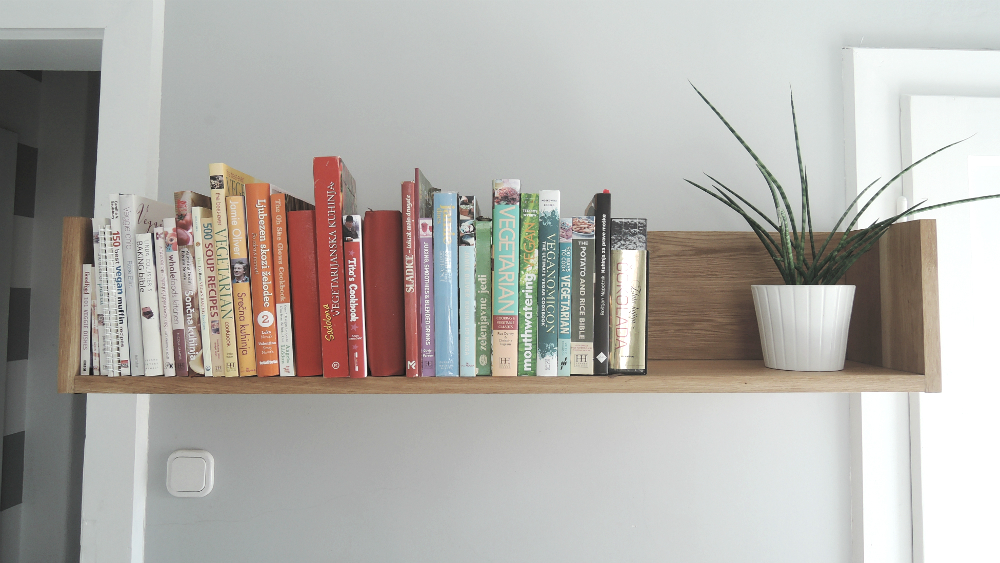
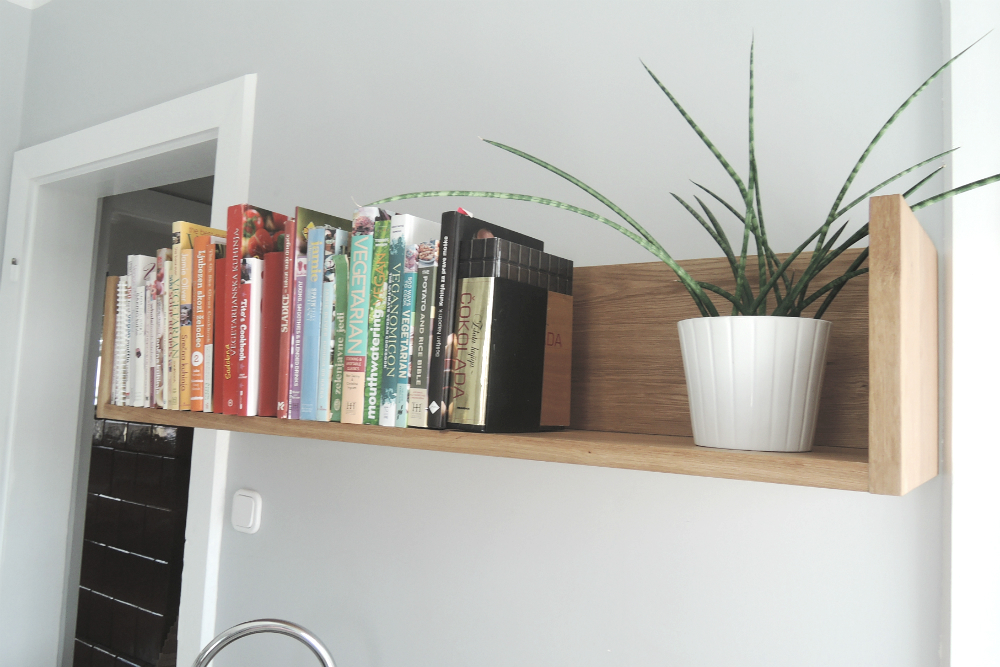
The shelf is finished! The shelf is finished! The shelf is finished! I finally have a place to put my growing collection of cooking books. And there is still room left for a couple more books.
 We wanted a simple, clean design with lightning underneath the shelf. Our basic requirements were:
- it has to be made out of oak to match the rest of the kitchen’s wood,
- it should have supporting sides on both ends. There will be lots of books on it,
- it has to be sturdy and strong enough to carry a lot of weight,
- we wanted to try out a motion sensor switch for the LED light,
- and not even one of the screws should be visible.
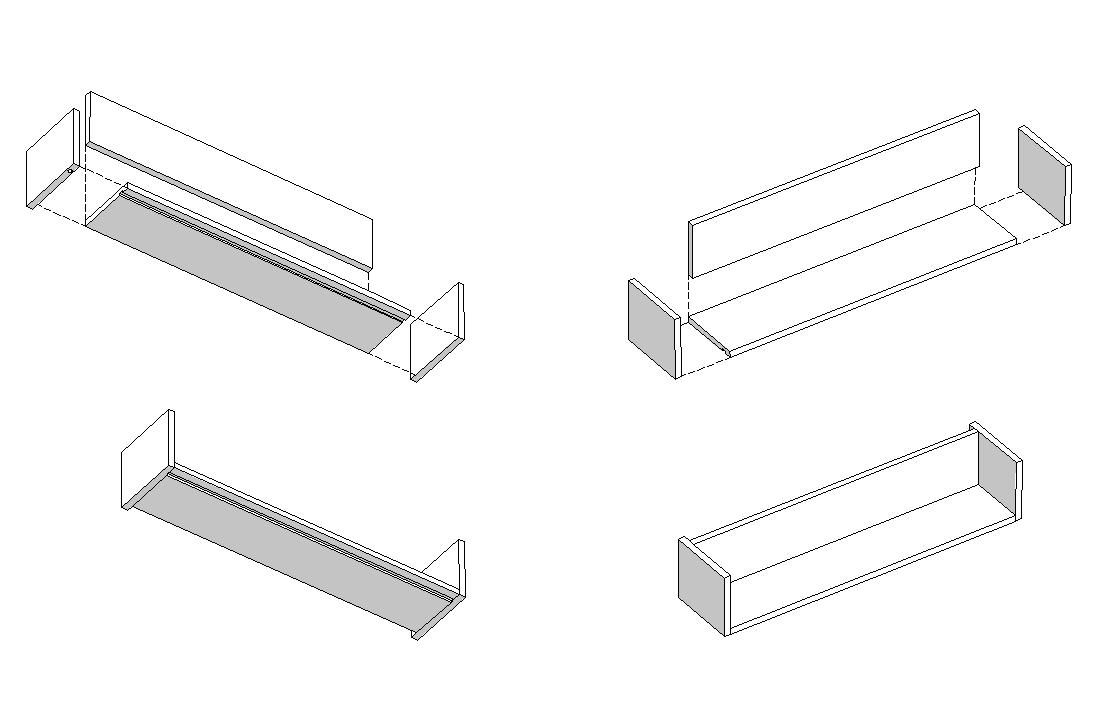
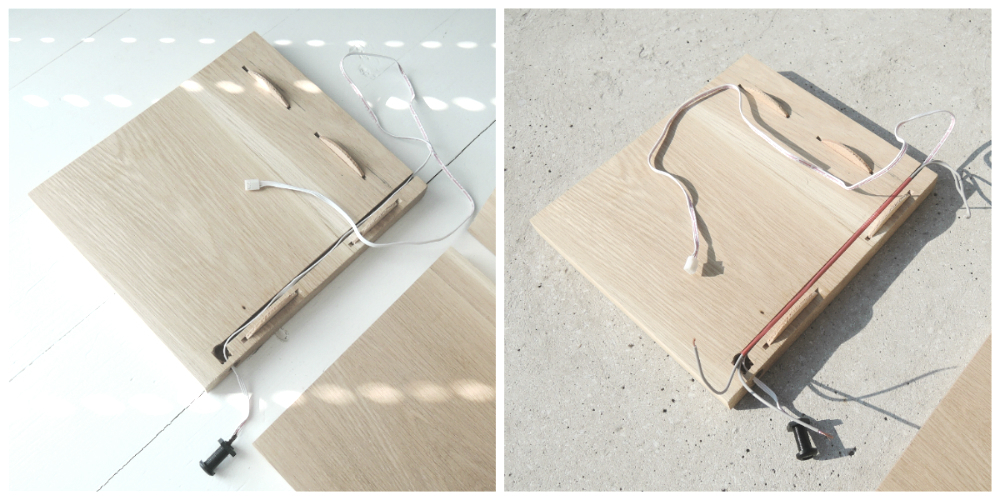
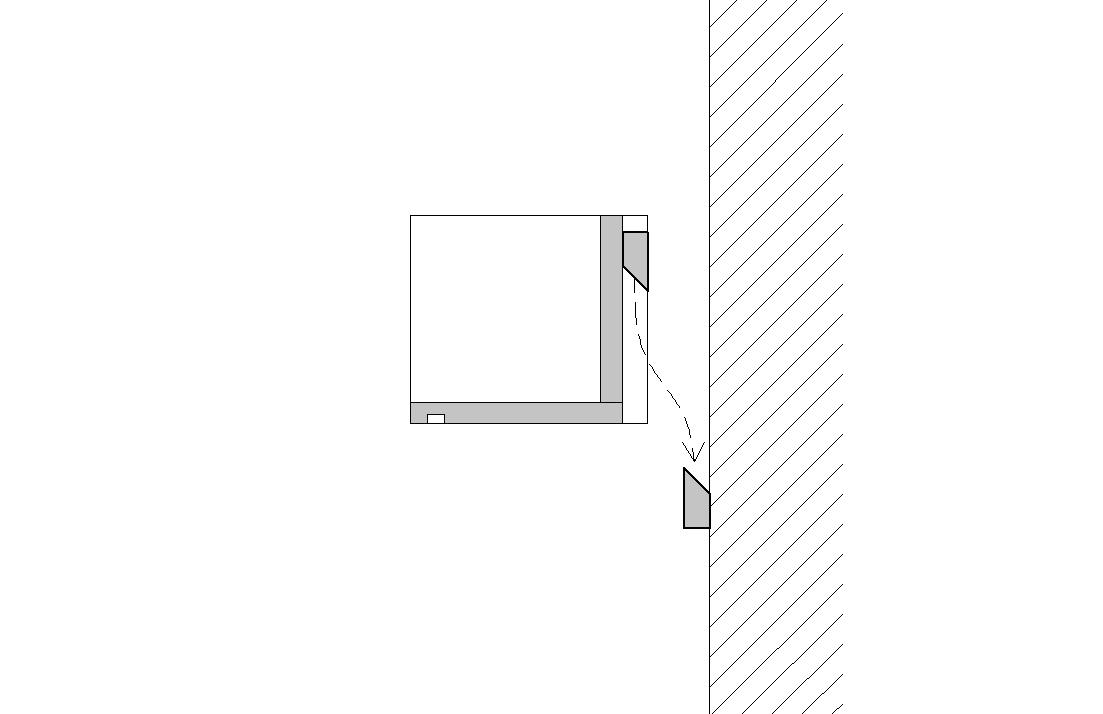
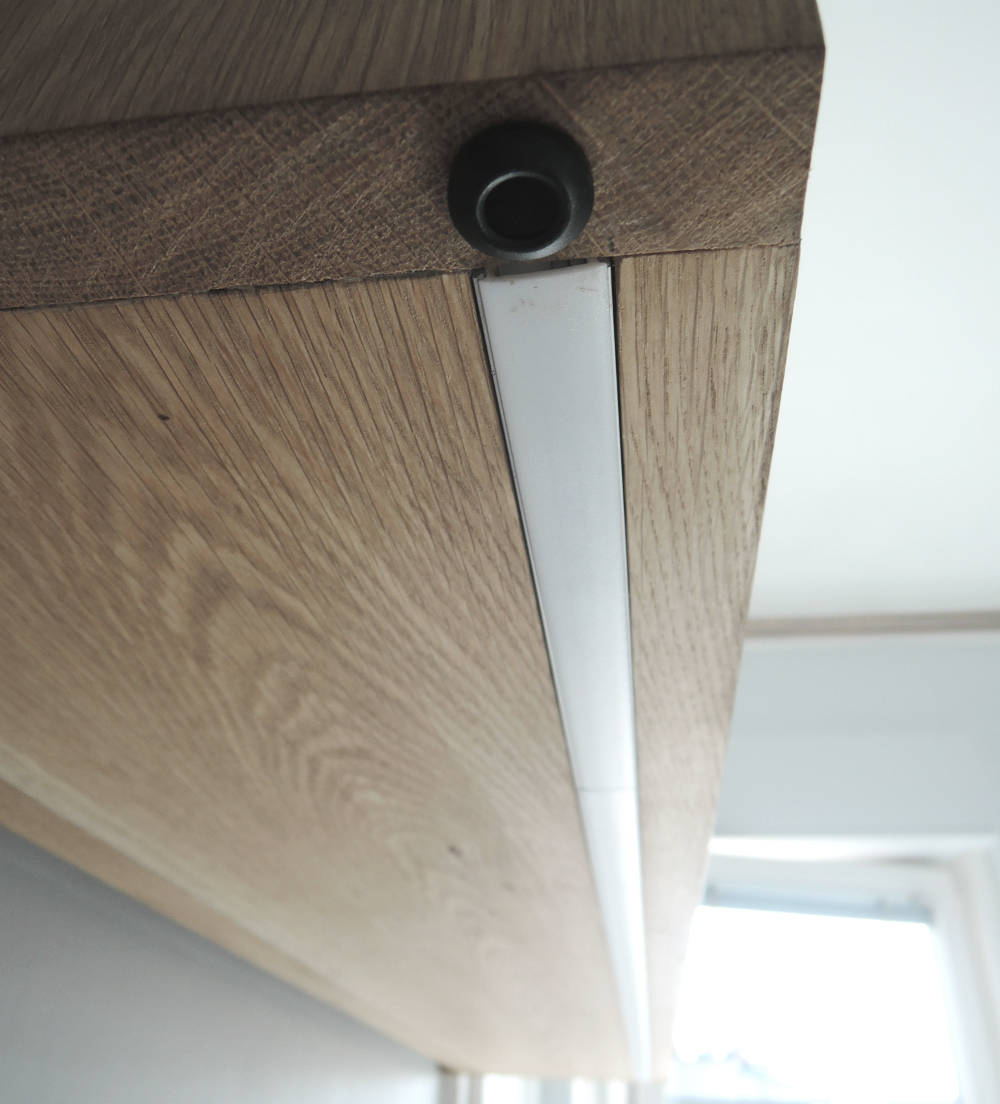
The design plan is shown below. On the left side is the view from underneath the shelf, where the LED light is installed. On the right is the view from the top. The back plank is placed three centimetres (1.2 inch) from the edge of the side square planks to hide all the wiring needed. The wiring runs between the back side of the shelf and the wall.
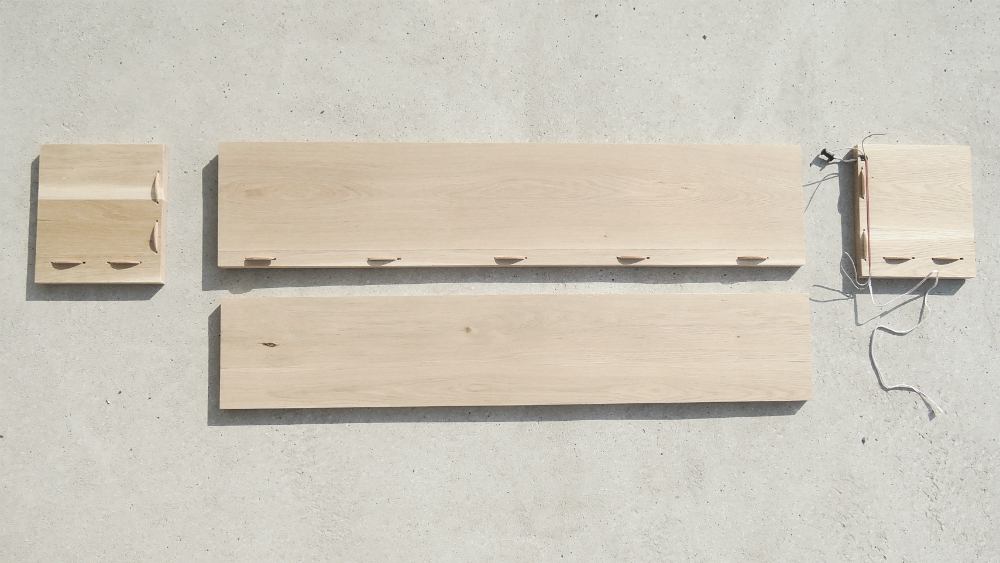
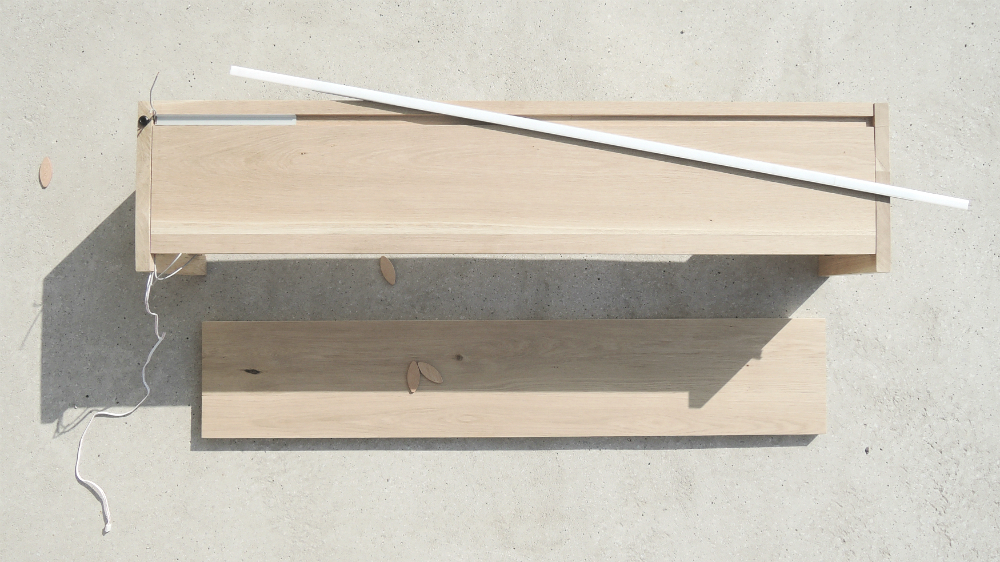
Now let’s see how we really made it! We needed two big rectangle planks (118 cm x 26 cm x 2.5 cm, 46.5 in x 10.2 in x 1 in) and two square ones (28 cm x 28 cm x 2.5 cm, 11 in x 11 in x 1 in). Evgen didn’t have on hand planks that were wide enough, so he first chose a couple of ones that he liked and glued them together. When they were dry, he cut them to the right measurements, planed and sanded them.
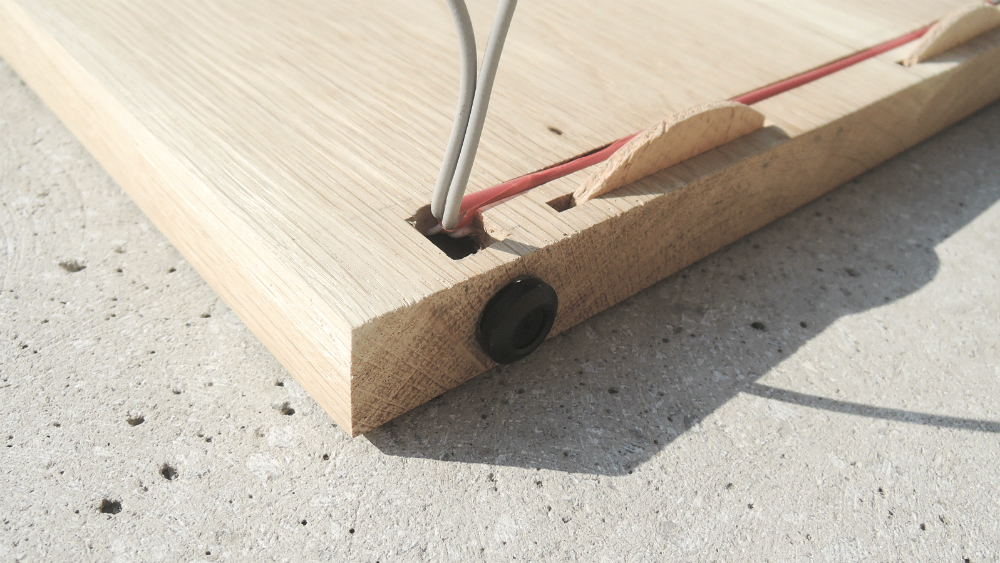
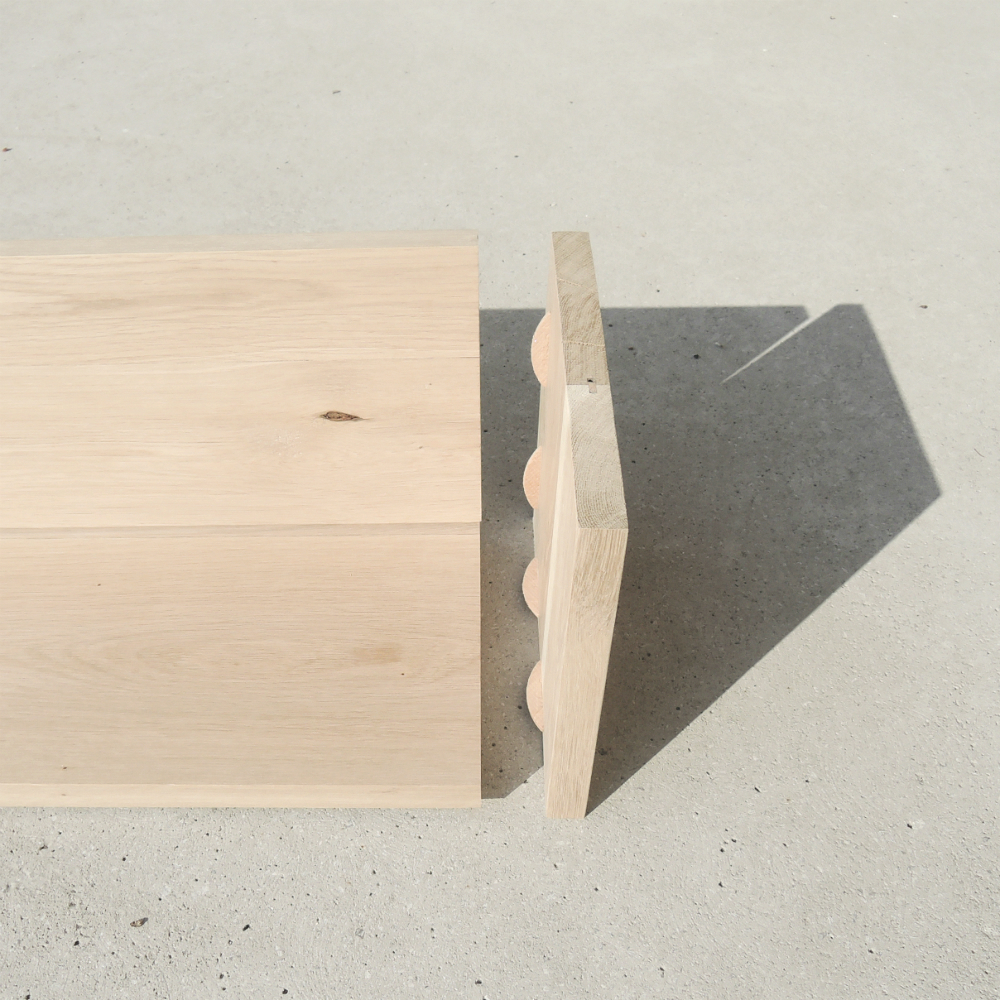
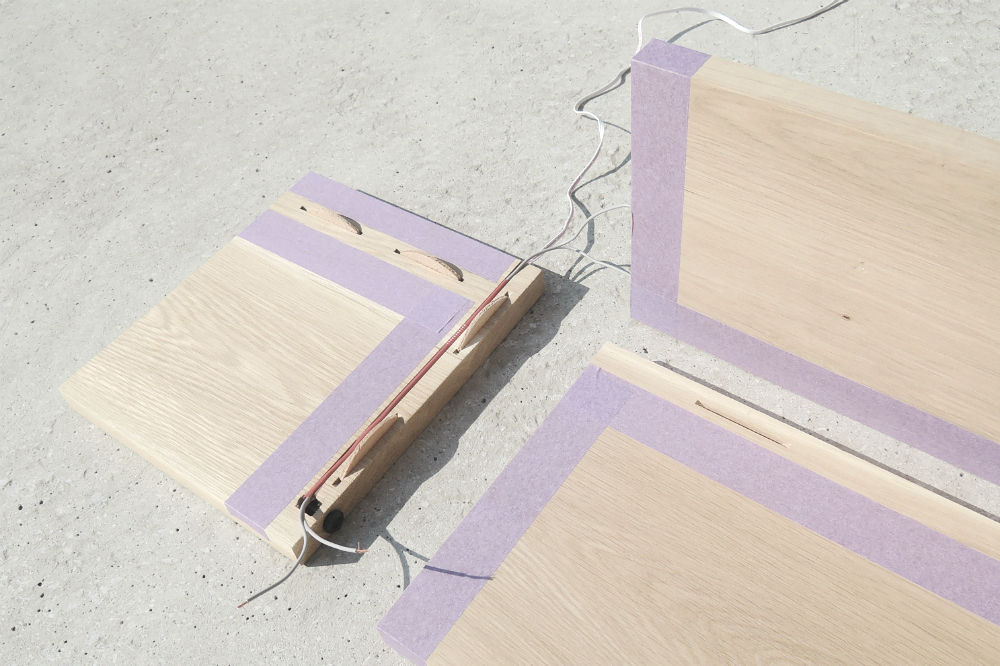
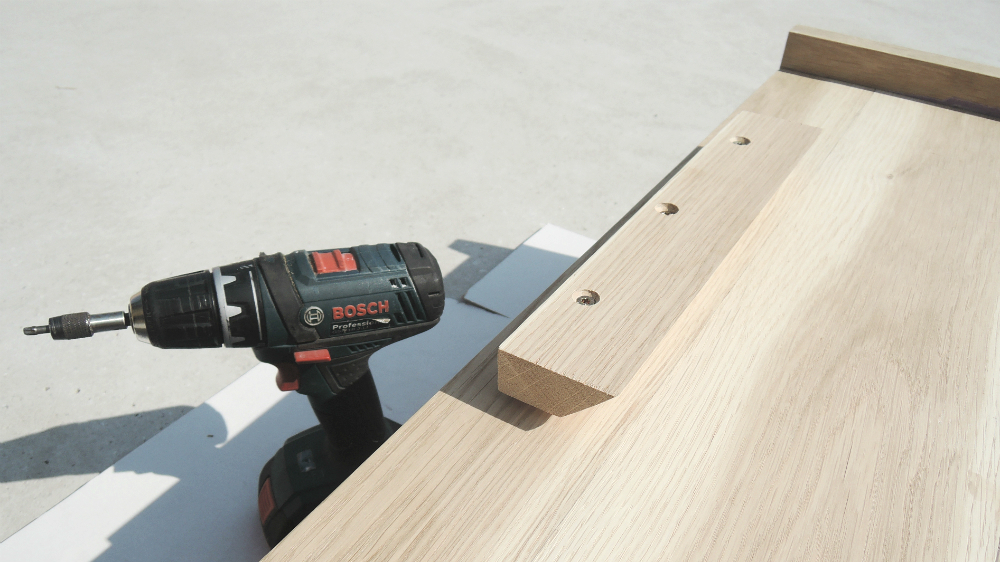
Then he cut out the slits, where the biscuits will be inserted. They help hold the pieces together when they are glued. At that point, he also cut out, on one of the square pieces, a groove for the electrical wiring and a little hole where the motion sensor will be. He had to do this beforehand, because at that spot the side square piece will be glued on the long rectangular plank and that way it will not be visible at the end. But, he didn’t want the electric wiring to be glued in the groove, so he inserted a basic plastic straw in it. Then he just inserted the wiring back to the groove.
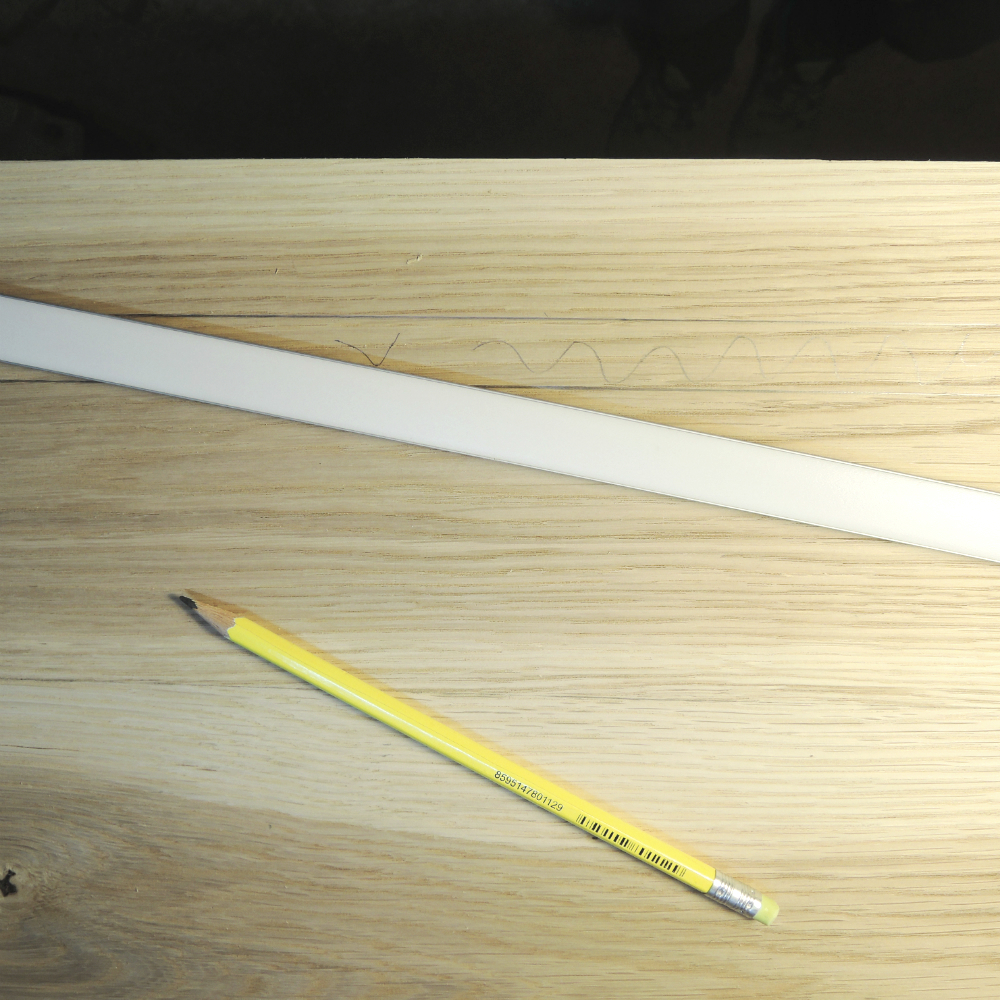
On the bottom rectangular plank he also cut out a groove for the aluminium bracket where the LED light will go.

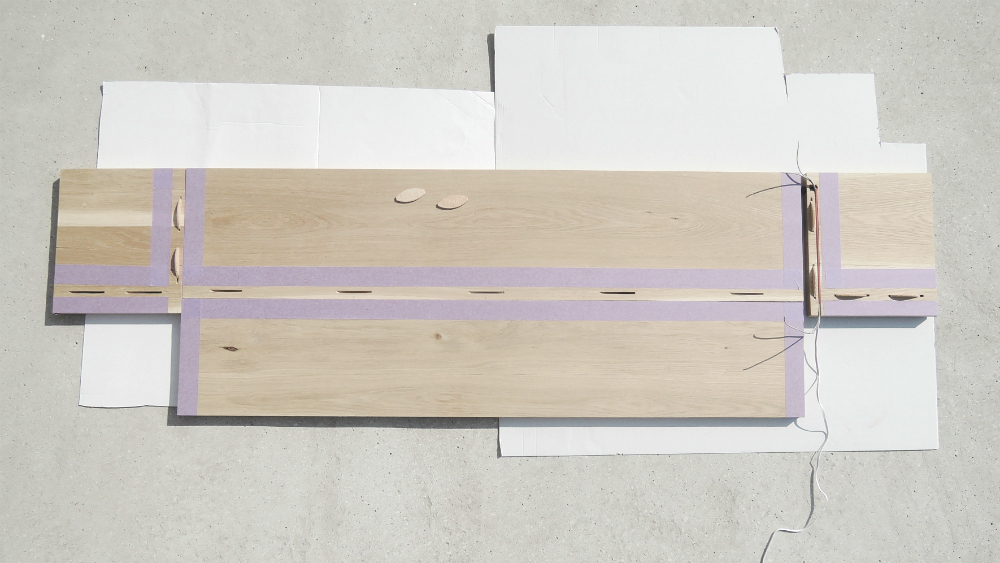
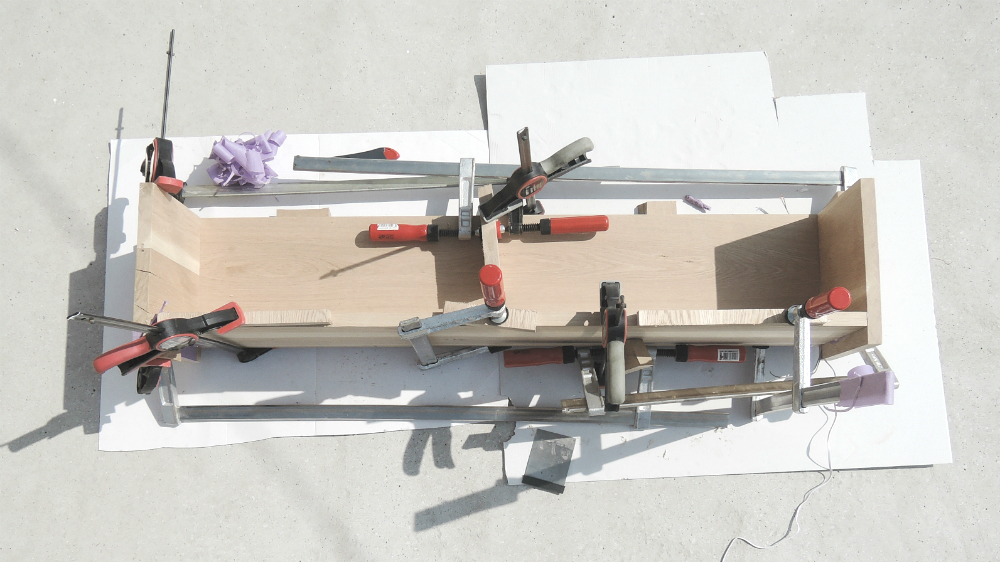
Now came the time for gluing all the pieces together. But before he did that, he masked all the margins around the planks where the glue would go. That way the glue won’t spread out of the intended way. If you mask the plank before gluing, you get a cleaner line and don’t have to sand so much around the edges later on. When it was glued together, he attached a couple of clamps to hold everything in place. He left it that way overnight just to make sure that the glue was dry.
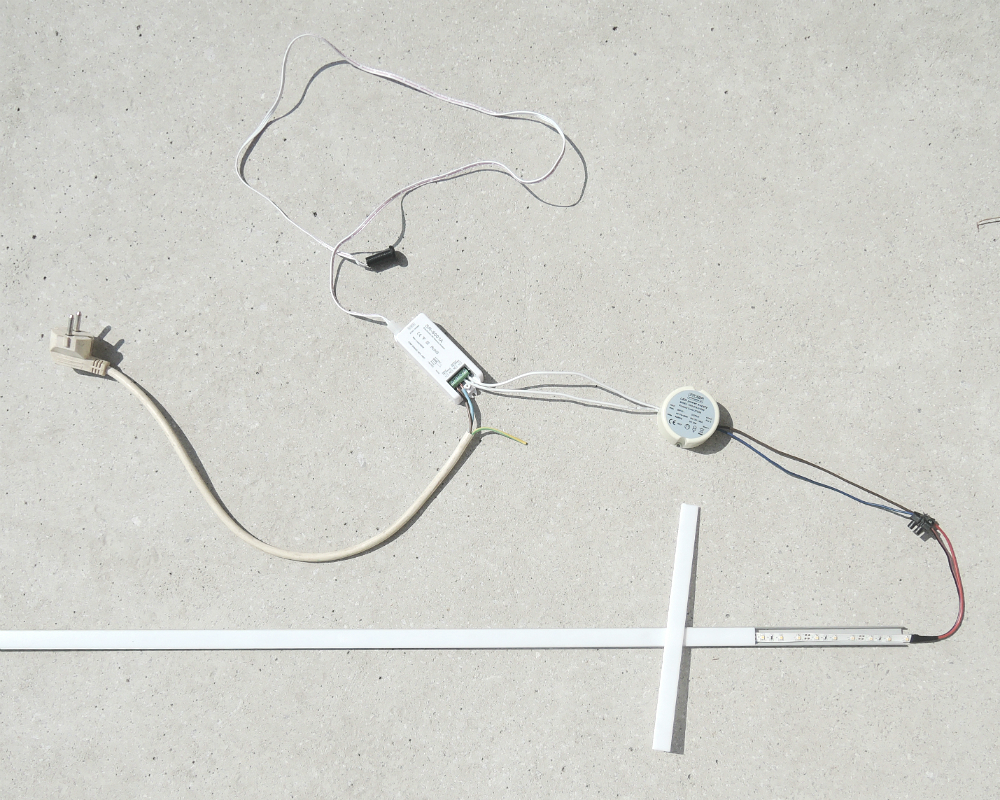
On the picture below you can see all the wiring that was needed for the LED light. Evgen bought all the pieces separately and assembled them by himself, but you can buy a premade kit with all the essentials needed. On the left is the main power supply that goes in the power grid, the rectangular piece is a switch on/off, above the on/off switch is the motion sensor (the little black thing), the round piece is a power supply for the LED and the long strip is the LED strip in the aluminium casing.
When the shelf was drying he prepared the wall where the shelf will be mounted on. For that, he drilled four holes in the wall and then inserted dowels for the screws. Next, he screwed on the wall two pieces of wood that would hold the shelf. On the back of the shelf he also screwed on two pieces that were the same as the two on the wall. But here he turned them around, so that they would slide into another and the shelf would be fixed to the wall as seen on the picture below.


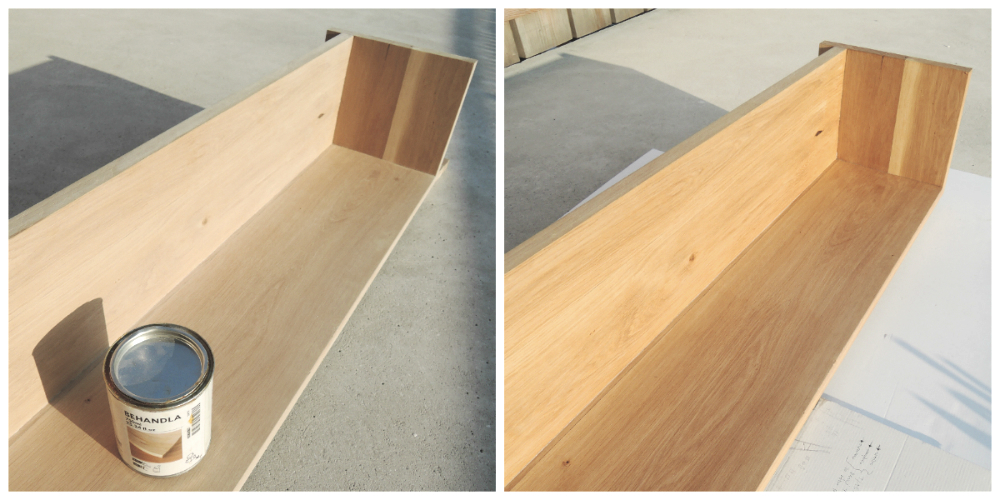
 Now for the final touches. Evgen first fine sanded the shelf with a 240 grid and then applied a couple of coats of oil. Again, we used Ikea’s Behandla oil.
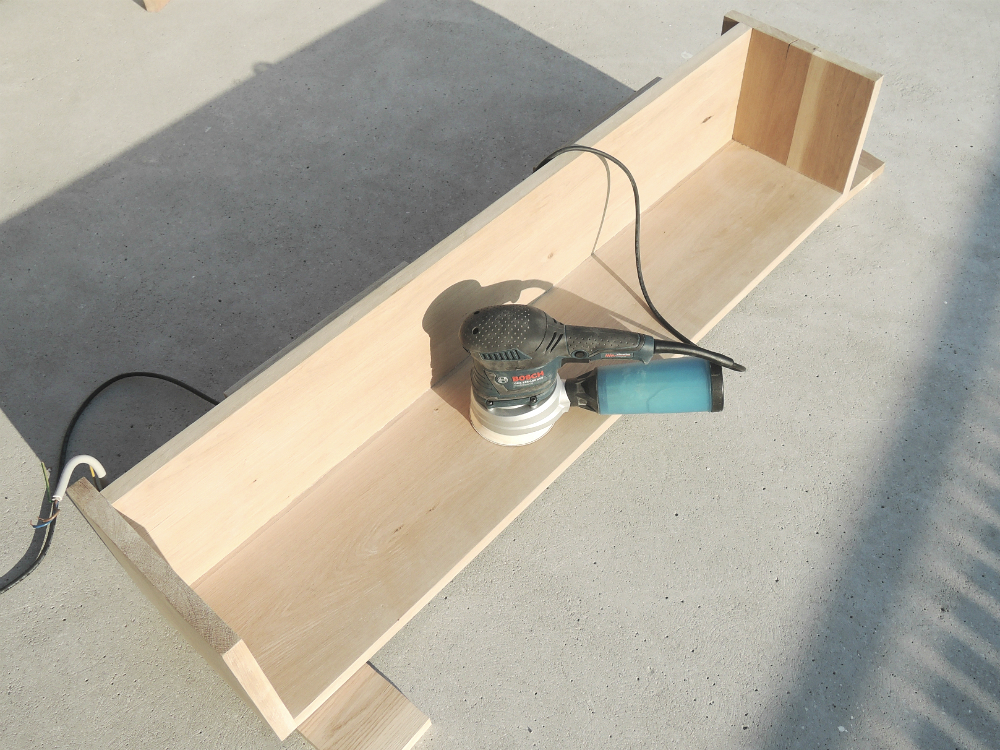
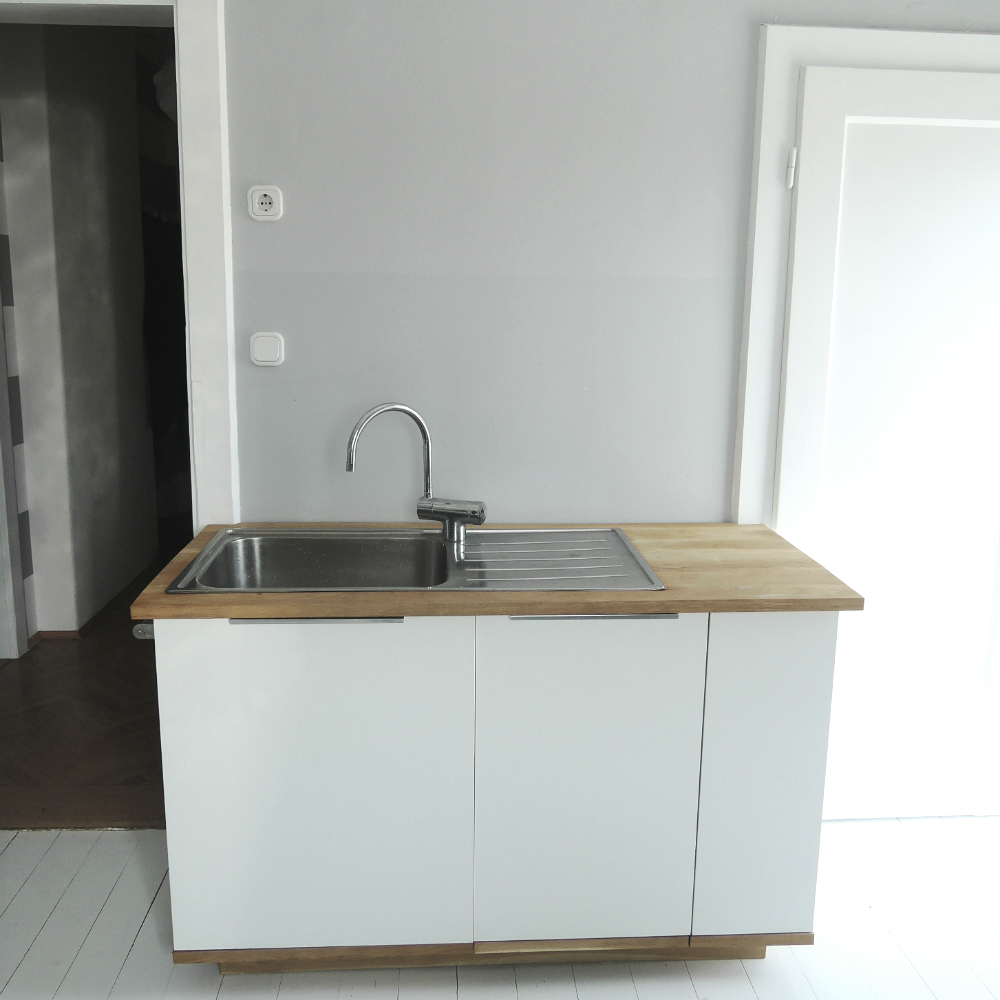
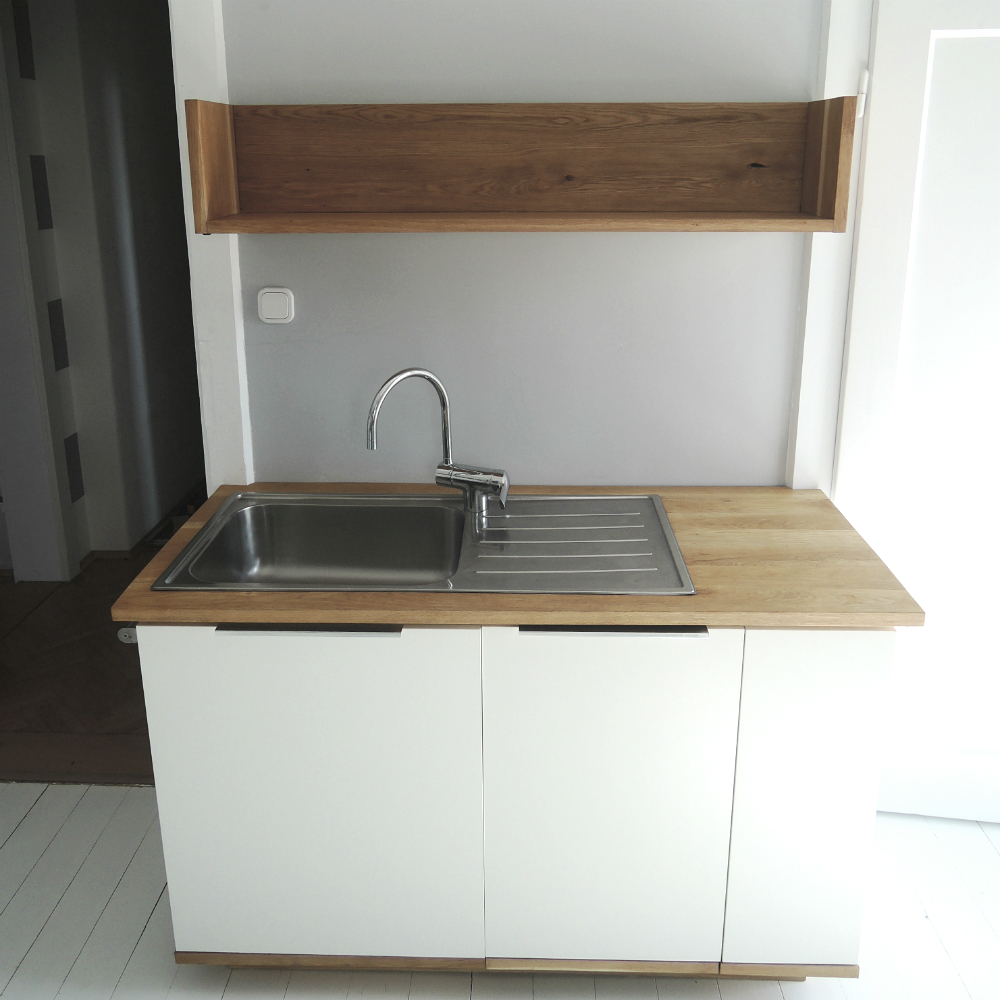
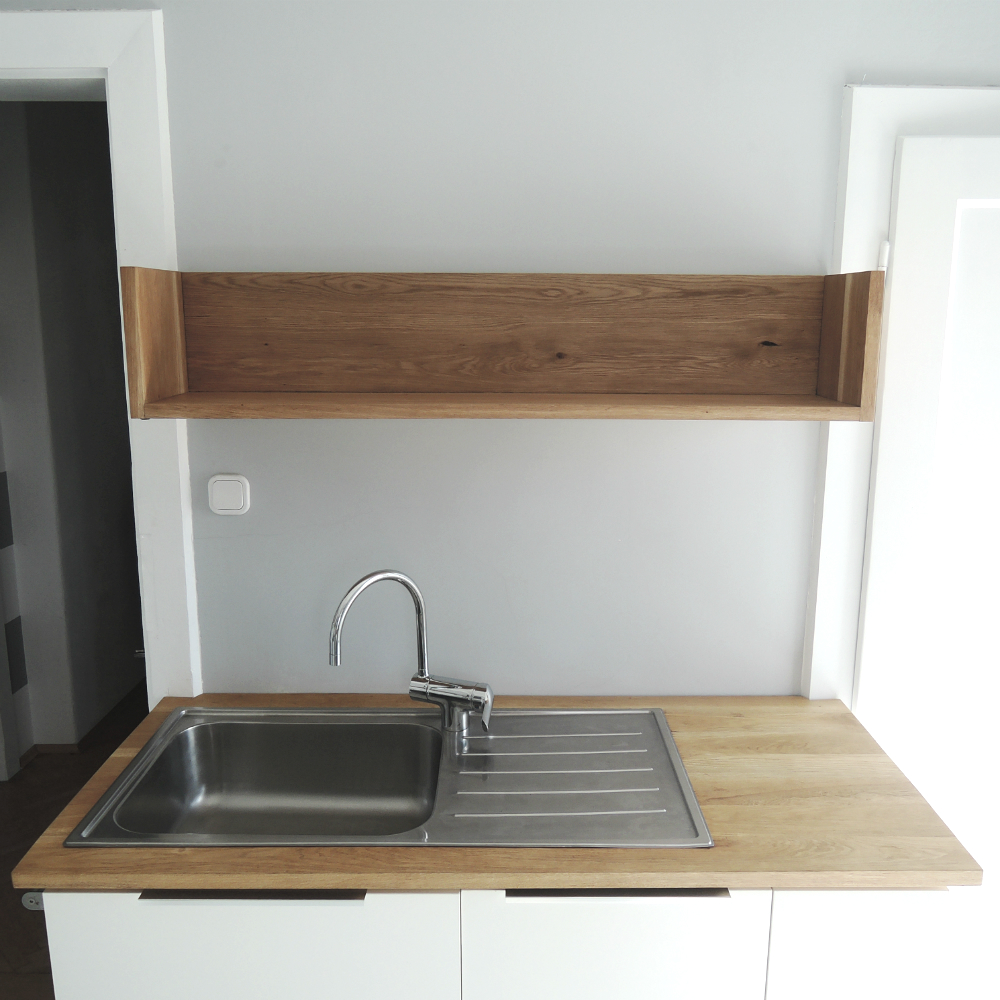
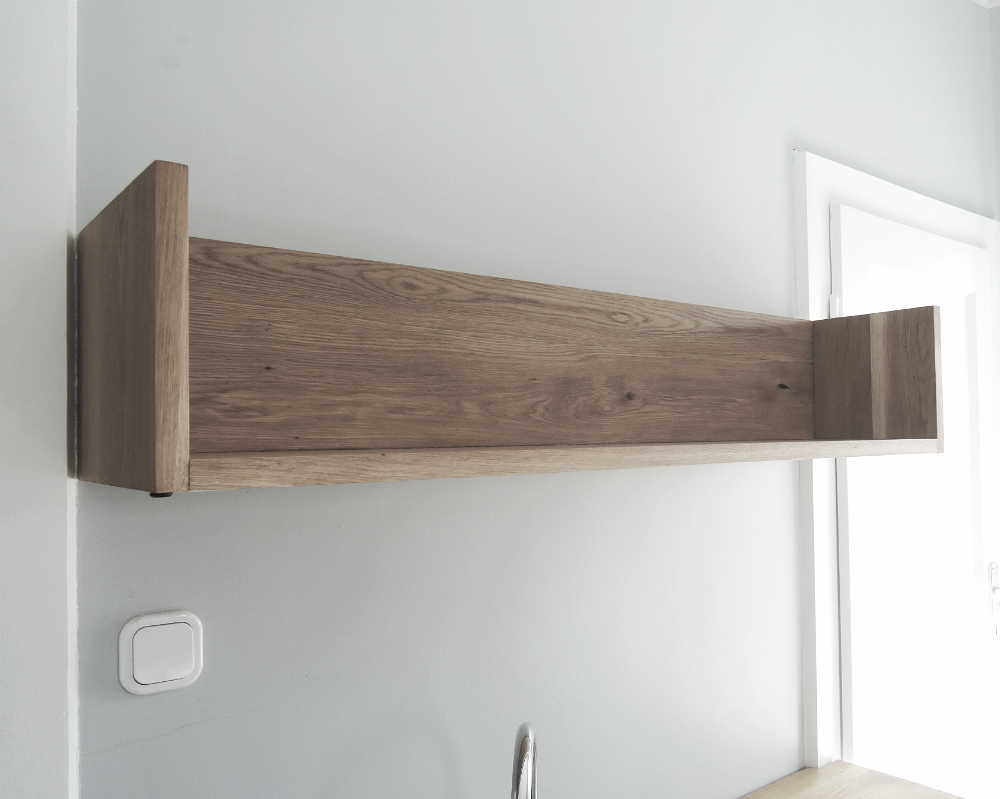
Here is a picture of the wall before the shelf and after the shelf was mounted on the wall and the wiring connected to the main power grid.
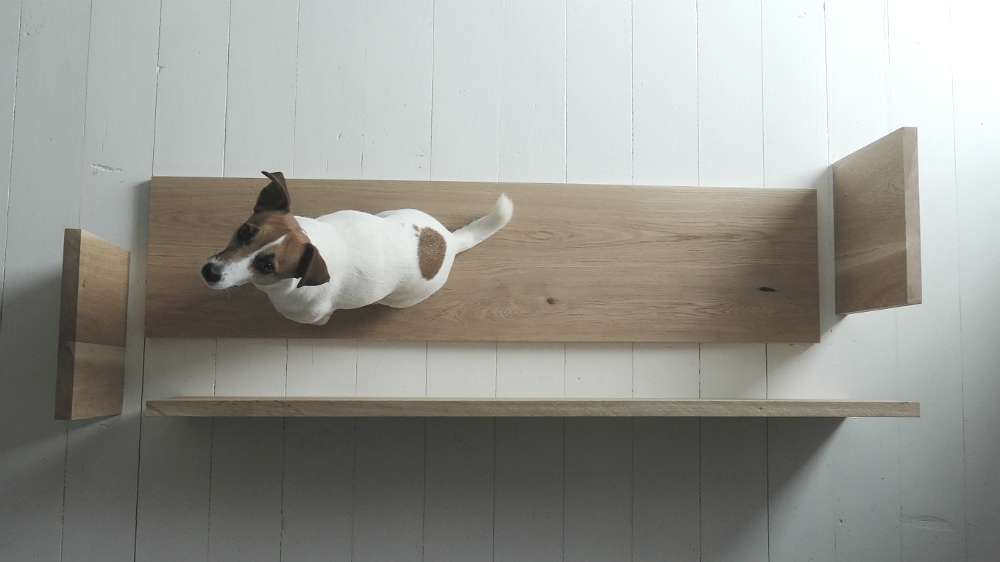
Now it was finally time to move all my books back in the kitchen. Doesn’t Chia just fits right into our color scheme? 🙂 This part of the kitchen is now officially done! YAAY!
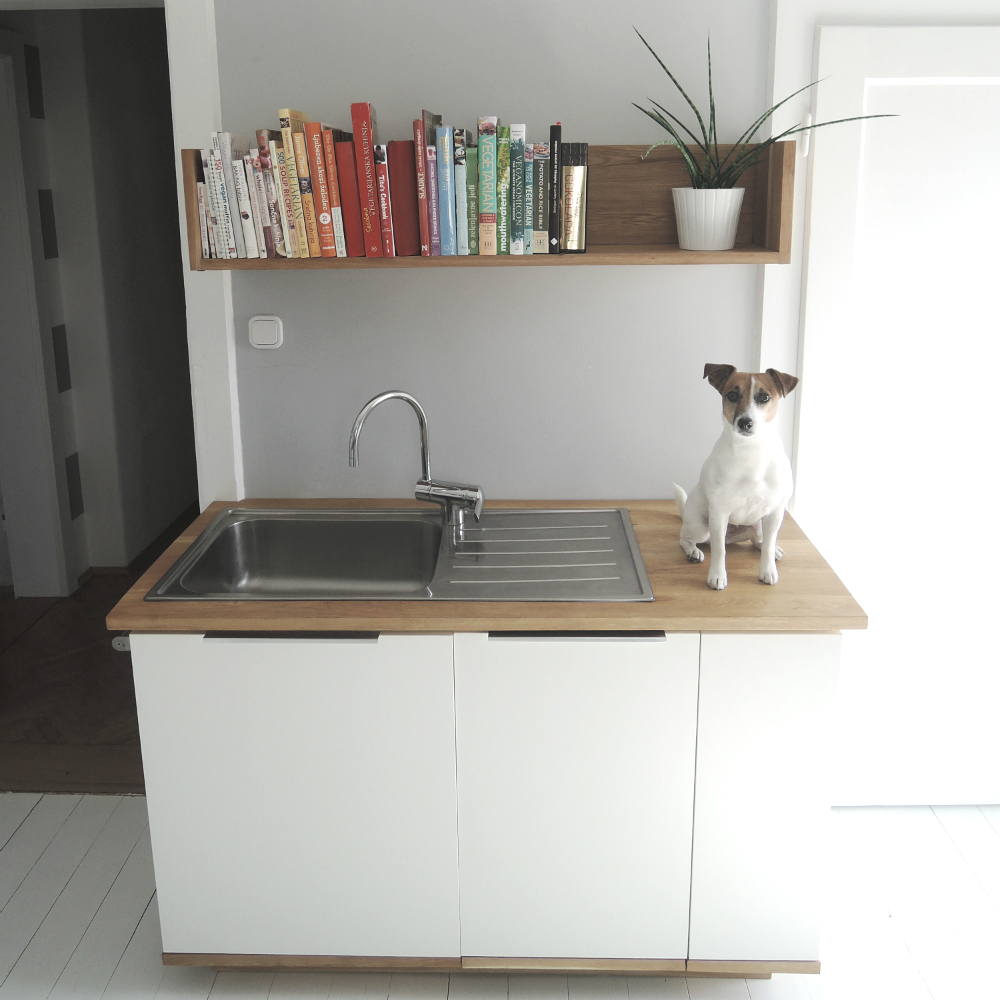
 The LED light provides just enough light. It is great that we can turn on or off the light and don’t have to touch the switch. The sensor works in a radius of approx 6 cm (2.4 in).