This project was long overdue. We were probably just hoping for the last two years that the fence would miraculously fixed itself. Or just collapsed. Neither of those two things happened.
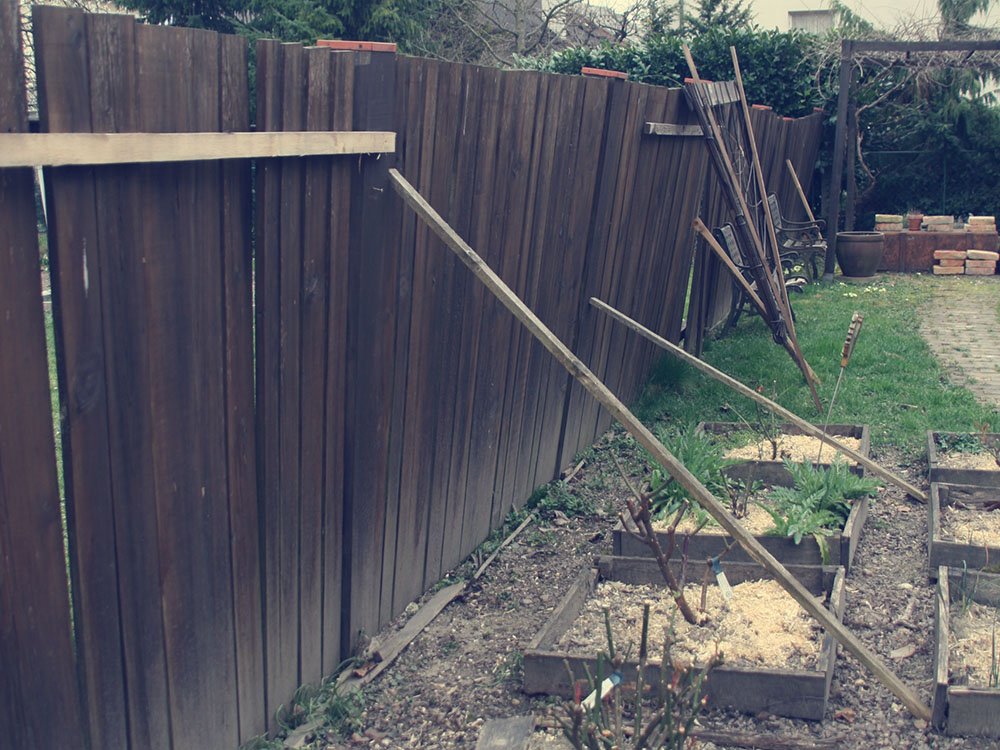
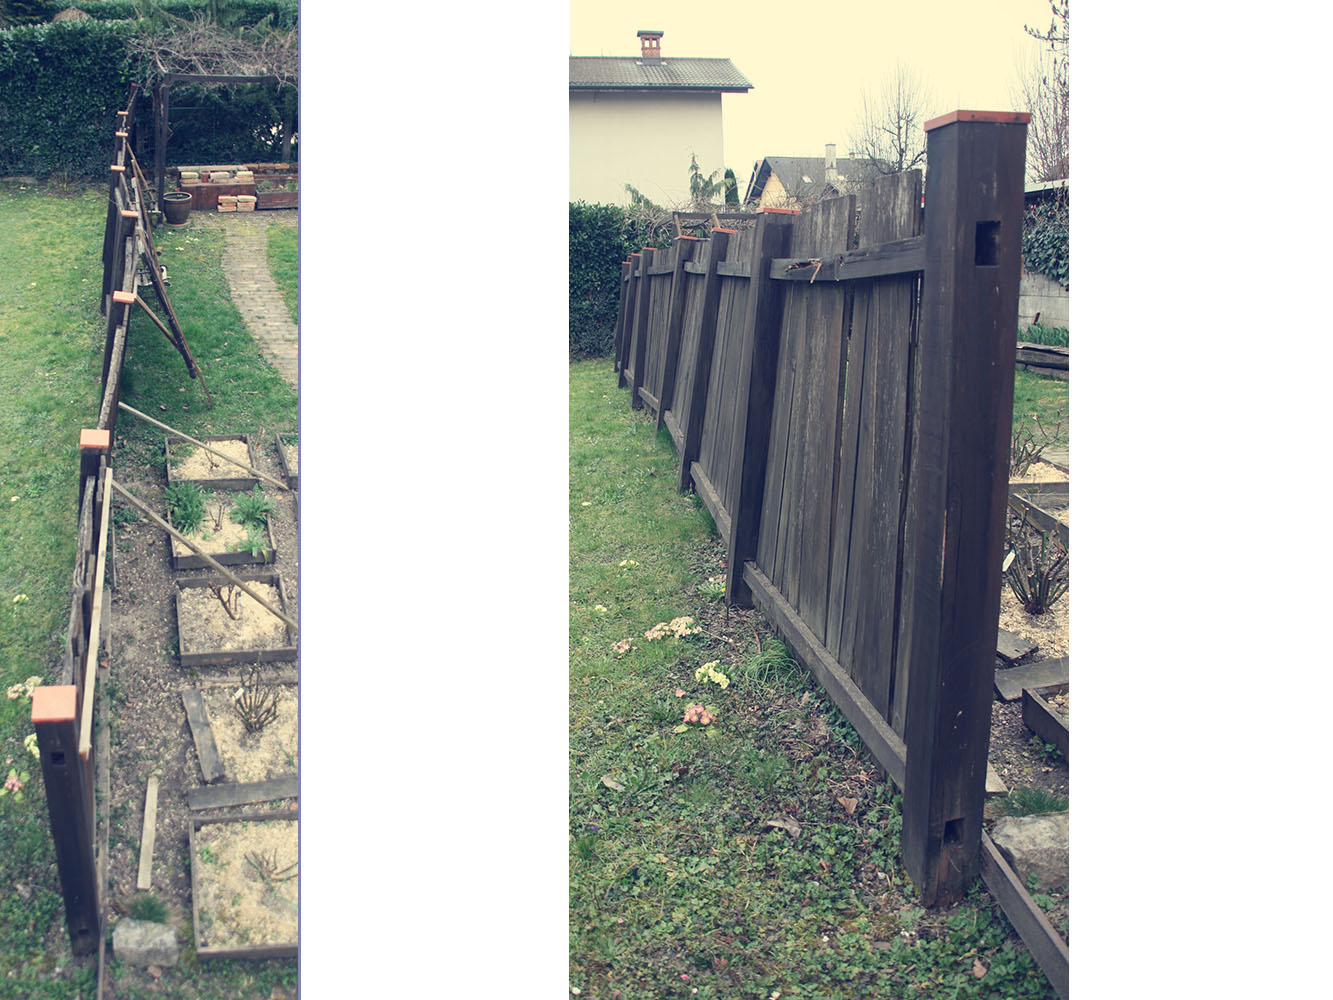
Well, it was a miracle itself that it didn’t collapse the way it looked. It was leaning like the tower of Pisa. But the tower of Pisa probably has better foundations and the fence had rotten ones. You can see in the pictures how beautifully and genially we ‘fixed’ the fence with an old chair and some planks last autumn, so that it wouldn’t collapse in the winter. 🙂 It was the first thing on our to do list when the weather will get warmer. The fence is about 15 years old. But it seems older, because the way it was neglected.
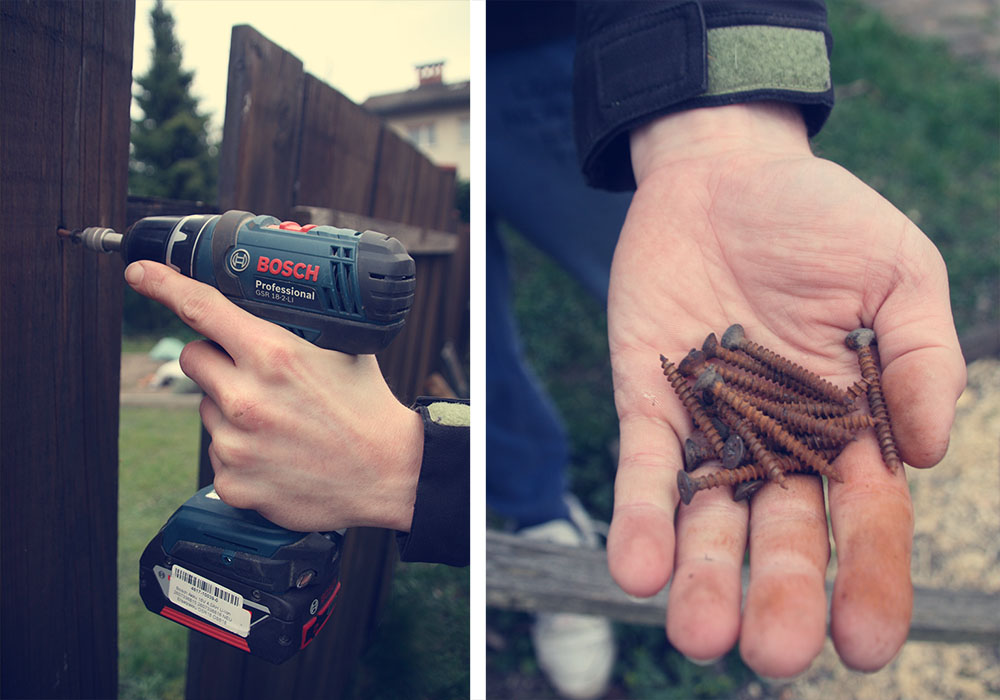
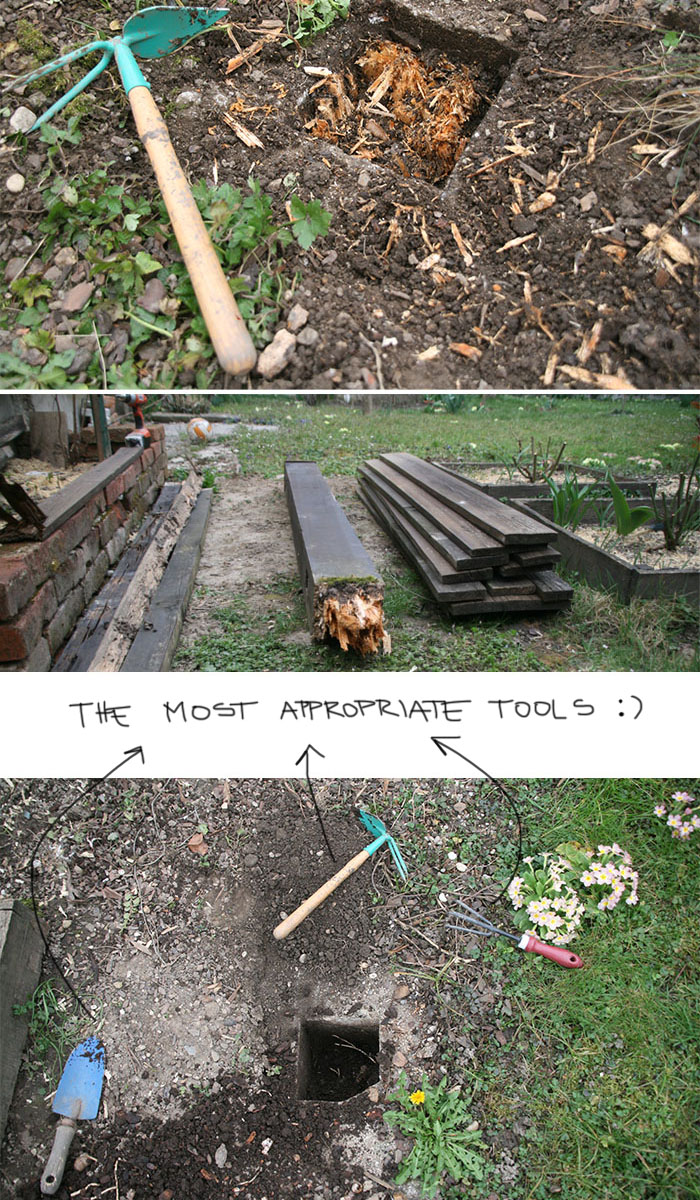
First thing was to disassemble the fence. We just unscrew the pickets and put them in groups as they were on the fence. That way we won’t have too much problem when we would assemble it again. This part was quite easy and it took us only an hour. When we got to the posts, we realised, how severely rotten they were. It really was a miracle they were still standing. Sort of.
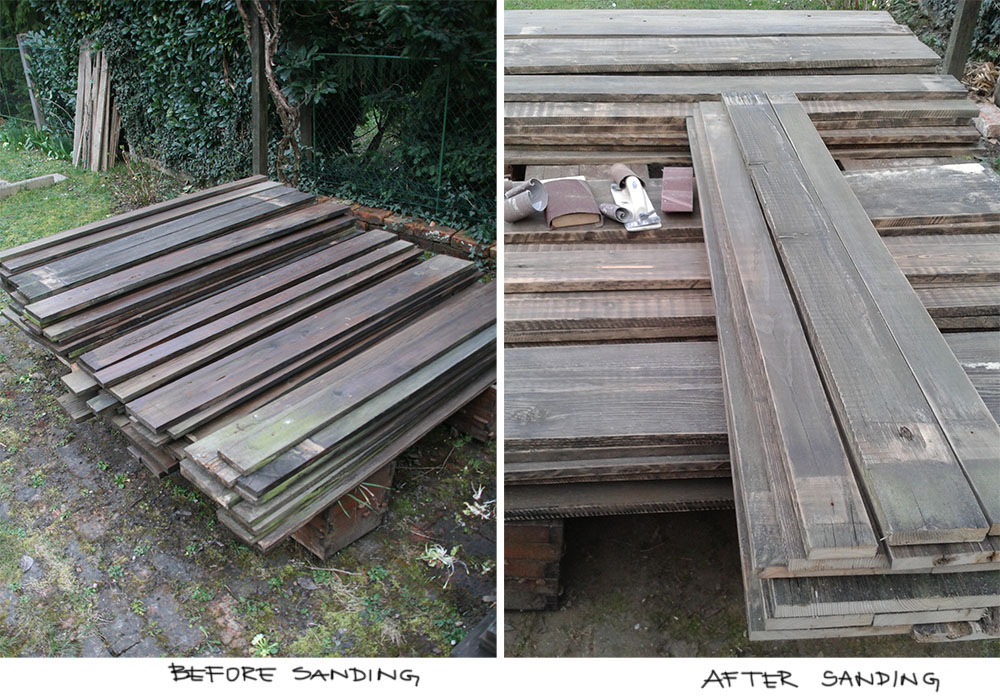
Next day came sanding. The pickets were quite in a bad shape. We didn’t dare to sand them with a sander, so we sanded them by hand. It went surprisingly easy. The paint just melted away. But when you have to sand 16 m of pickets, then the results are really sore hands. 🙂
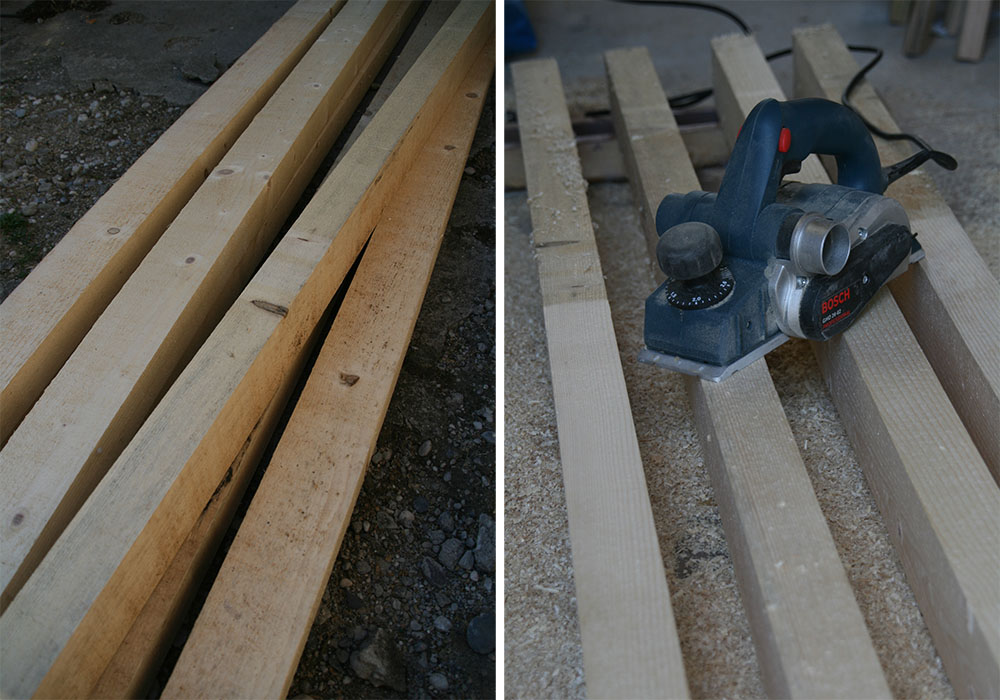
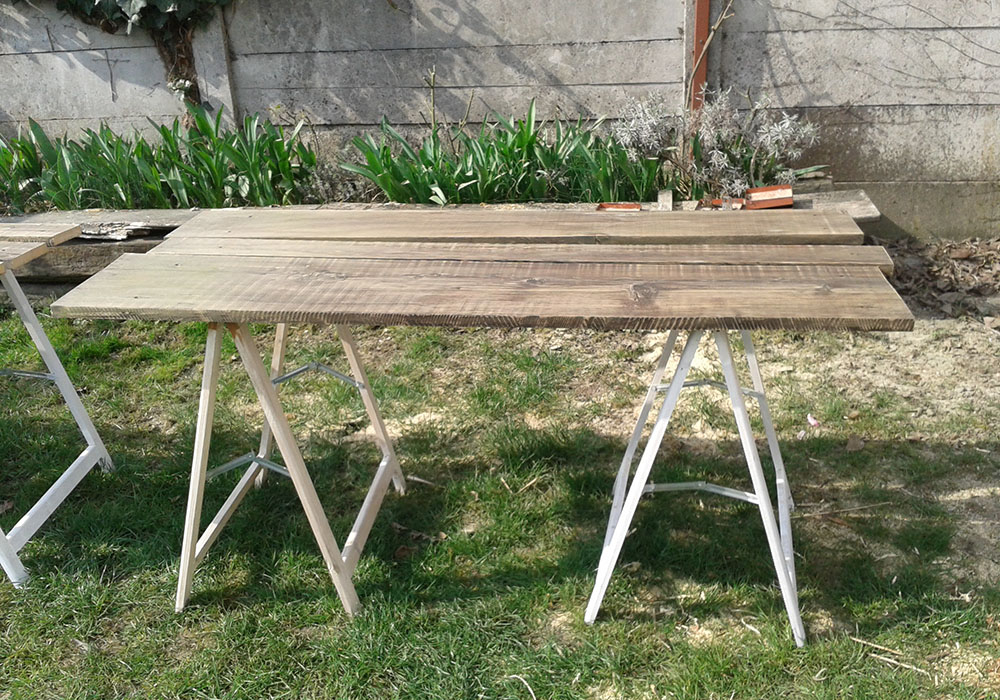
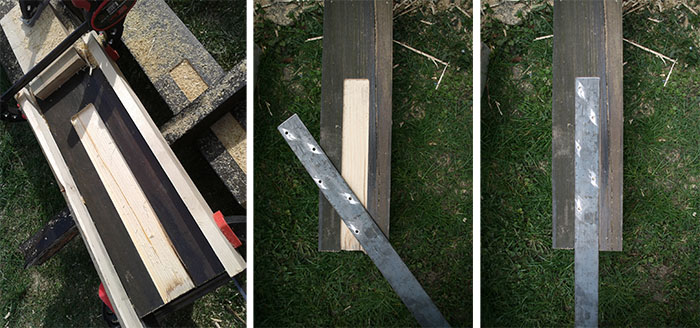
The railing sadly needed to be replaced. At some parts the rails were already broken because the fence was leaning so much. It was a shame that we couldn’t save them. Evgen cut the new rails to required length and planed them, so that they were smooth and ready for paint.
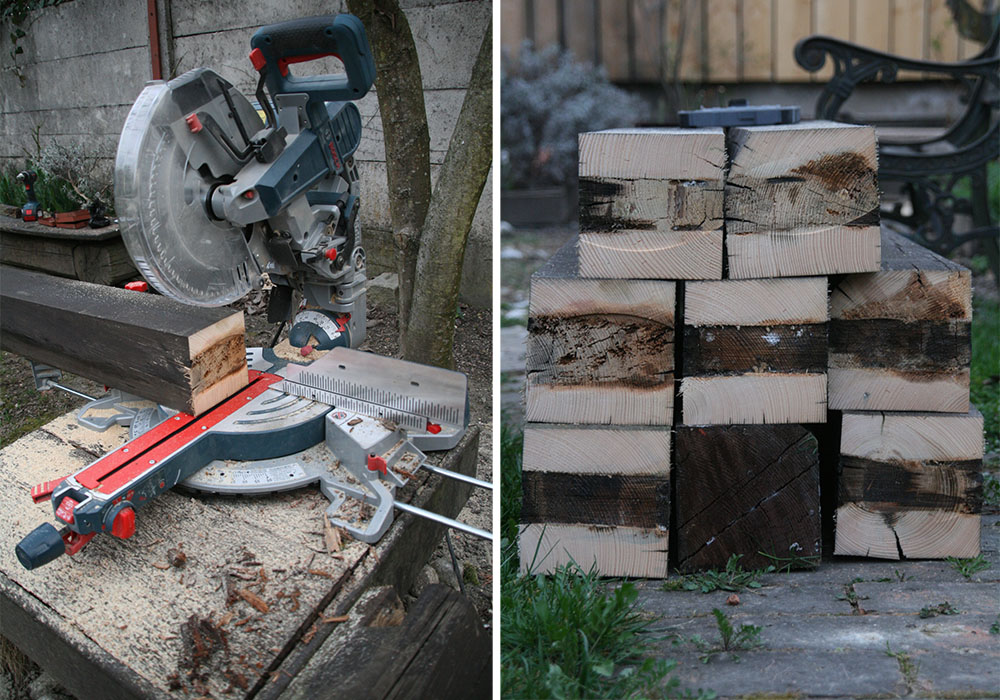
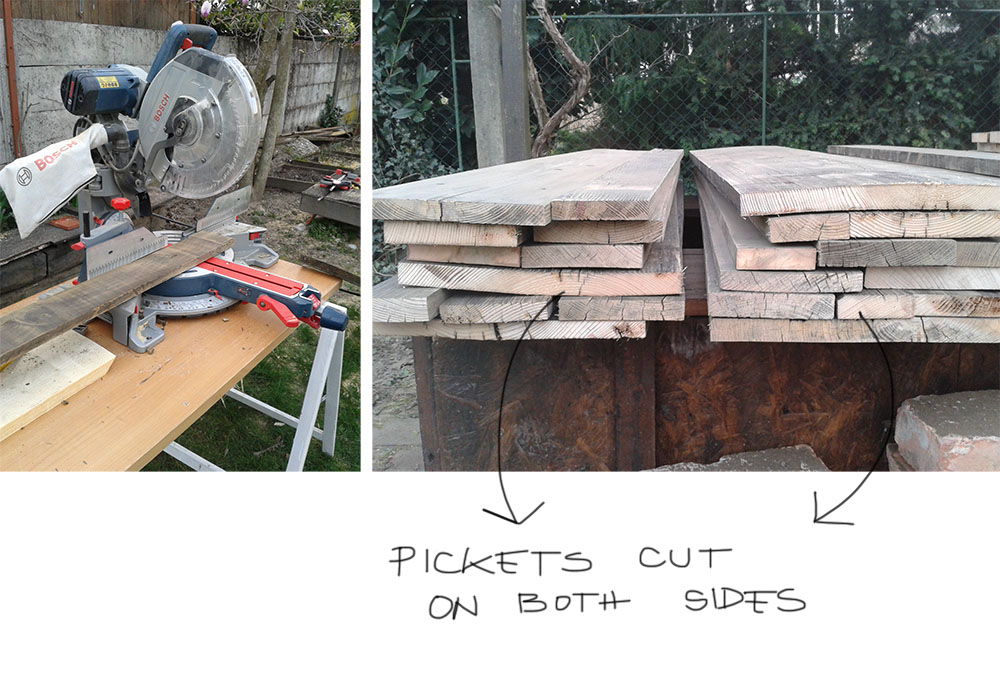
We needed to saw off the rotten part of the posts. That means the whole fence will be a little bit lower and the pickets must be trimmed as well. The sanding and cutting took an afternoon but we were pleased with ourselfs not knowing how long the next step will take.
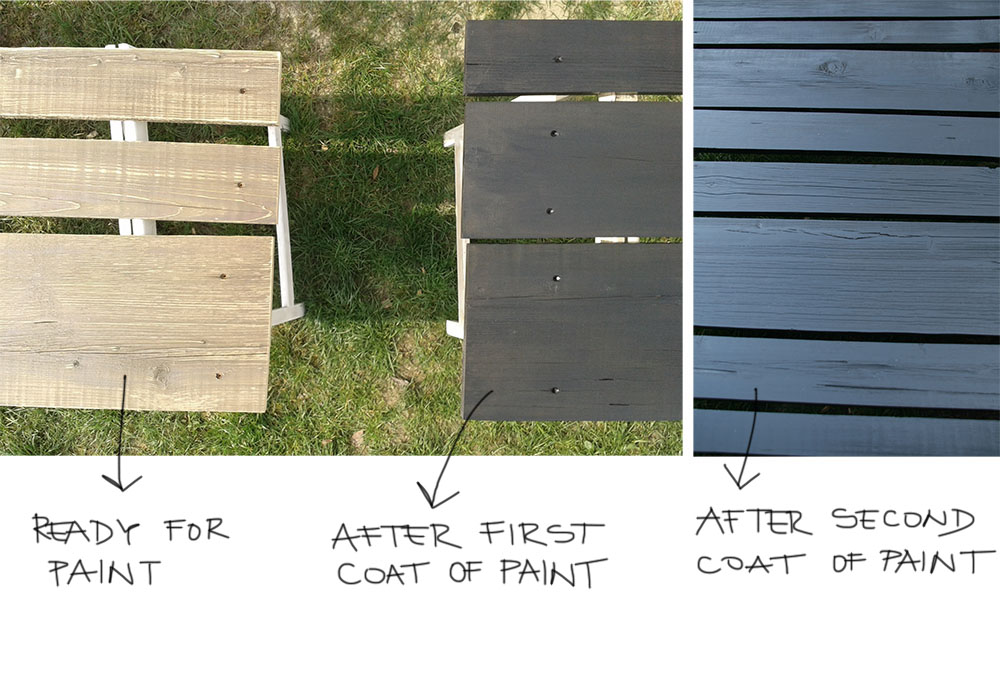
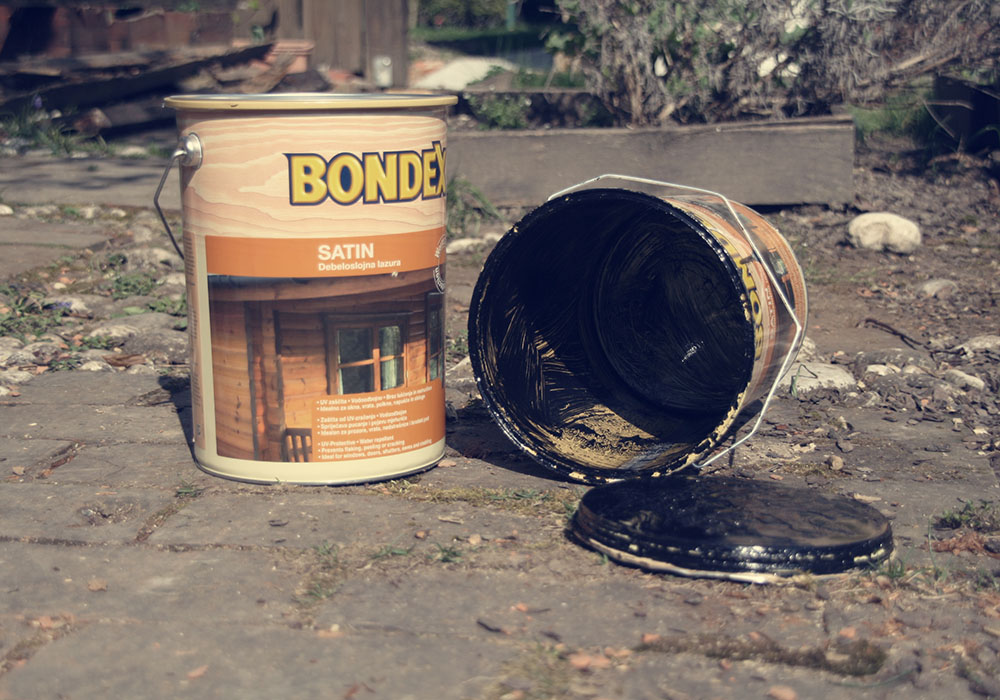
The previous paint on the fence was satin so we had to use the same finish. We used a paint by Bondex in a shade called Ebony. It is a transparent satin wood stain, UV – protective and water repellent. I used a brush to apply it. It took us two weekends to paint all the pickets, posts and rails. We had to paint them twice. That means 16 m of pickets, posts and rails. Painted on both sides is 32 m and twice is 64 m of painted fence (and I am ignoring the sides)! The paint took forever to dry. It took at least four hours to be dry on touch. We were really happy when this part was done. We used two big (5 l) and one small (0.75 l) cans of paint, approx. 10.75 l all together. The paint looks grey in pictures, but in reality is black. Just as we wanted.
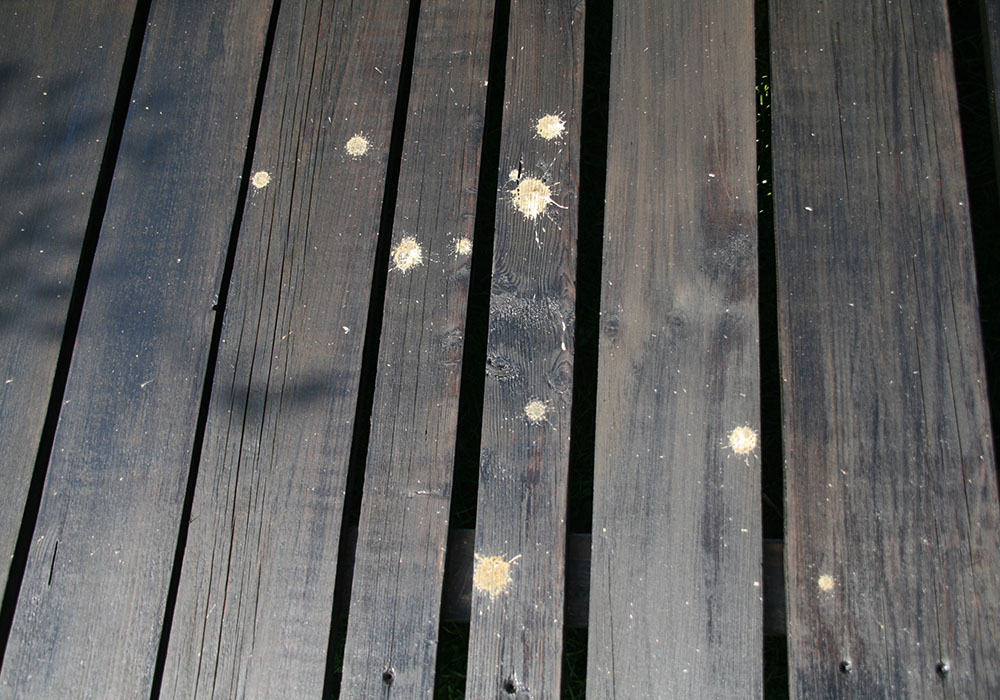
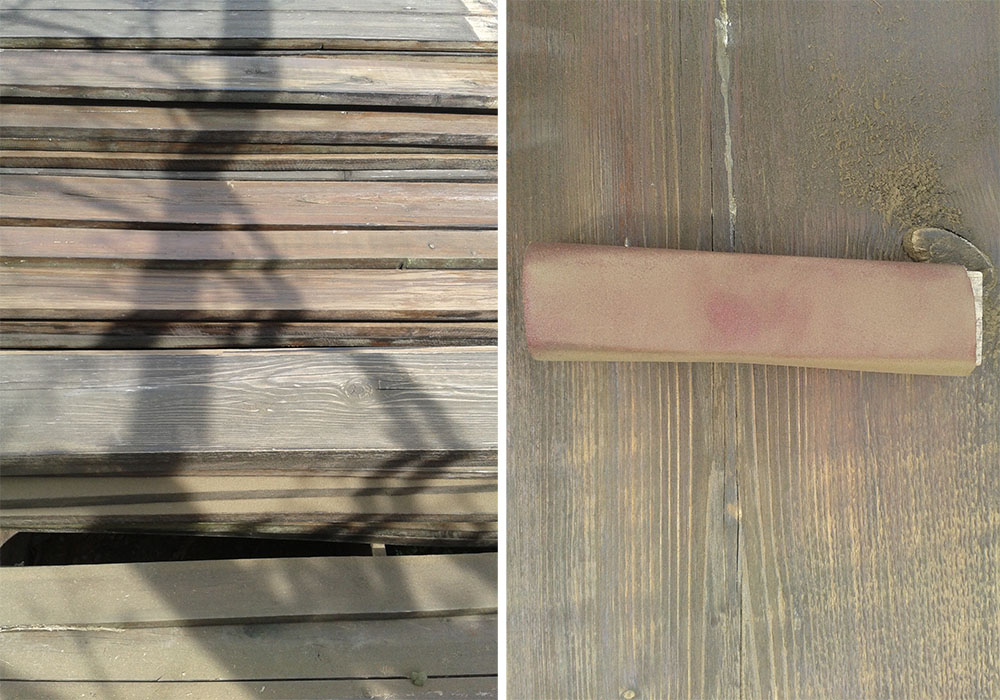
The birds left a little surprise one morning. I guess they don’t like the color! 🙂

Before the painting, the posts needed to be prepared for the anchors. Evgen used a router to cut out at the bottom part of the post the shape of the anchor.
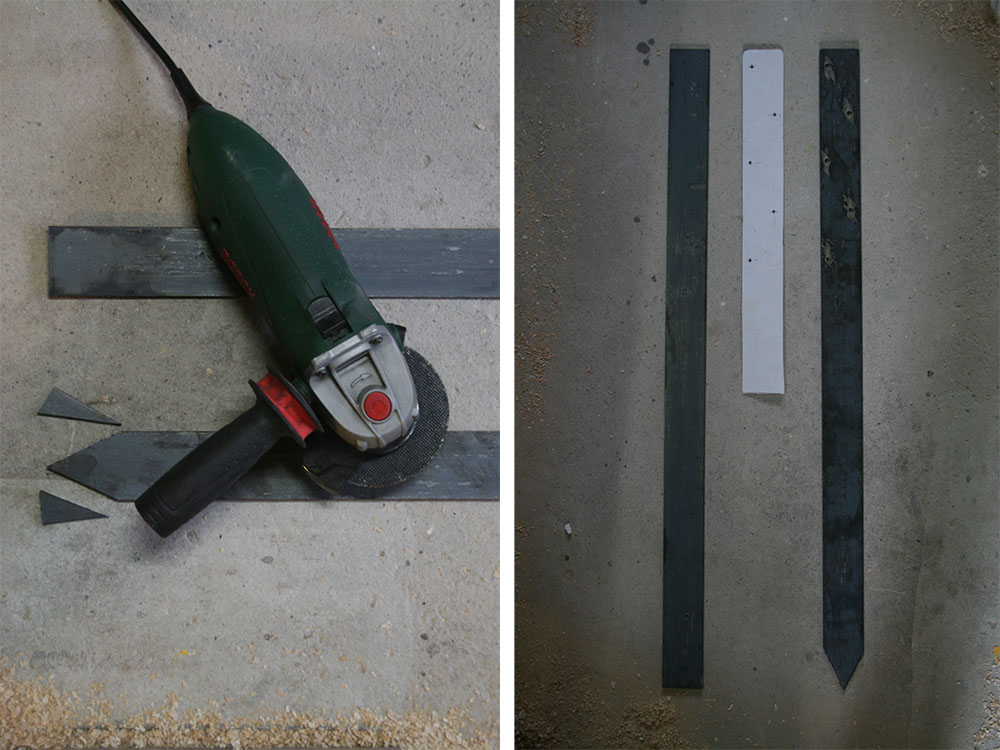
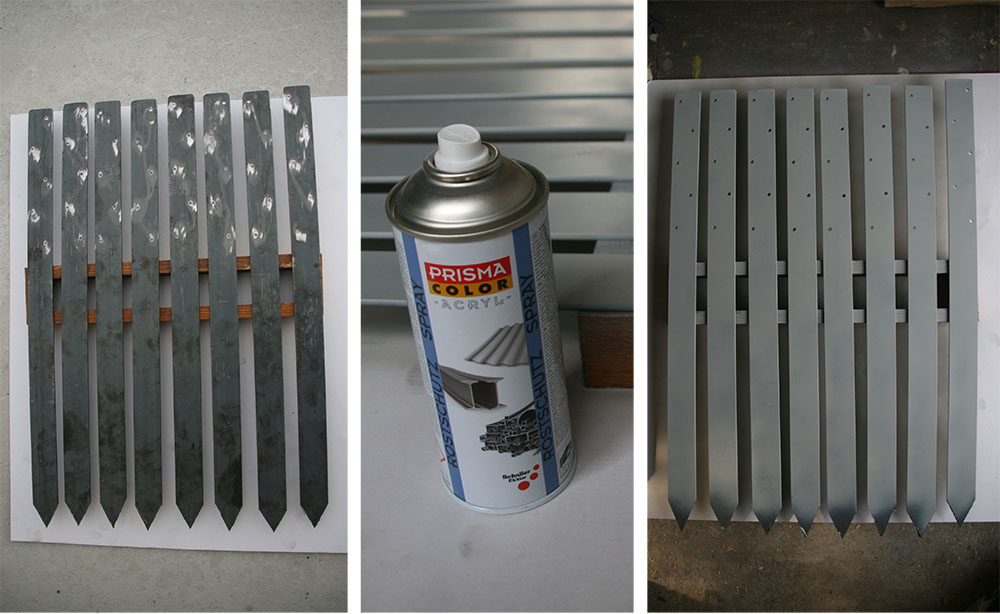
The last thing before putting everything back together was making the anchors. We bought five cm wide flat iron rods and asked in the store if they can cut them to 80 cm. We have eight posts. That meant 16 anchors. Evgen drilled holes in the anchors where they will be screwed to the posts. At the bottom part he cut them in the shape of an arrow. That way it will be easier to hammer them to the old foundations. You will see about that in the next post. They were ready to be painted. We used a paint in a spray can. It is an anticorosive primer by Schuller.
In the next post our fence will be standing! Yaaay! 🙂