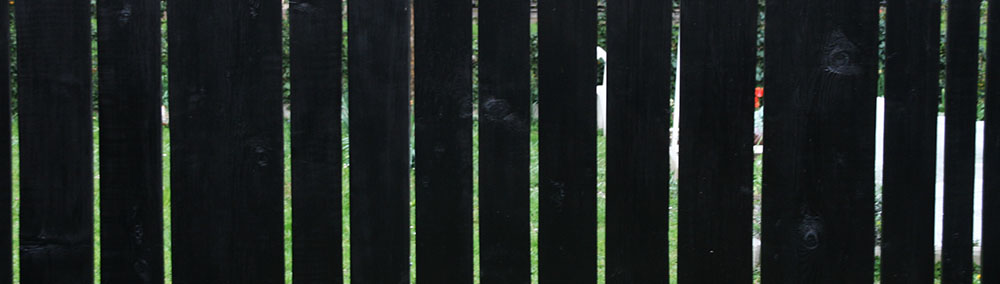
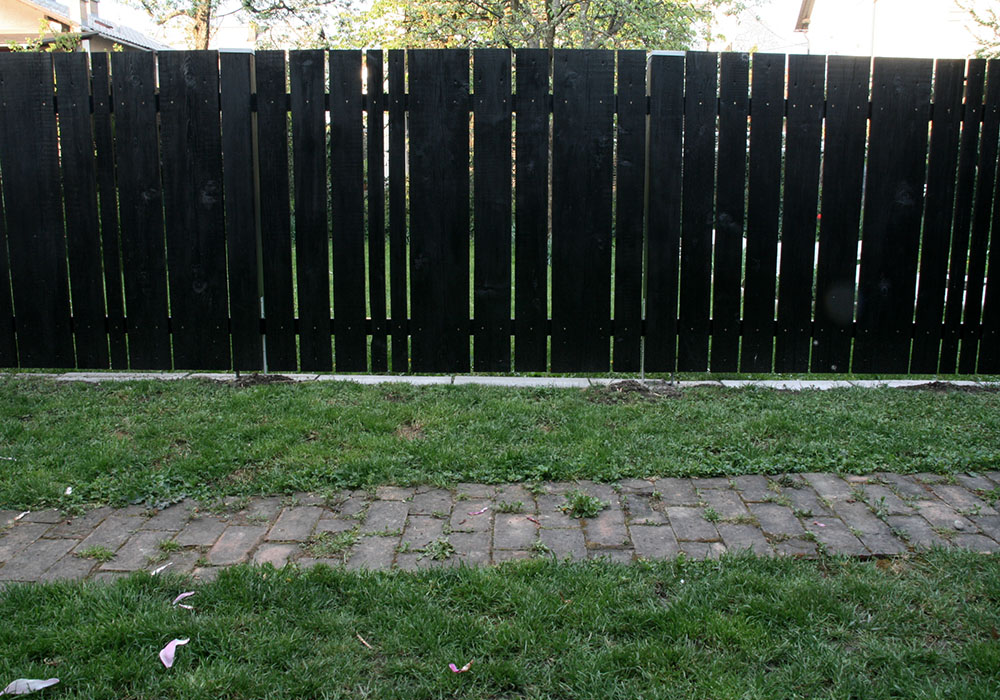
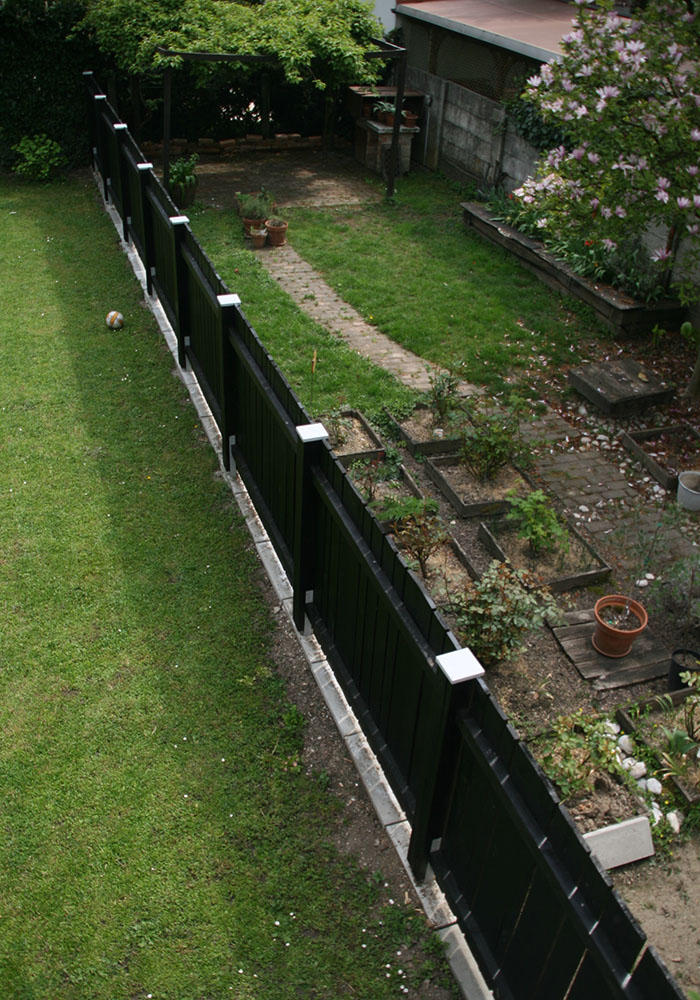
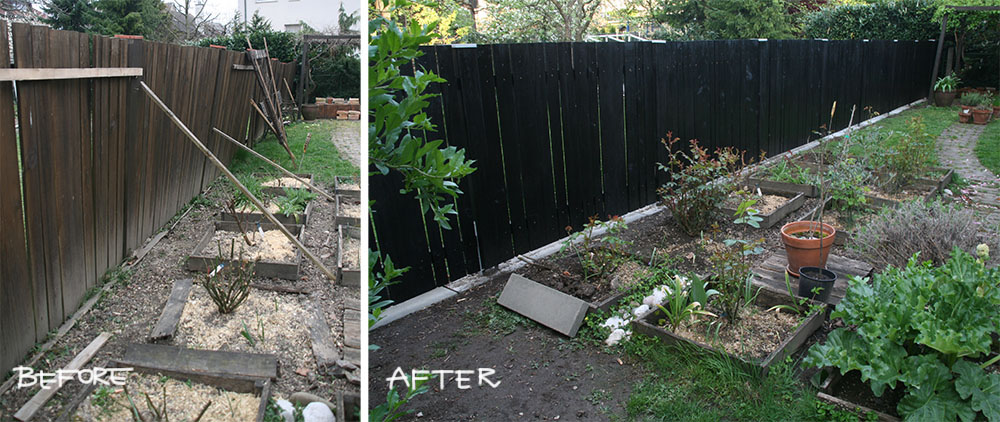
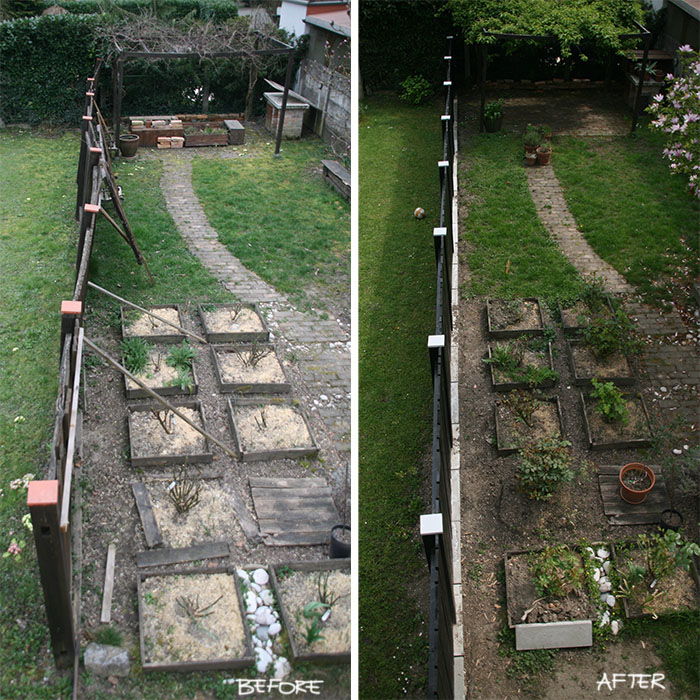
It took a while, but it’s up. The fence is standing! 🙂
Please, please ignore the state of our garden. It is high on our to do list. 🙂
When the fence was first built the posts were just put in the ground and concrete poured around them. Of course, with the years gone by, the wood that was in the concrete and touching the ground rotted. Wood should never touch the ground. It should be lifted at least a couple of cm above the foundations. At least that is best in our climate.
For the new foundations our plan was to use metal post anchors embedded in the concrete foundations and then the posts screwed to the metal anchors. When we cleared out the old debris in the holes, where the posts were, we saw that the concrete foundations were still good and decided to reuse them. The wood has almost turned to soil at some posts, but at some was still quite firm.
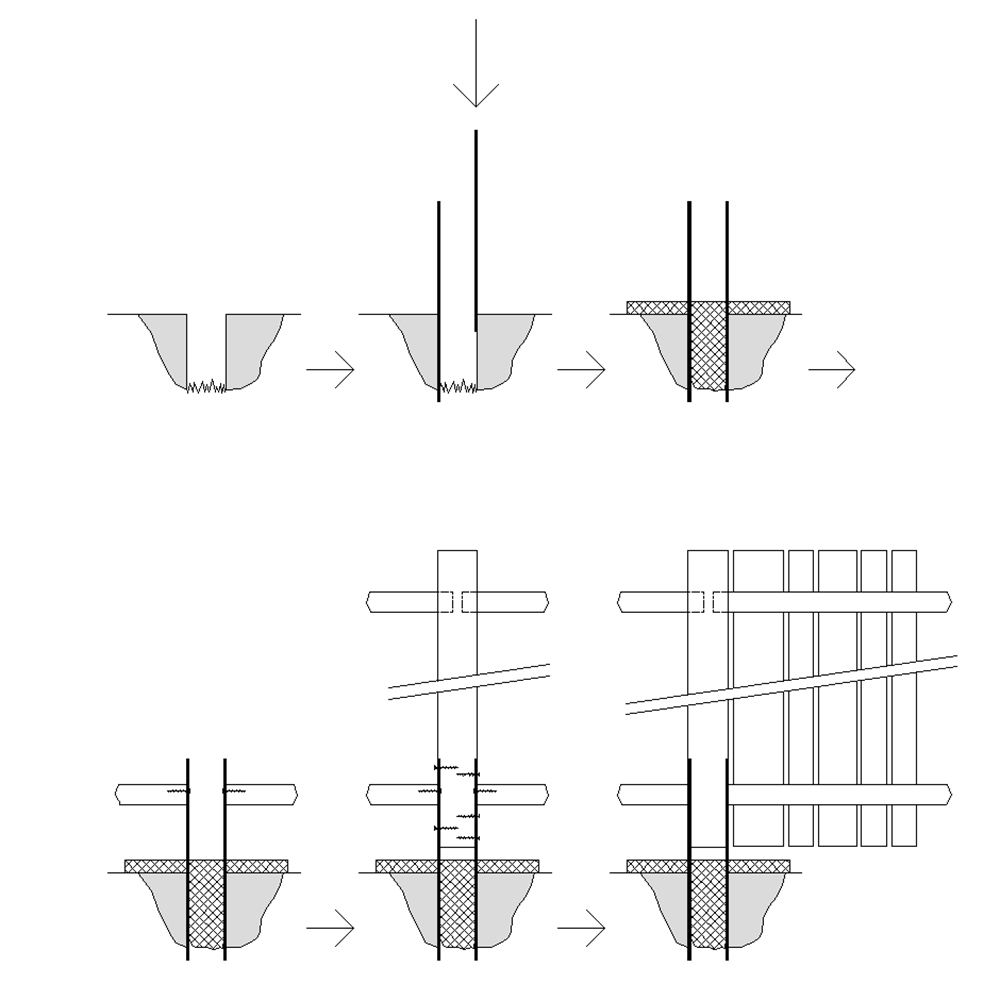

The original plan was to clear all of the debris from the holes. We discarded that plan after 2 days of hammering, cursing, pounding, tugging and even drilling. Plan B was to hammer the anchors to the holes. We tested this plan and the anchor did not even budge. We were happy with the result.
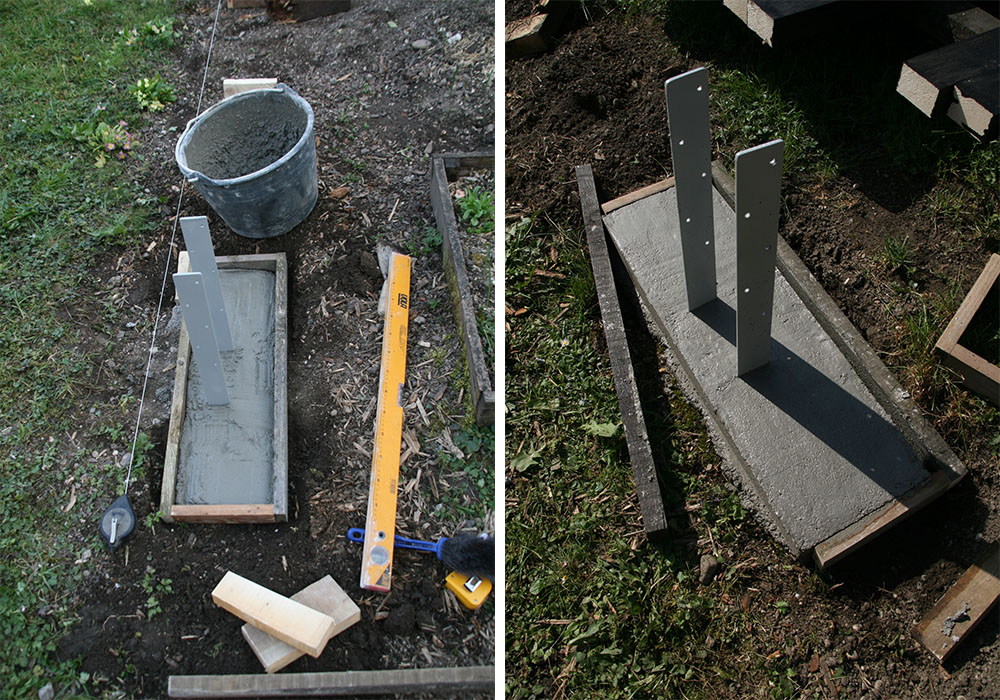
When the anchors were hammered in, we made rectangular frames that would support the newly poured concrete. Then we mixed the concrete and poured it in the frames. We left the concrete set for about 24 hours. After a day we removed the frames and our foundations were done.
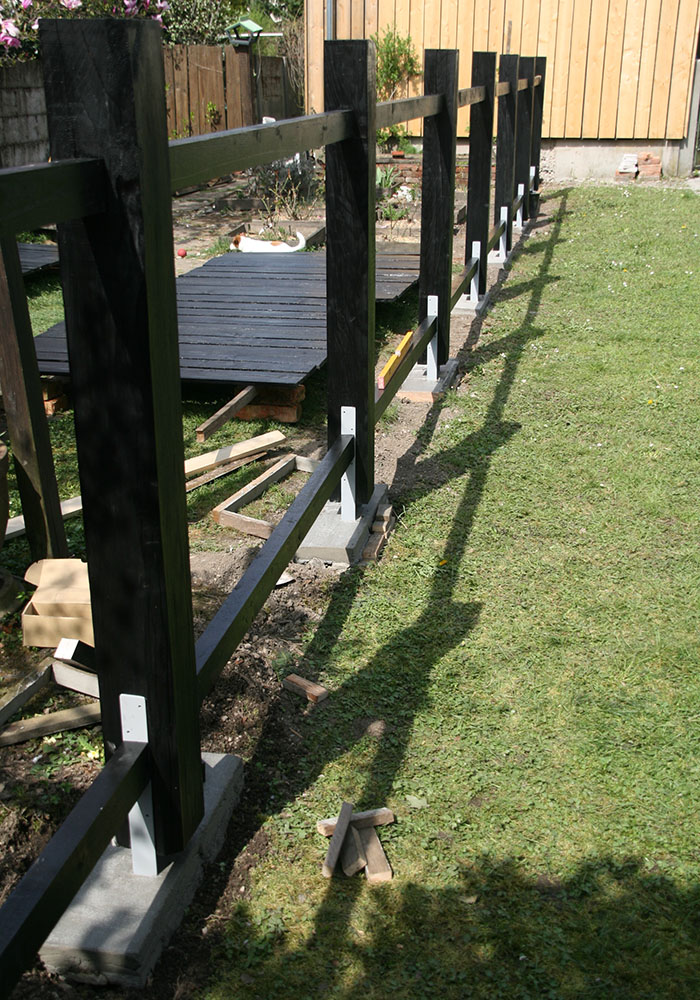

Before we could screw the posts in, we had to screw the railing to the anchors at the bottom. After that came the posts. The posts had a hole near the top to hold the railing, so we just slid the new railing in. Same hole was also at the bottom, but we had to trim it off, because the posts were so rotten.
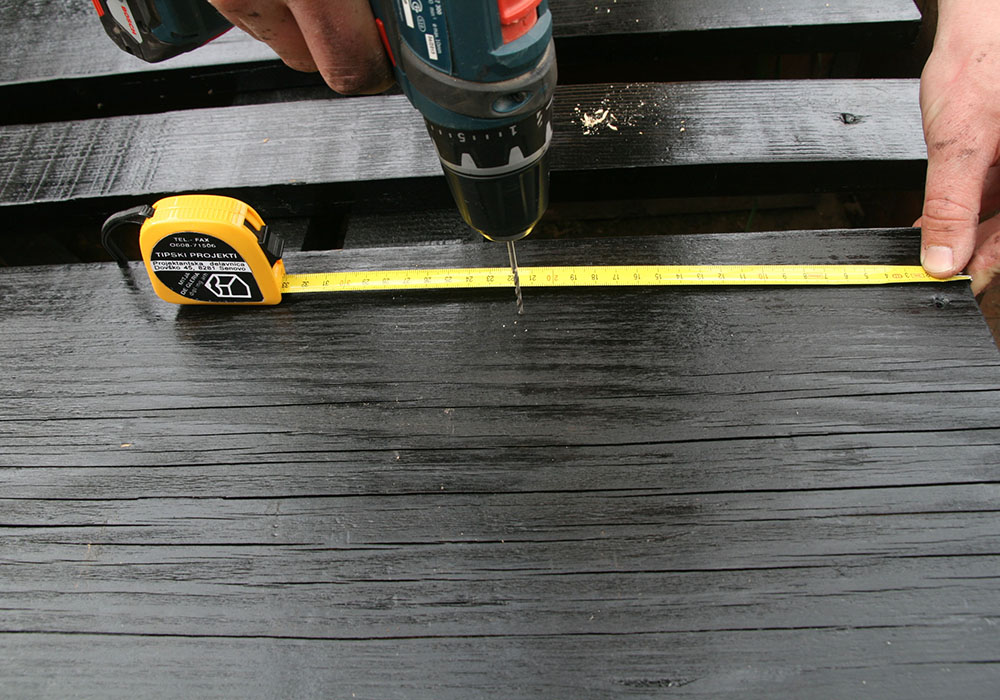
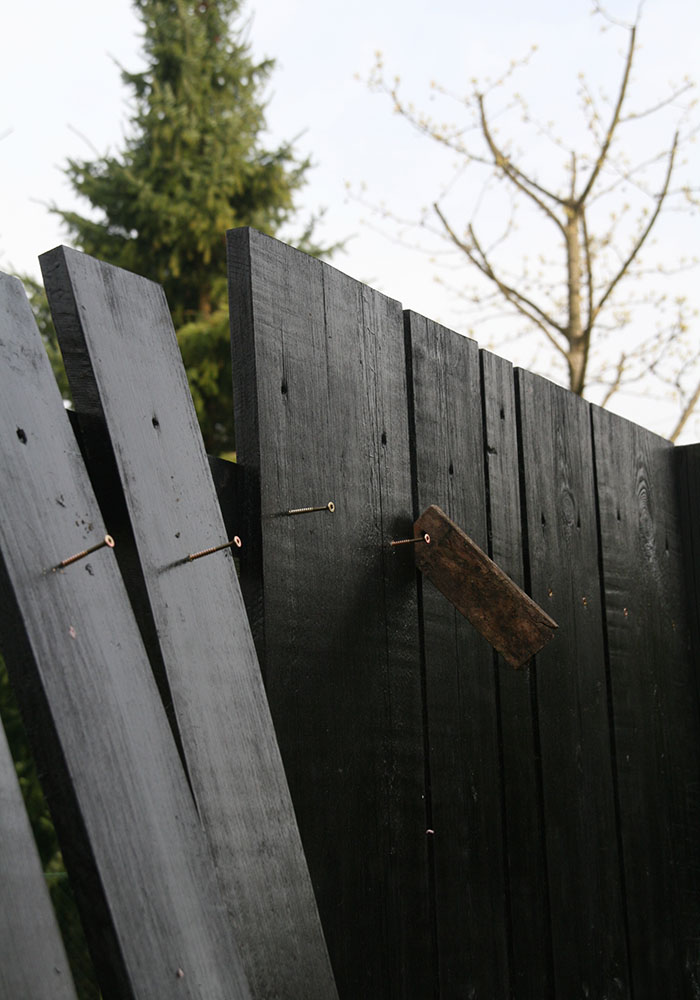
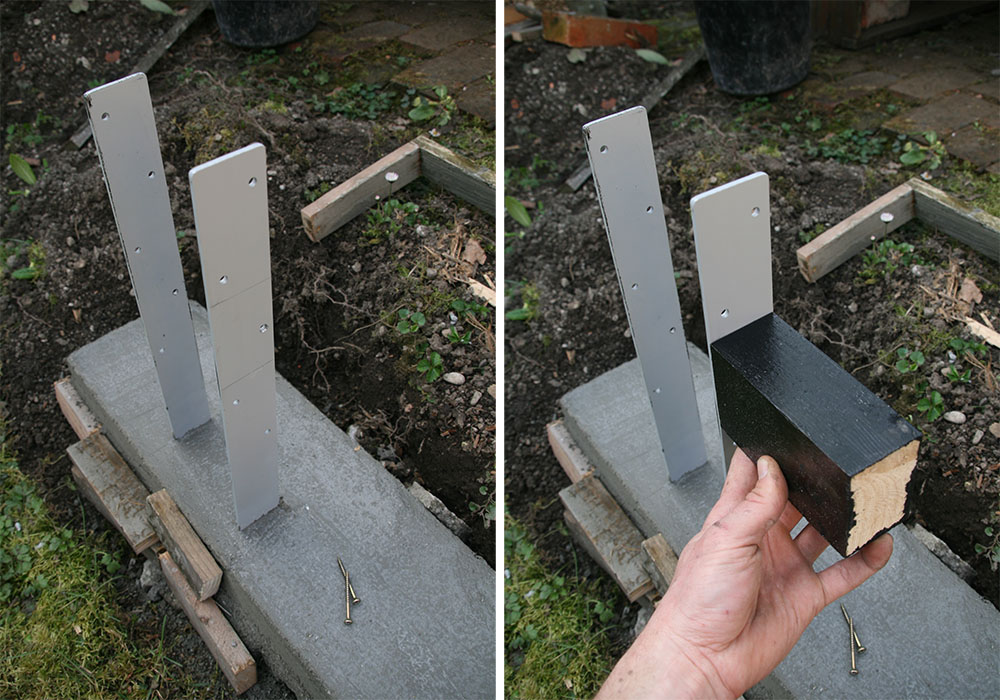
Next came the pickets. First we measured and drilled where the holes for the screws needed to be. Then we looked around and found a scrap piece of wood that was in a desirable thickness for the spacing between the pickets.

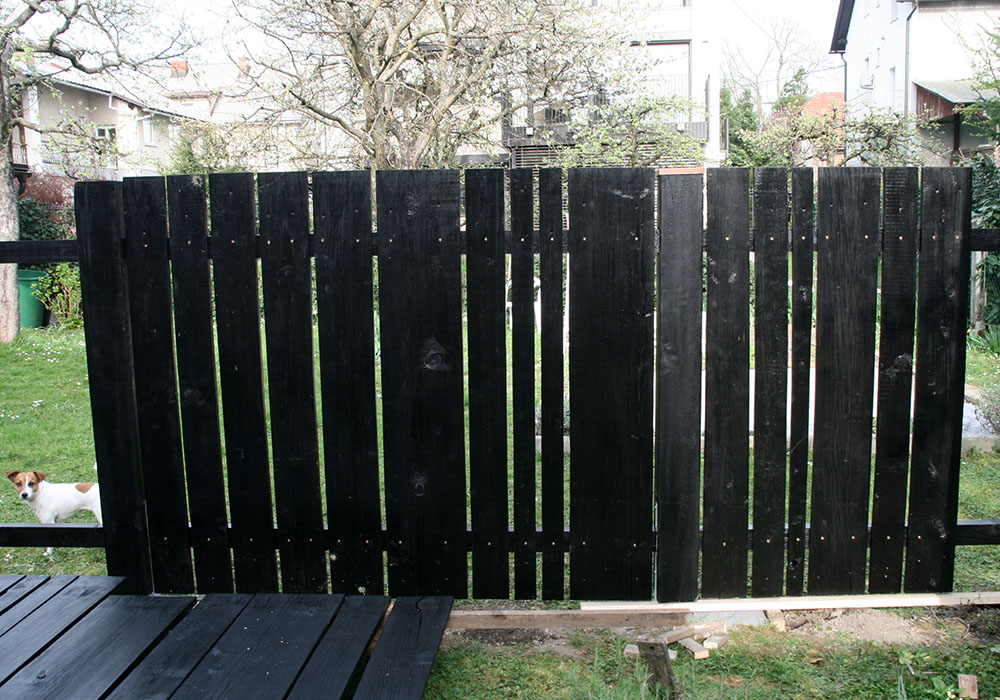
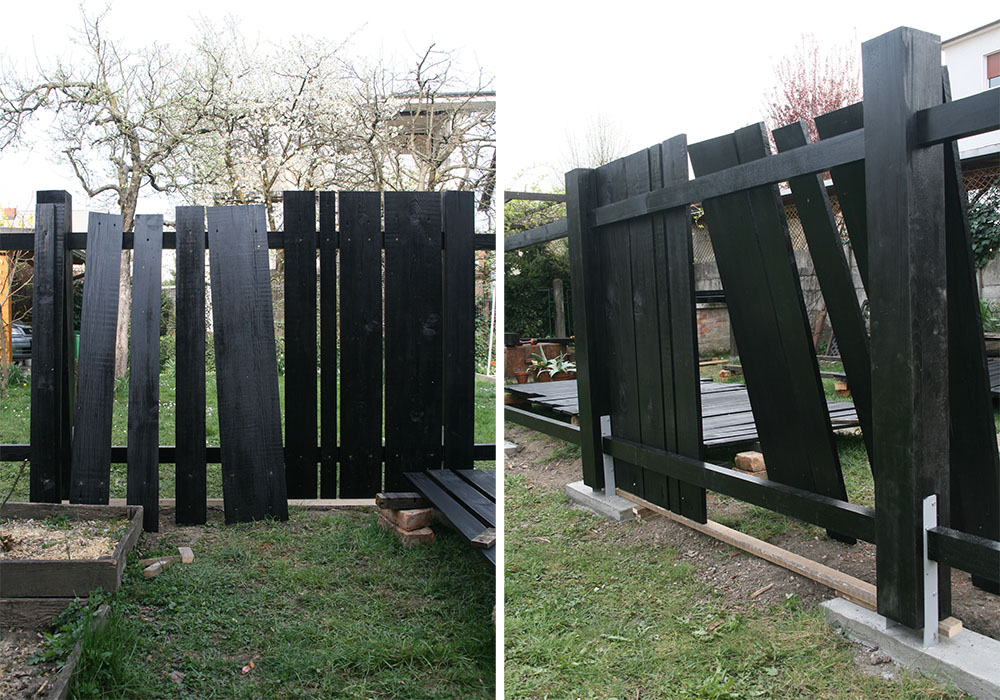
This was the easiest part of this project. Because the pickets had different widths, we just sat them side by side and when it looked good to us, screwed them to the railing.
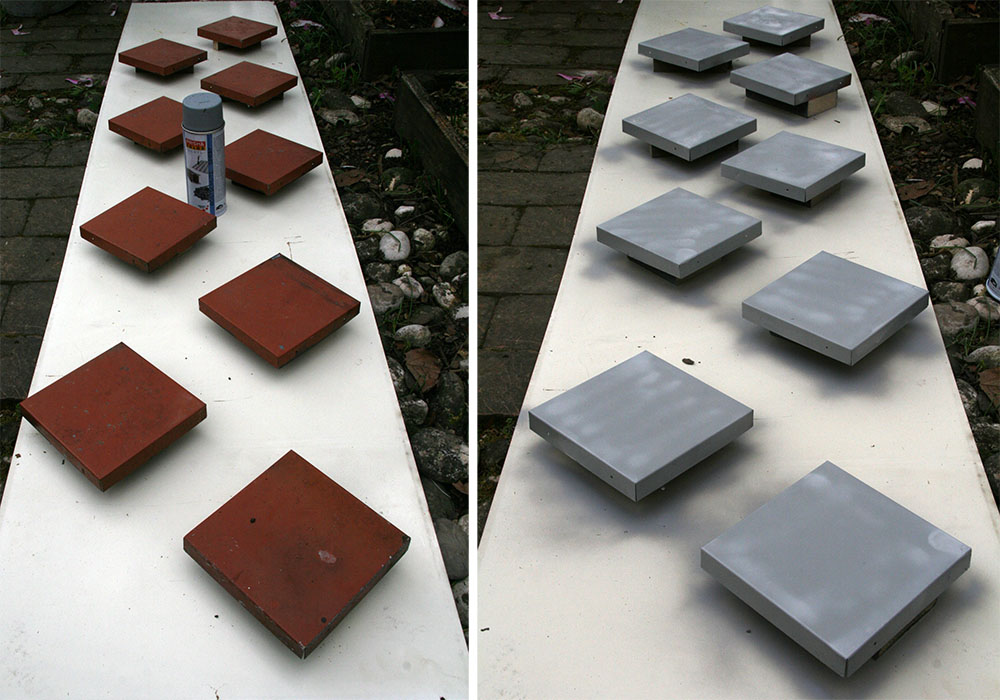
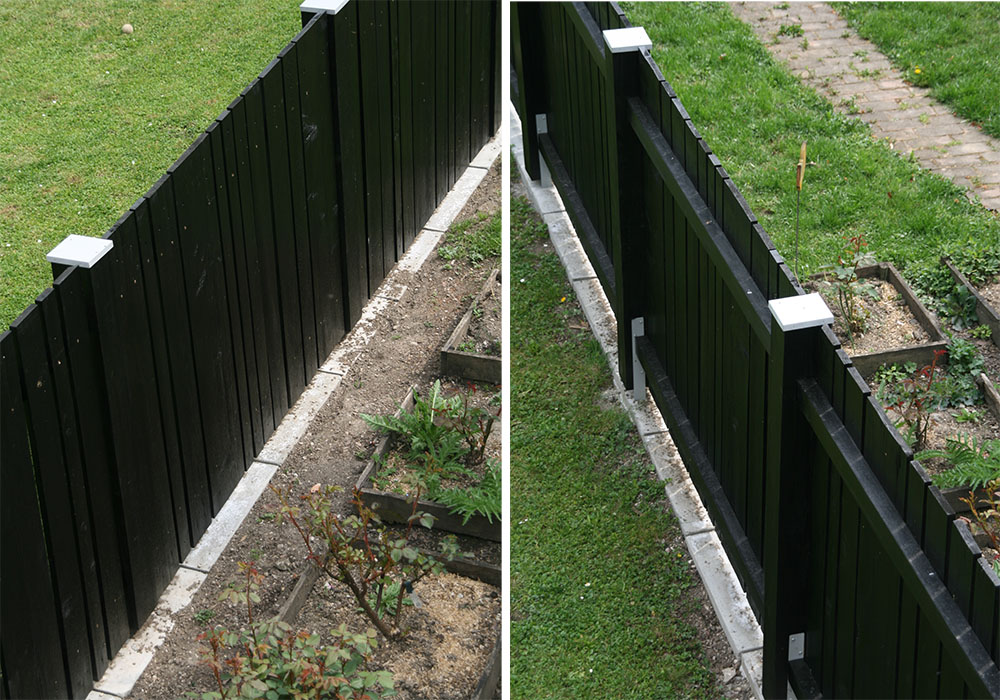
We were almost done. We had to return ‘the old hats’ to our freshly painted posts. We didn’t like the color they were, so we spray painted them with the same paint as we painted the anchors. We had to do two coats. In the picture on the right they are after the first coat.
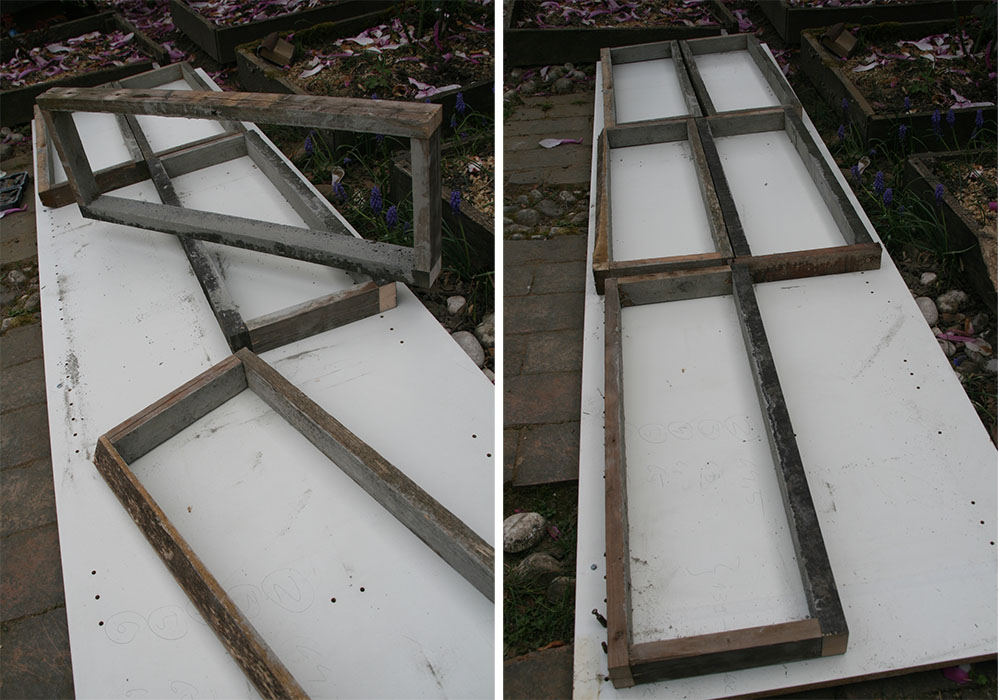
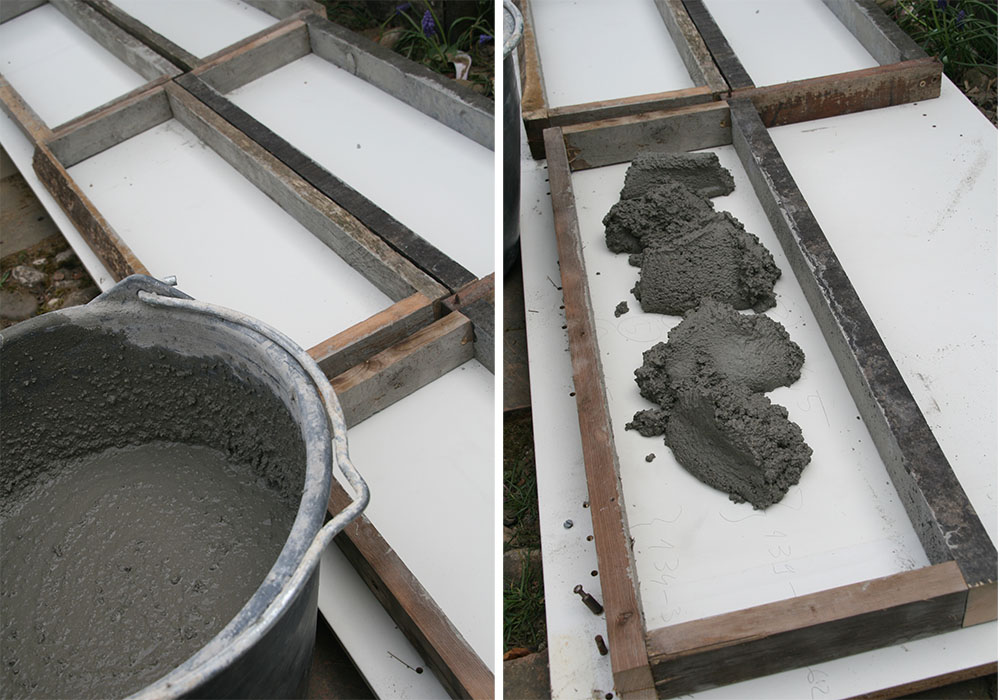
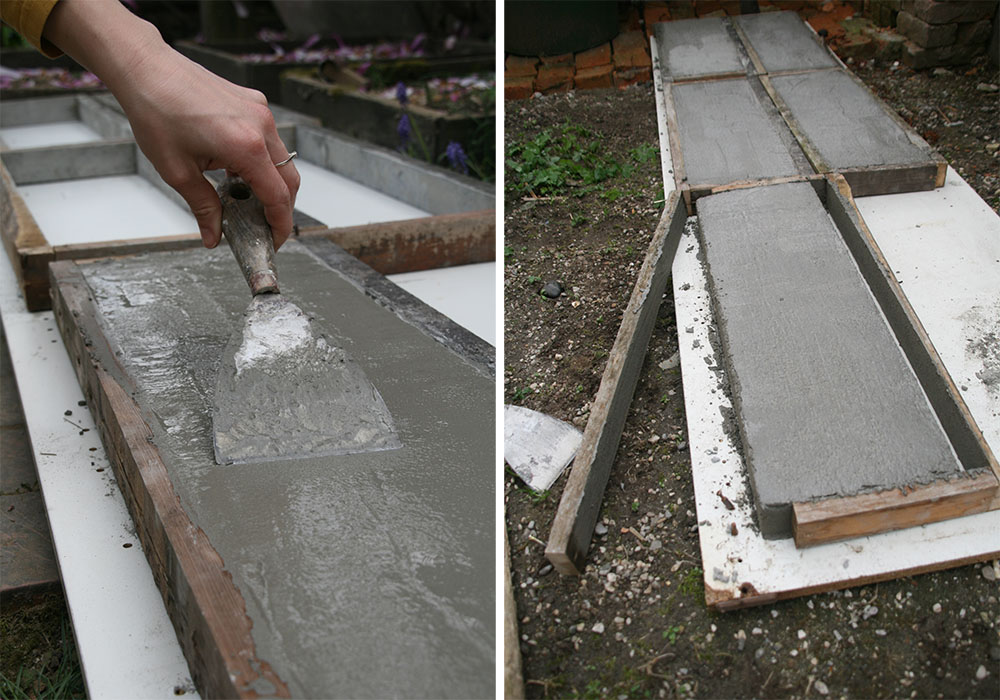
The last thing came the concrete slabs under the fence. Our part of the garden is slightly higher than the neighbours’. Previously there were only wooden boards holding the soil in and as you can guess, they were rotten. We wanted to do something more sustainable. Why we didn’t pour the concrete on the spot was just because of practicality. We wanted all the slabs to look the same. If in the future we’ll want to reuse them in some other place, we’ll just dig them out. So for that we found an old piece of chipboard (part of an old wardrobe 🙂 ) and placed it on the ground. Then we reused the frames from the foundations, mixed and poured in the concrete and even out the surface with a putty knife. After 24 hours we removed the frames and turned the slabs around. We were left with a perfectly smooth surface. Then we laid the slabs between the foundations and that was it. Our fence was done!
I think that now we can finally rename our fence from a Fence of shame to a Fancy fence! 🙂