While ‘ombre effect’ is still in let’s jump on that wagon, shall we? 🙂
I was contemplating if I should write this post or not. But let’s face it, not all projects come out the way you wanted to. On some you’re really proud and on some… hm.. not so much. 🙂
I wanted to do a bedding with an ombre effect. My original plan was to buy a cheap Ikea all white bedding and then dip it in the prepared dye. My duvet is huge, it’s 220 cm x 240 cm (7.2 ft x 7.9 ft). I couldn’t find anywhere in Slovenia bed linens in that size. So Ikea was my solution. But what always happens at Ikea? The one thing that you need the most is sold out and they don’t know when they’ll restock it.
So plan B. I have never made bed linens myself. I bought 5.0 m x 2.8 m (16.4 x 9.2 ft) of 100% cotton fabric. First I washed it and when it was dry I had a fight with it trying to iron the whole thing.
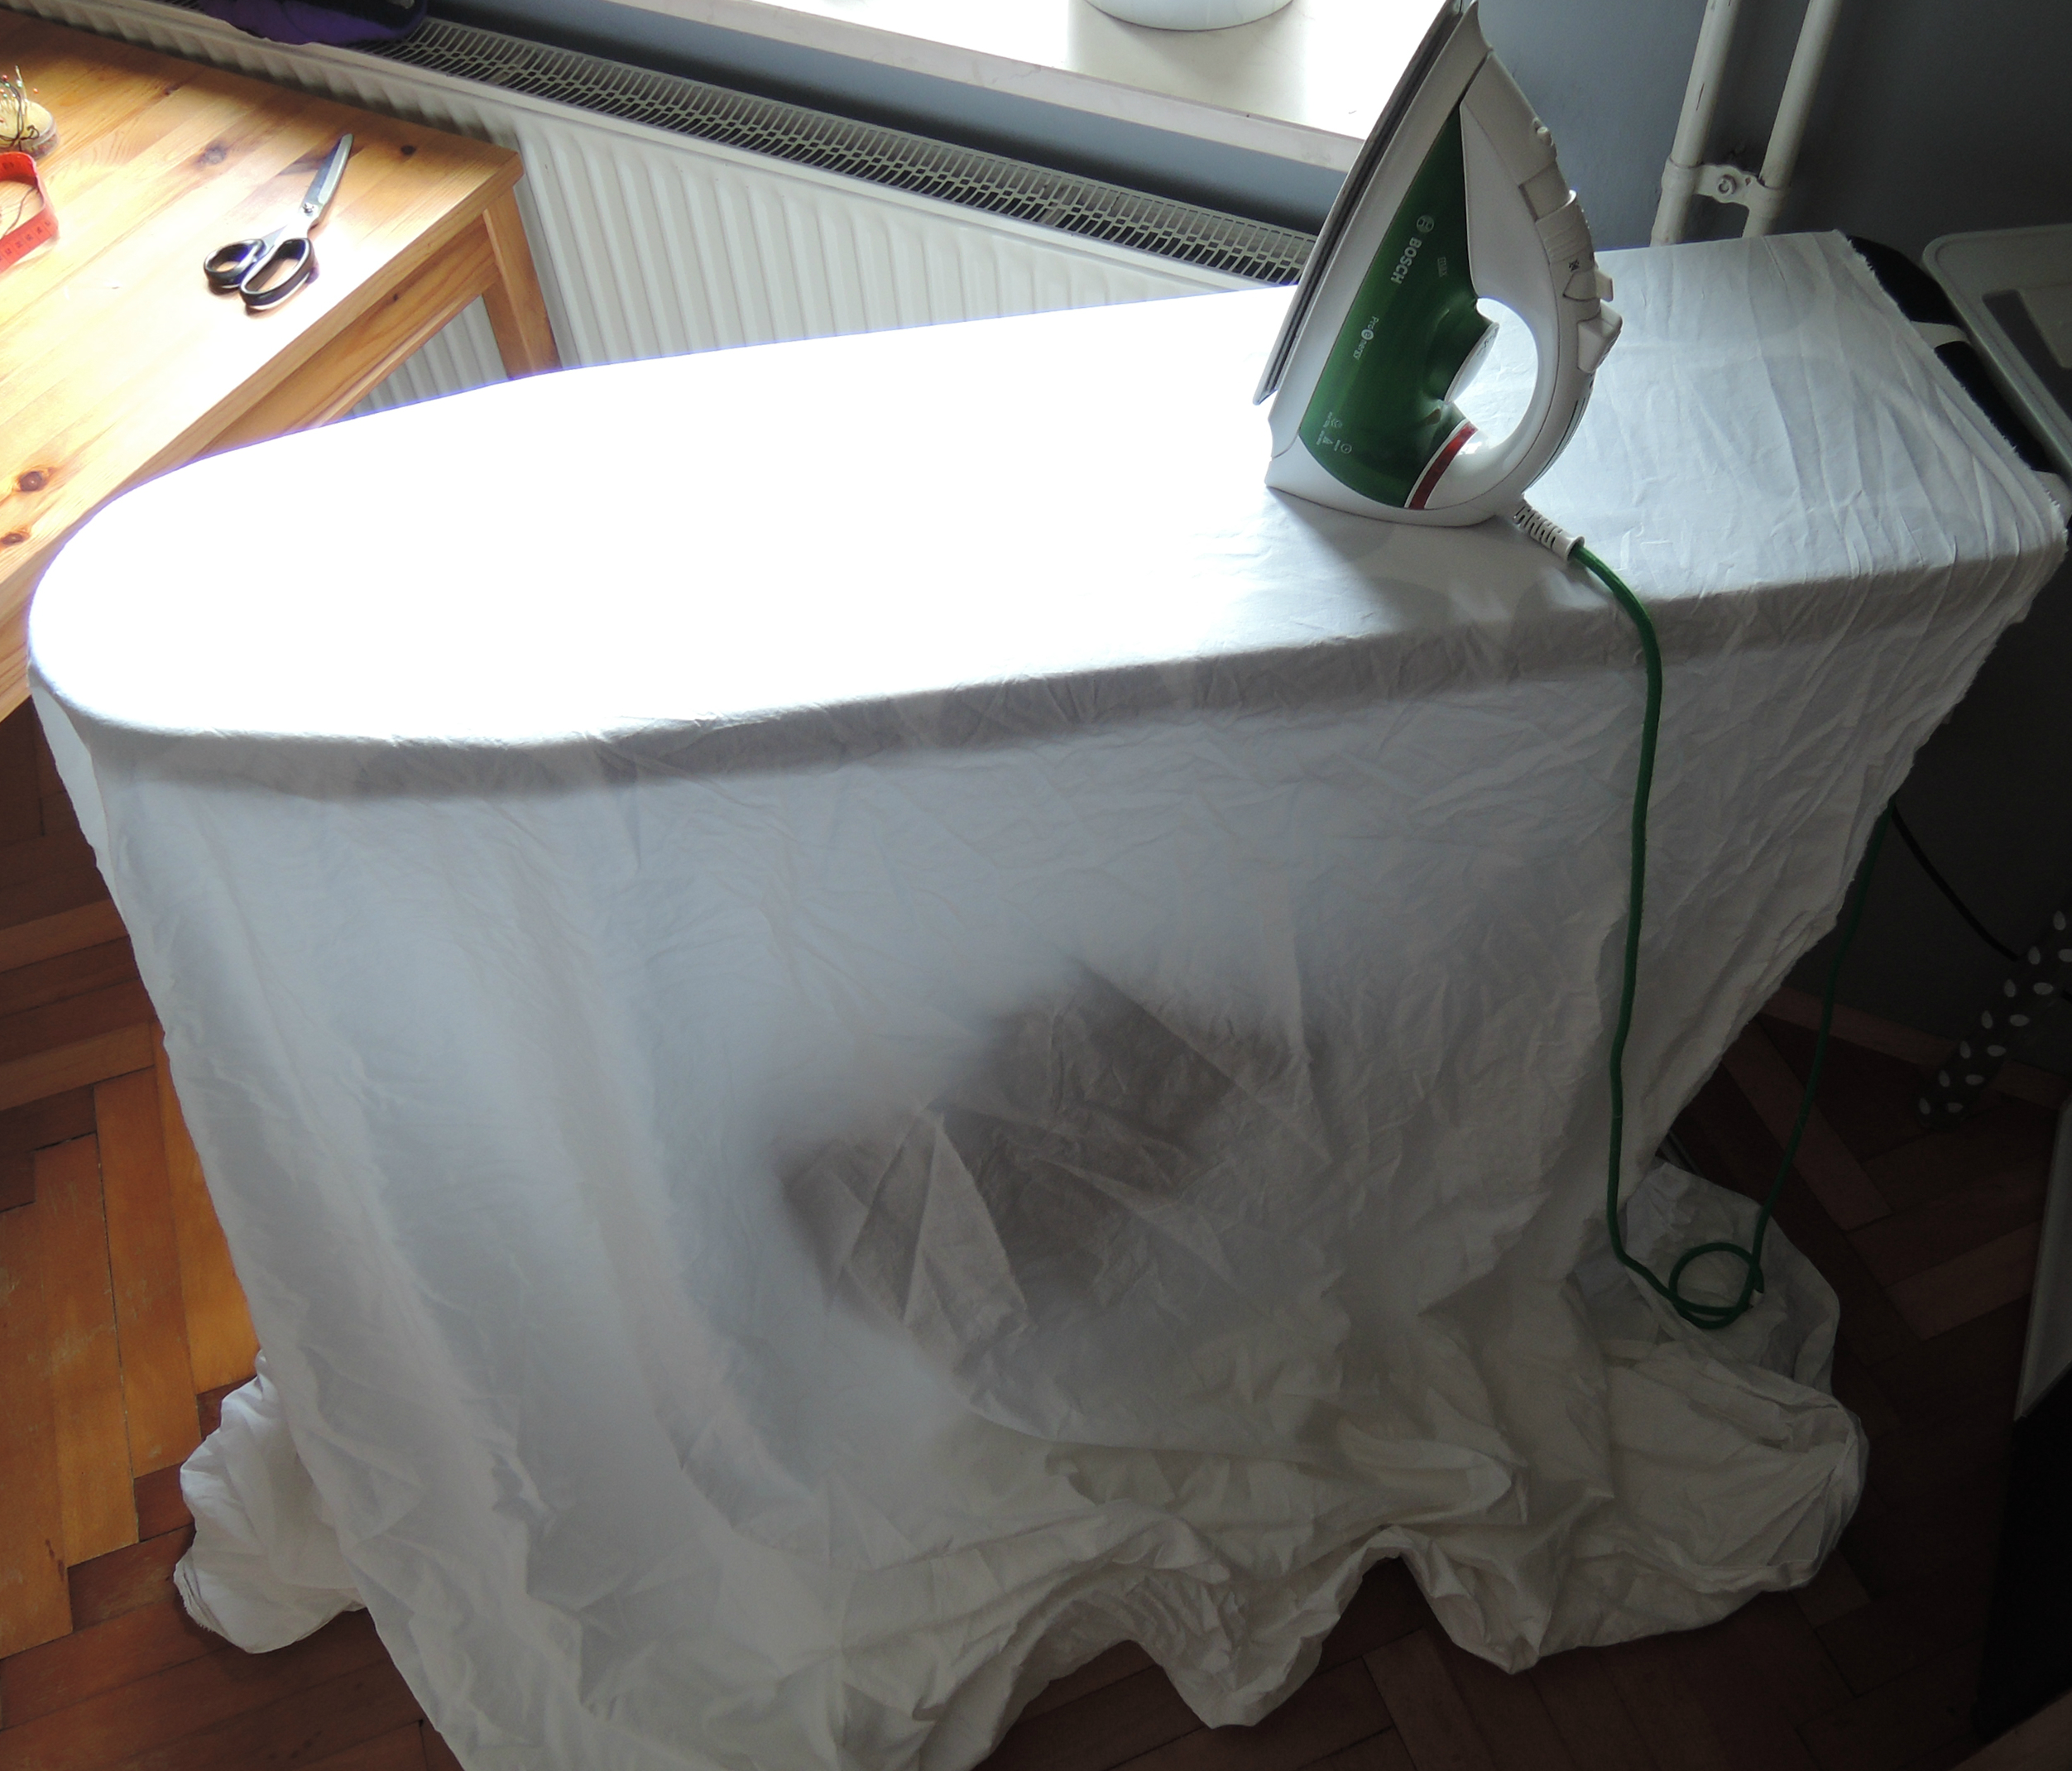
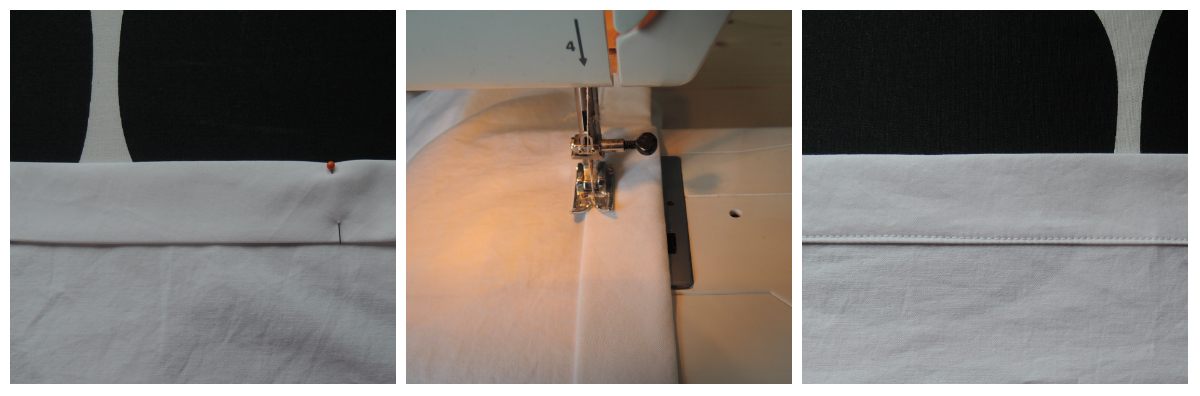
Then I gave up and cut out the approximately the right size for the duvet. For the duvet cover I needed two rectangles 230 cm x 240 cm and four little ones for the pillows. Cut in those sizes it was almost manageable to iron it. 🙂 From then it went smoothly. On the bottom side of the duvet cover I made a hem about 3 cm (1 1/4 in) wide. Folded and pressed it two times so that no raw edges were visible and stitched along the outer edge on the wrong side of the fabric.
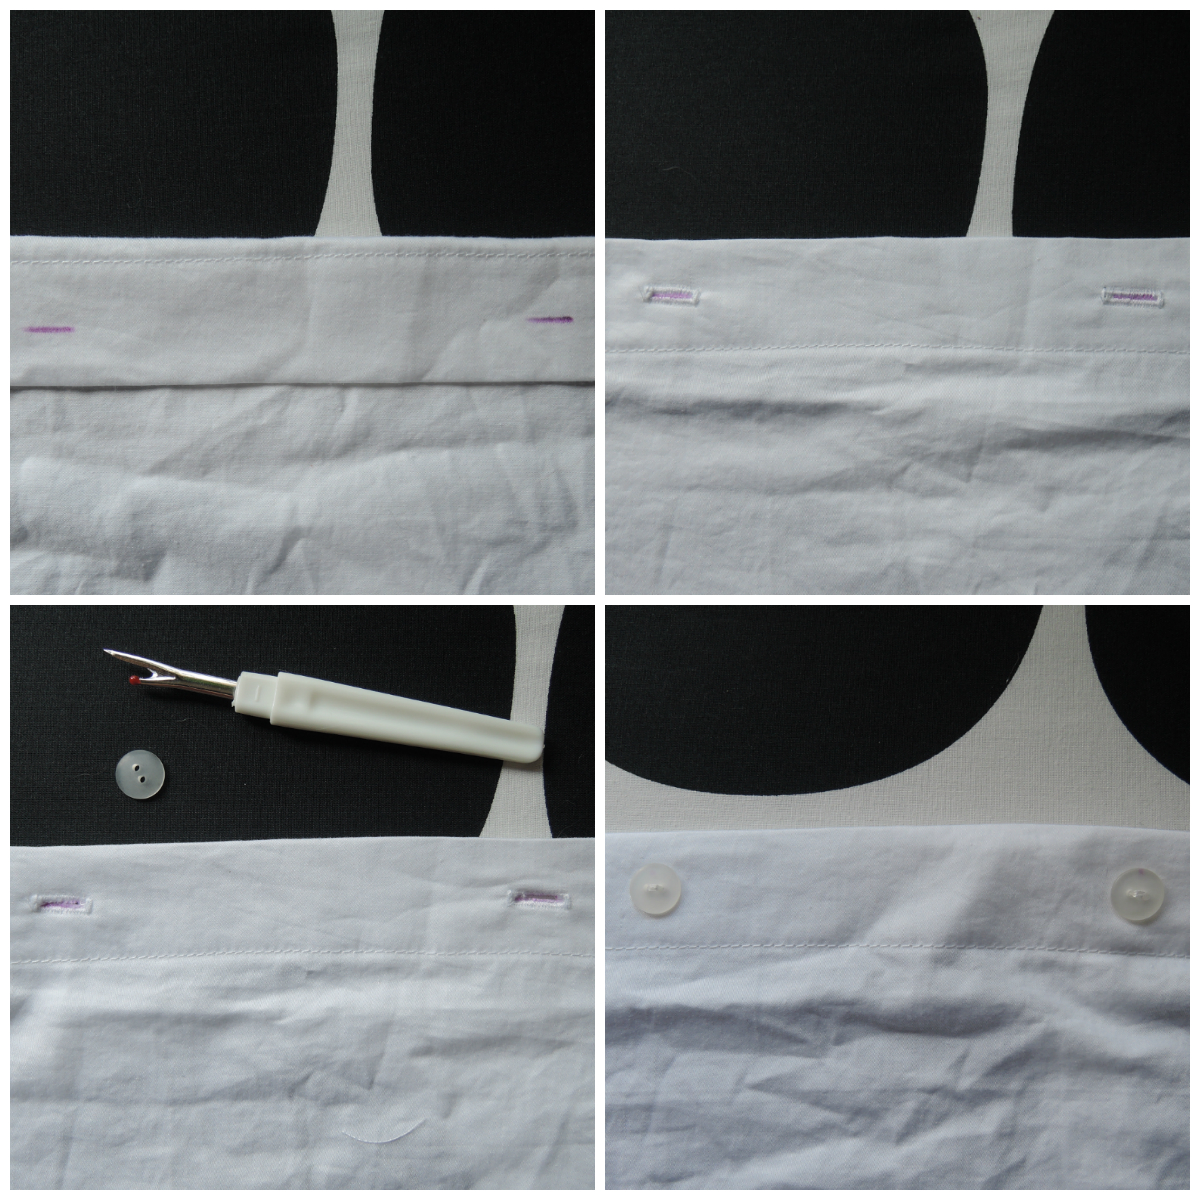
Then I just stitched together all the three remaining sides right side together and used a serger to hem the raw edges. Last thing was to stitch the buttons on one side of the wide hem and on one side the buttonholes.
For the pillows it was exactly the same process but just in a little tinier scale.
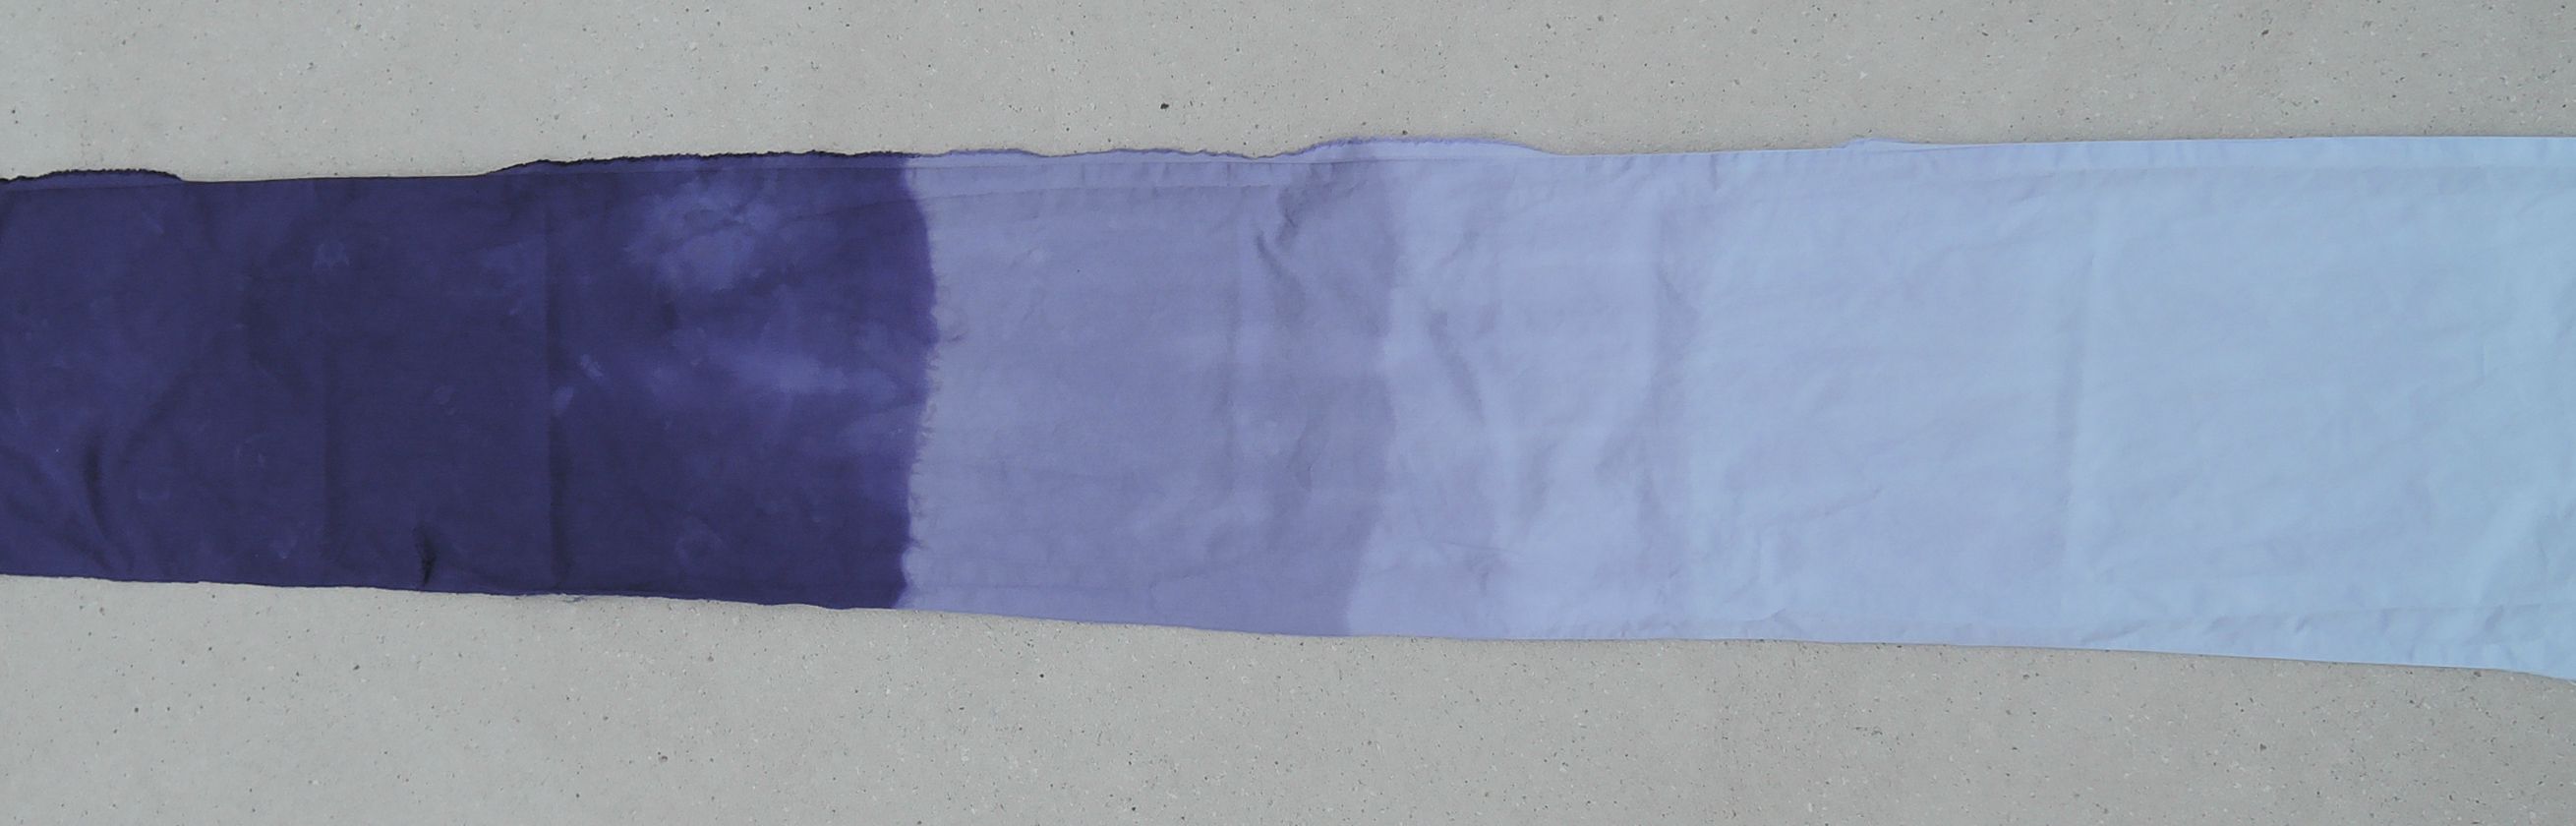
Now the dyeing. First I looked online and watched a bunch of videos like this. Original plan was to dye the bedding in a purple shade. I made a test with some spare fabric from the bedding to see how this will go on a larger scale. What I learned is that you really have to move it up and down all the time to not have a horizontal line. Other thing was that I didn’t like the end color. I was hoping that the ‘white part’ of the fabric that I didn’t dye would be left white after the washing. Sadly it didn’t and I hated that baby blue tint it left with the purple gradient. So I went to the store and bought 3 packs of black.
Luckily we had a big plastic container at our disposal which was meant for another project. I mixed together the dye with hot water and salt according to the instructions on the packet. First thing I put in the container was a pair of old pillow cases, because I wanted them to be as deep as the bottom of the duvet cover. Then with Evgen’s help we dipped the wet duvet cover in the dye mixture and moved it up and down to get a nice gradient. The bottom part was in the dye the longest. The problem was that we didn’t see the gradient because everything was black and didn’t know how long should we stay at some levels. With the purple I could see the gradient and I could adjust the time dipped in the dye accordingly.
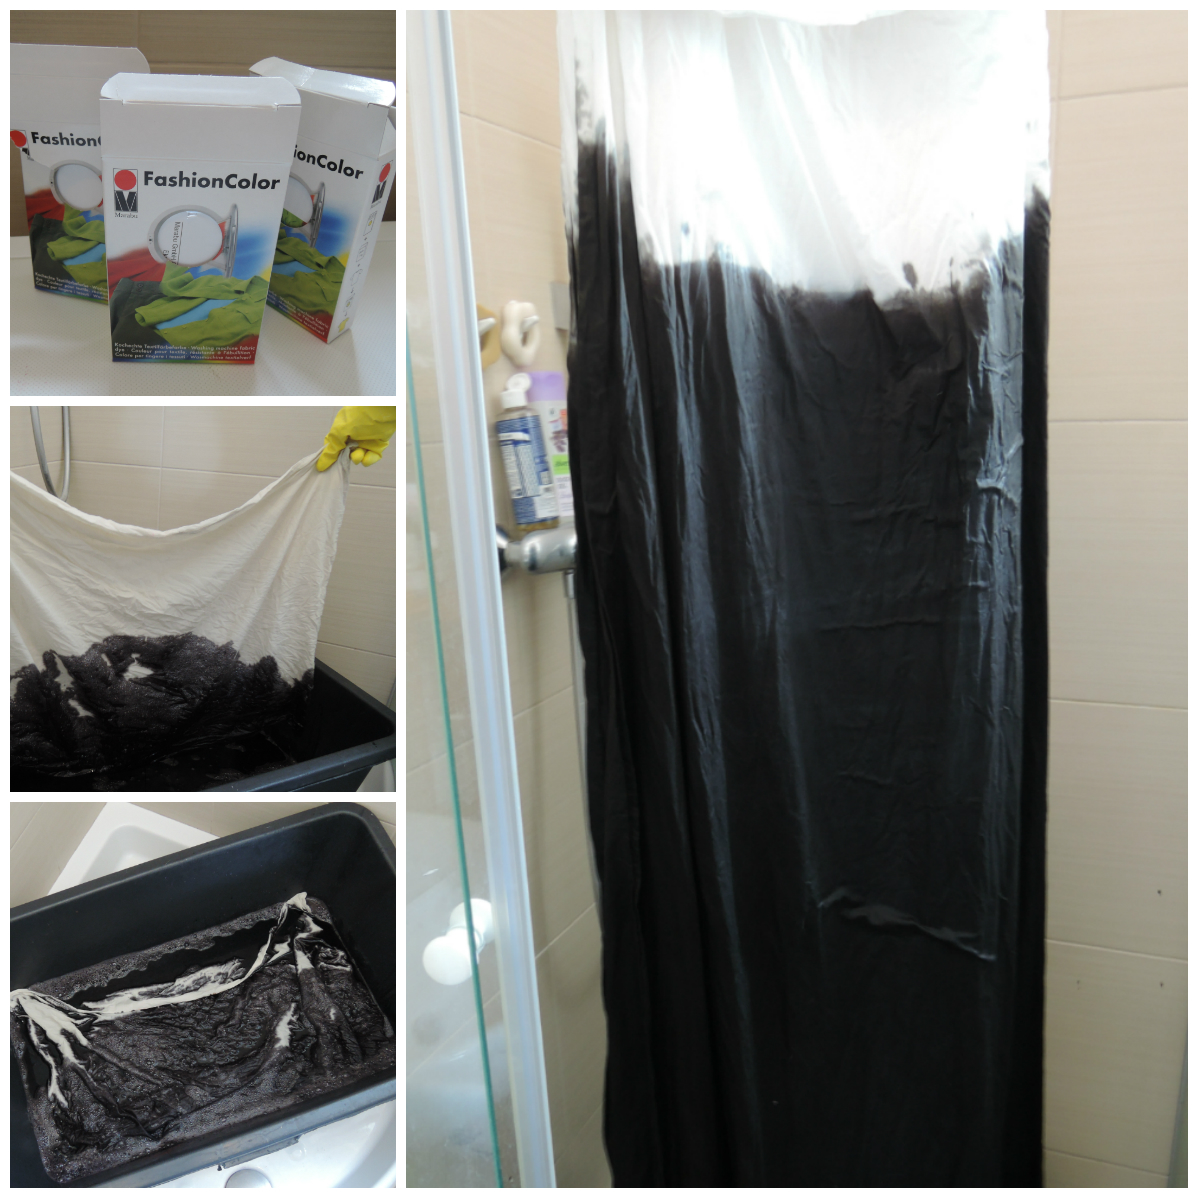
After 30 minutes of dyeing we tried to wash out as much dye as possible. Then straight in the washing machine. I added the two remaining white pillow cases that they’ll be dyed in the same color as the top of the duvet cover.
When it came out I didn’t know what to think of it and I still don’t. At least the top of the duvet cover and the pillow cases didn’t come out baby blue, but more greyish blue.
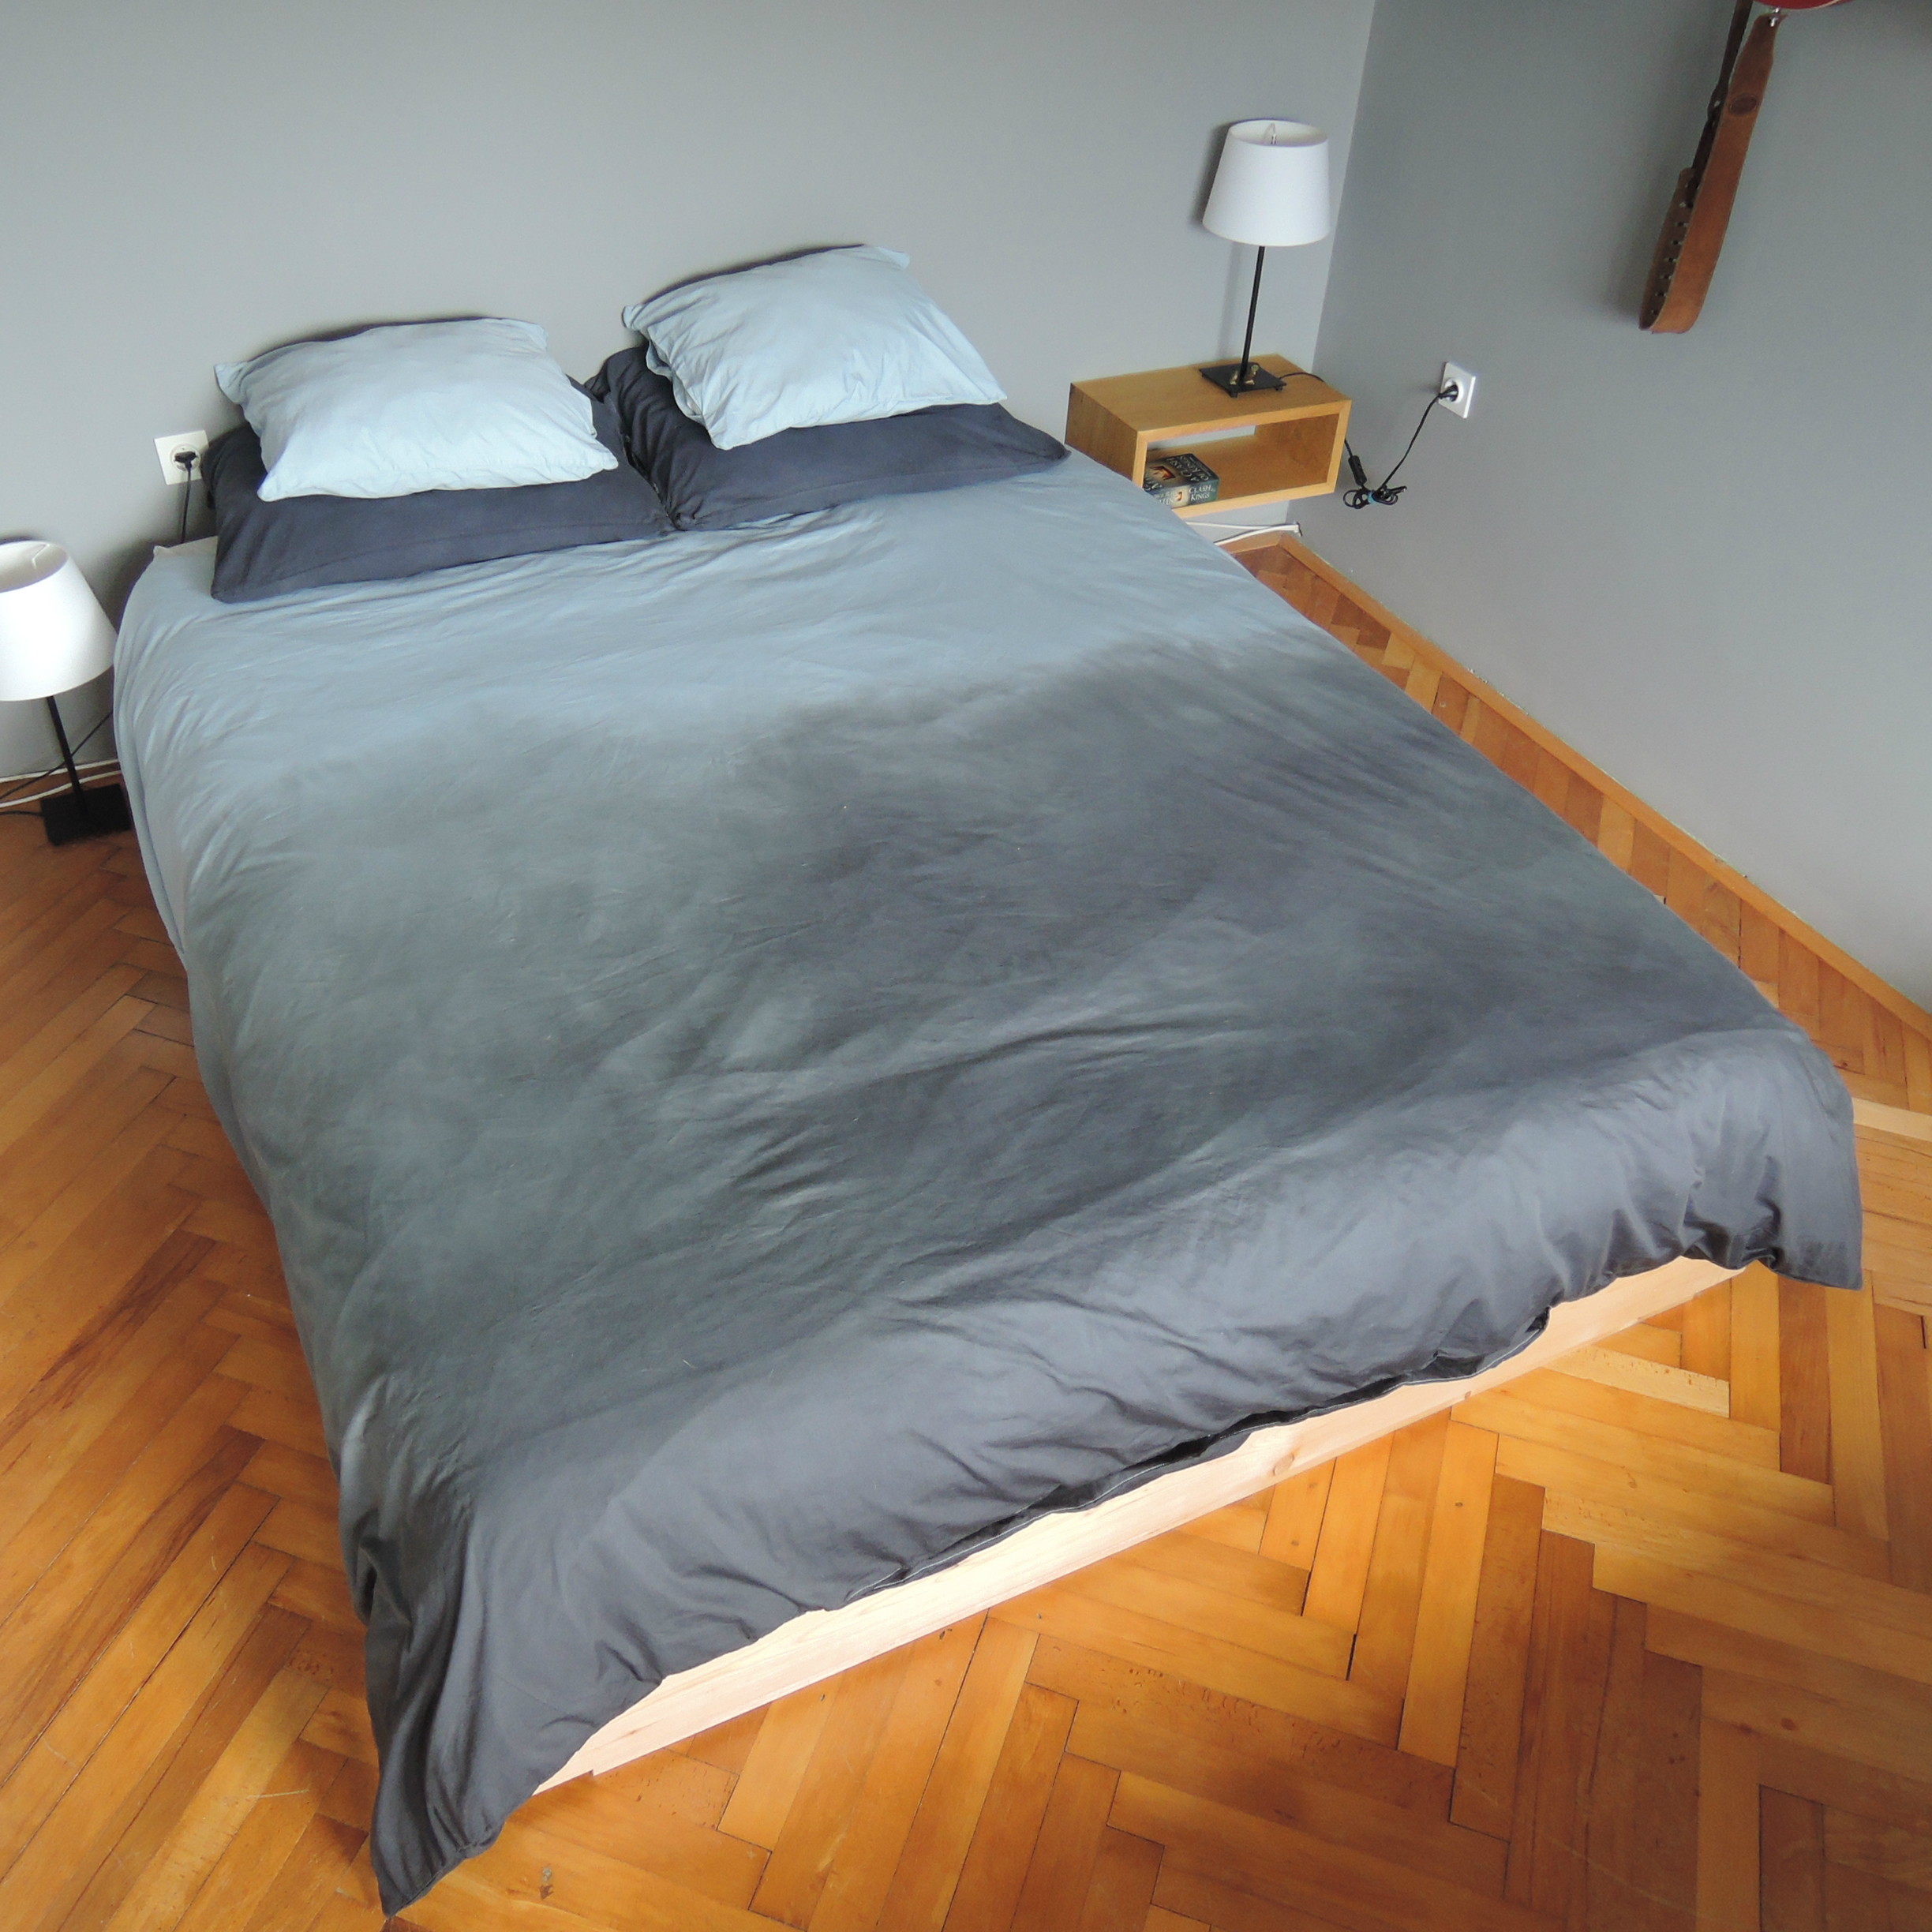

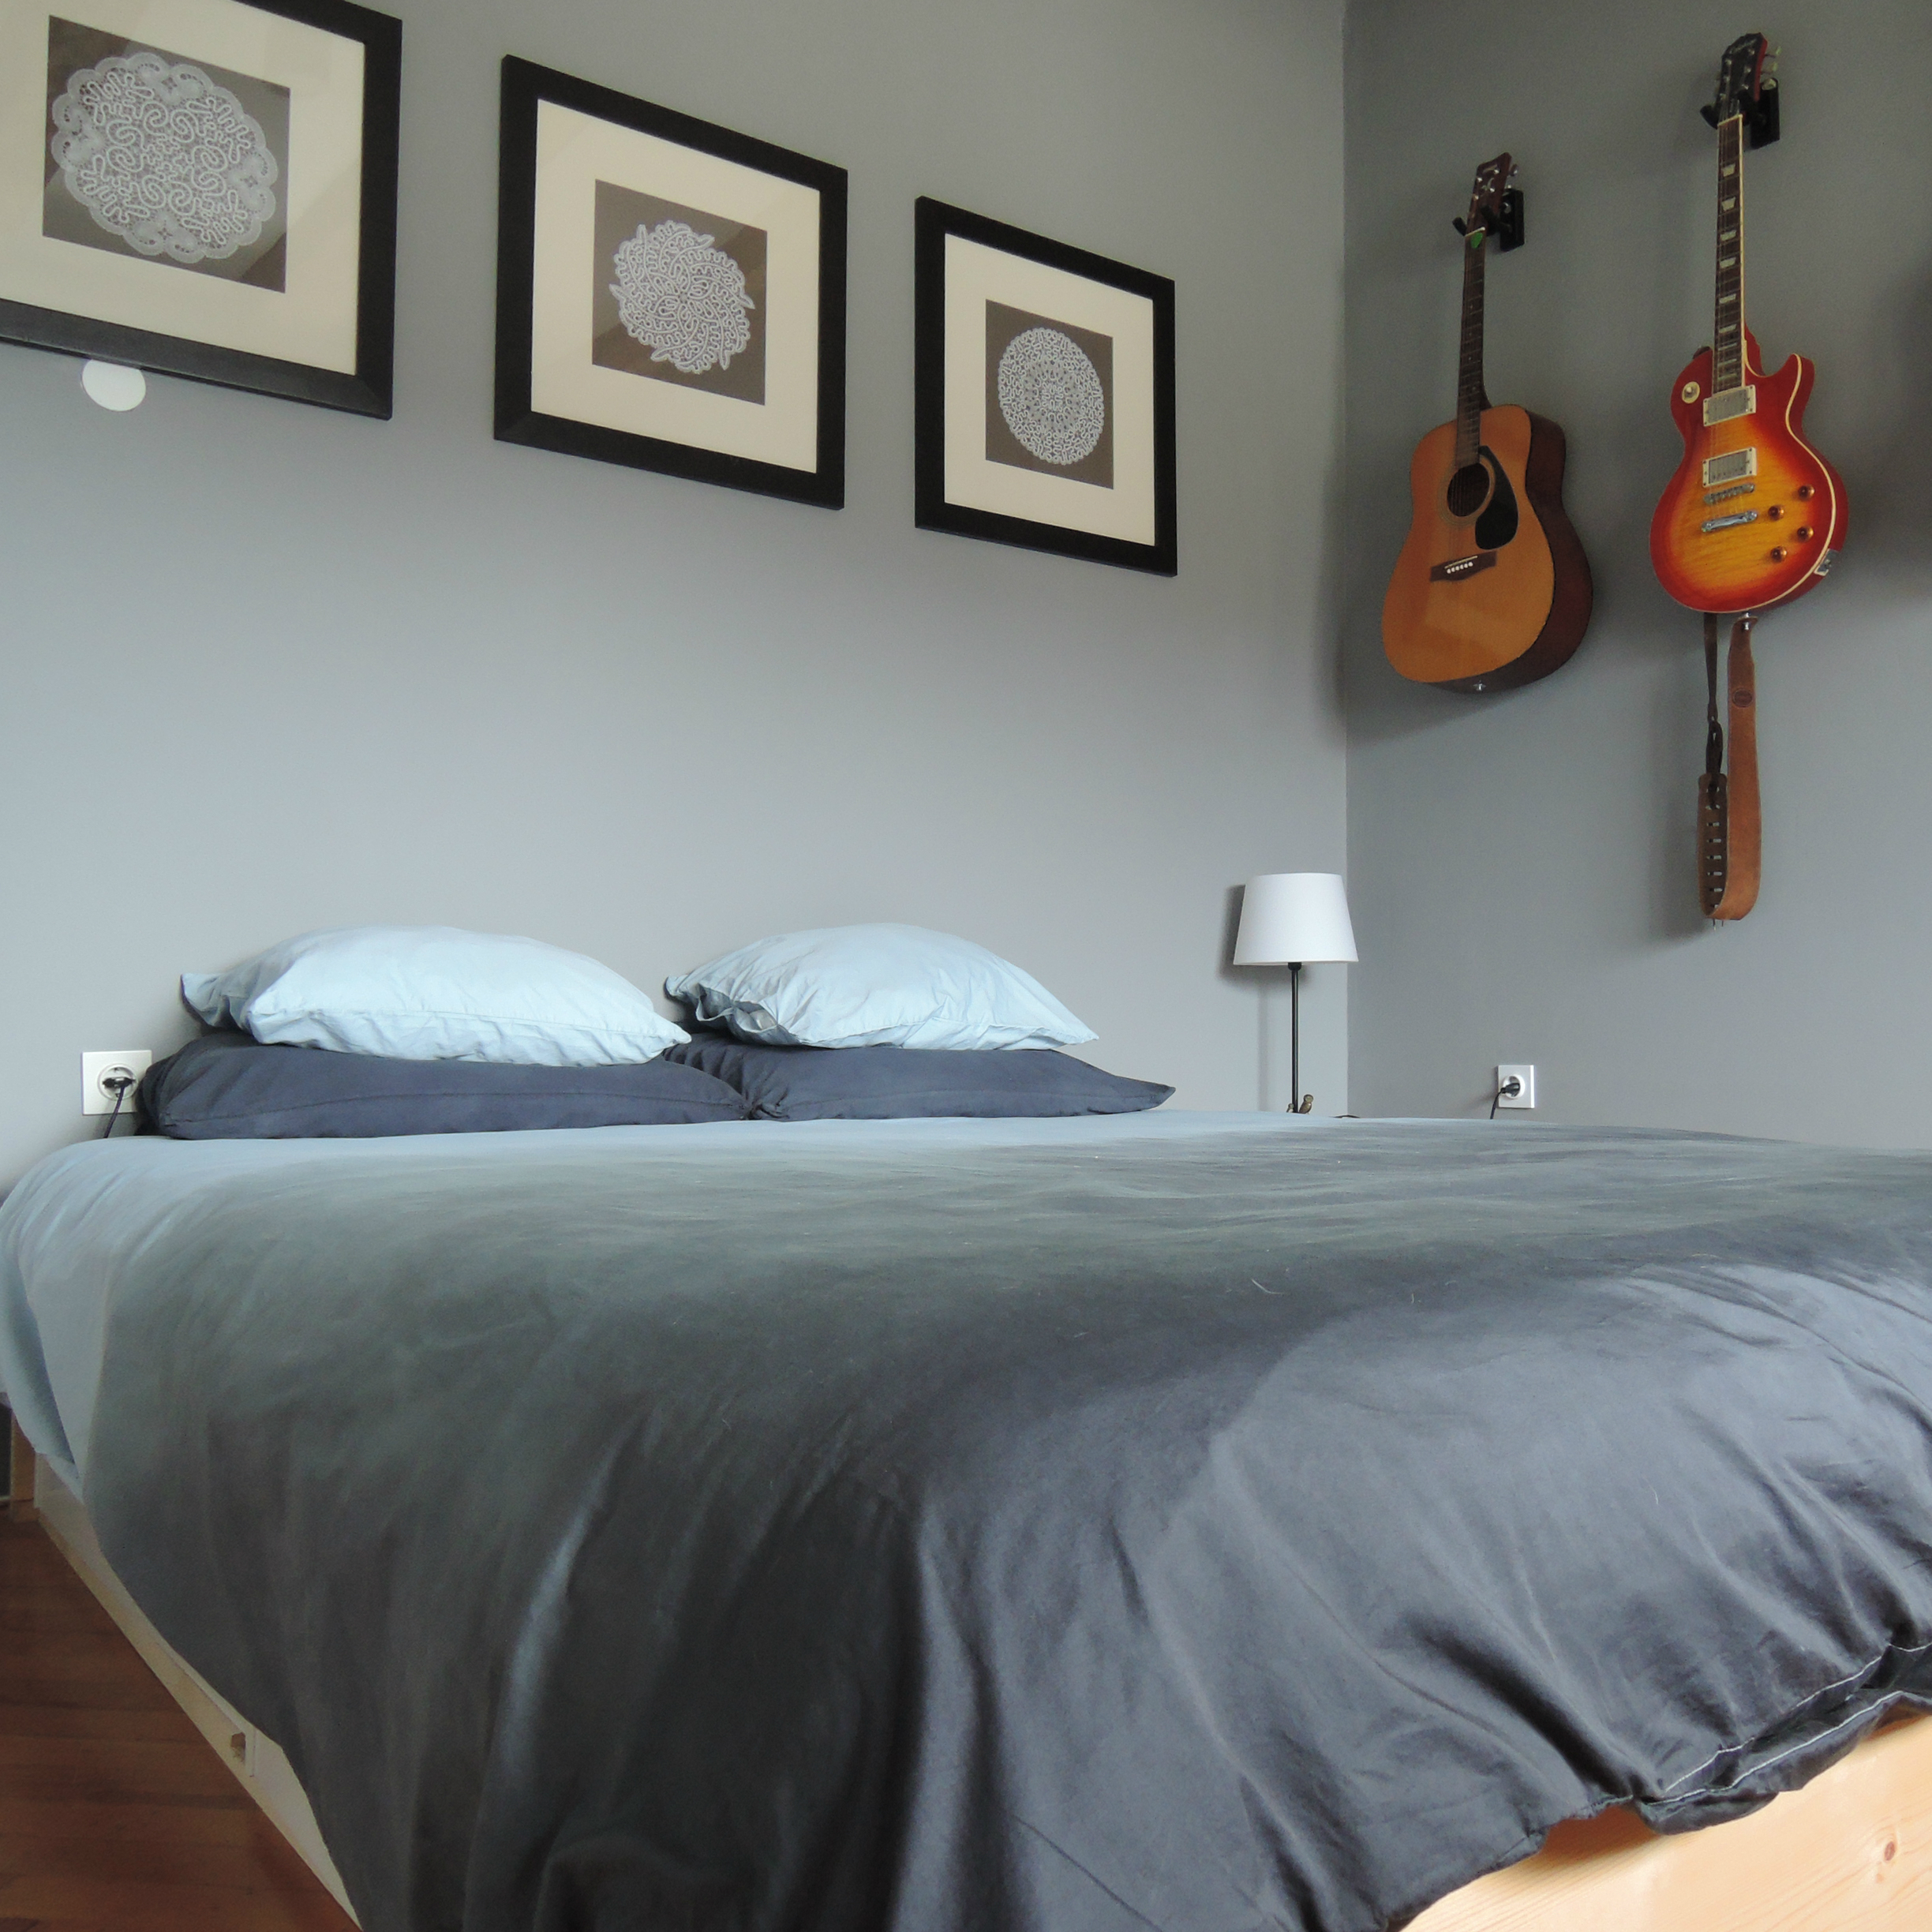

To top it all, when the bed is made and the light comes in from the other side of the room, you just can’t take a proper photo. It just doesn’t show the gradient. In reality the gradient is quite nice. All I could do to show the gradient was to take a picture of the duvet cover while Evgen was holding it up. The bottom part really is that dark, almost black.

So is it a win or a fail? 🙂
Do you have any tips on what went wrong and how could we improve our technic?