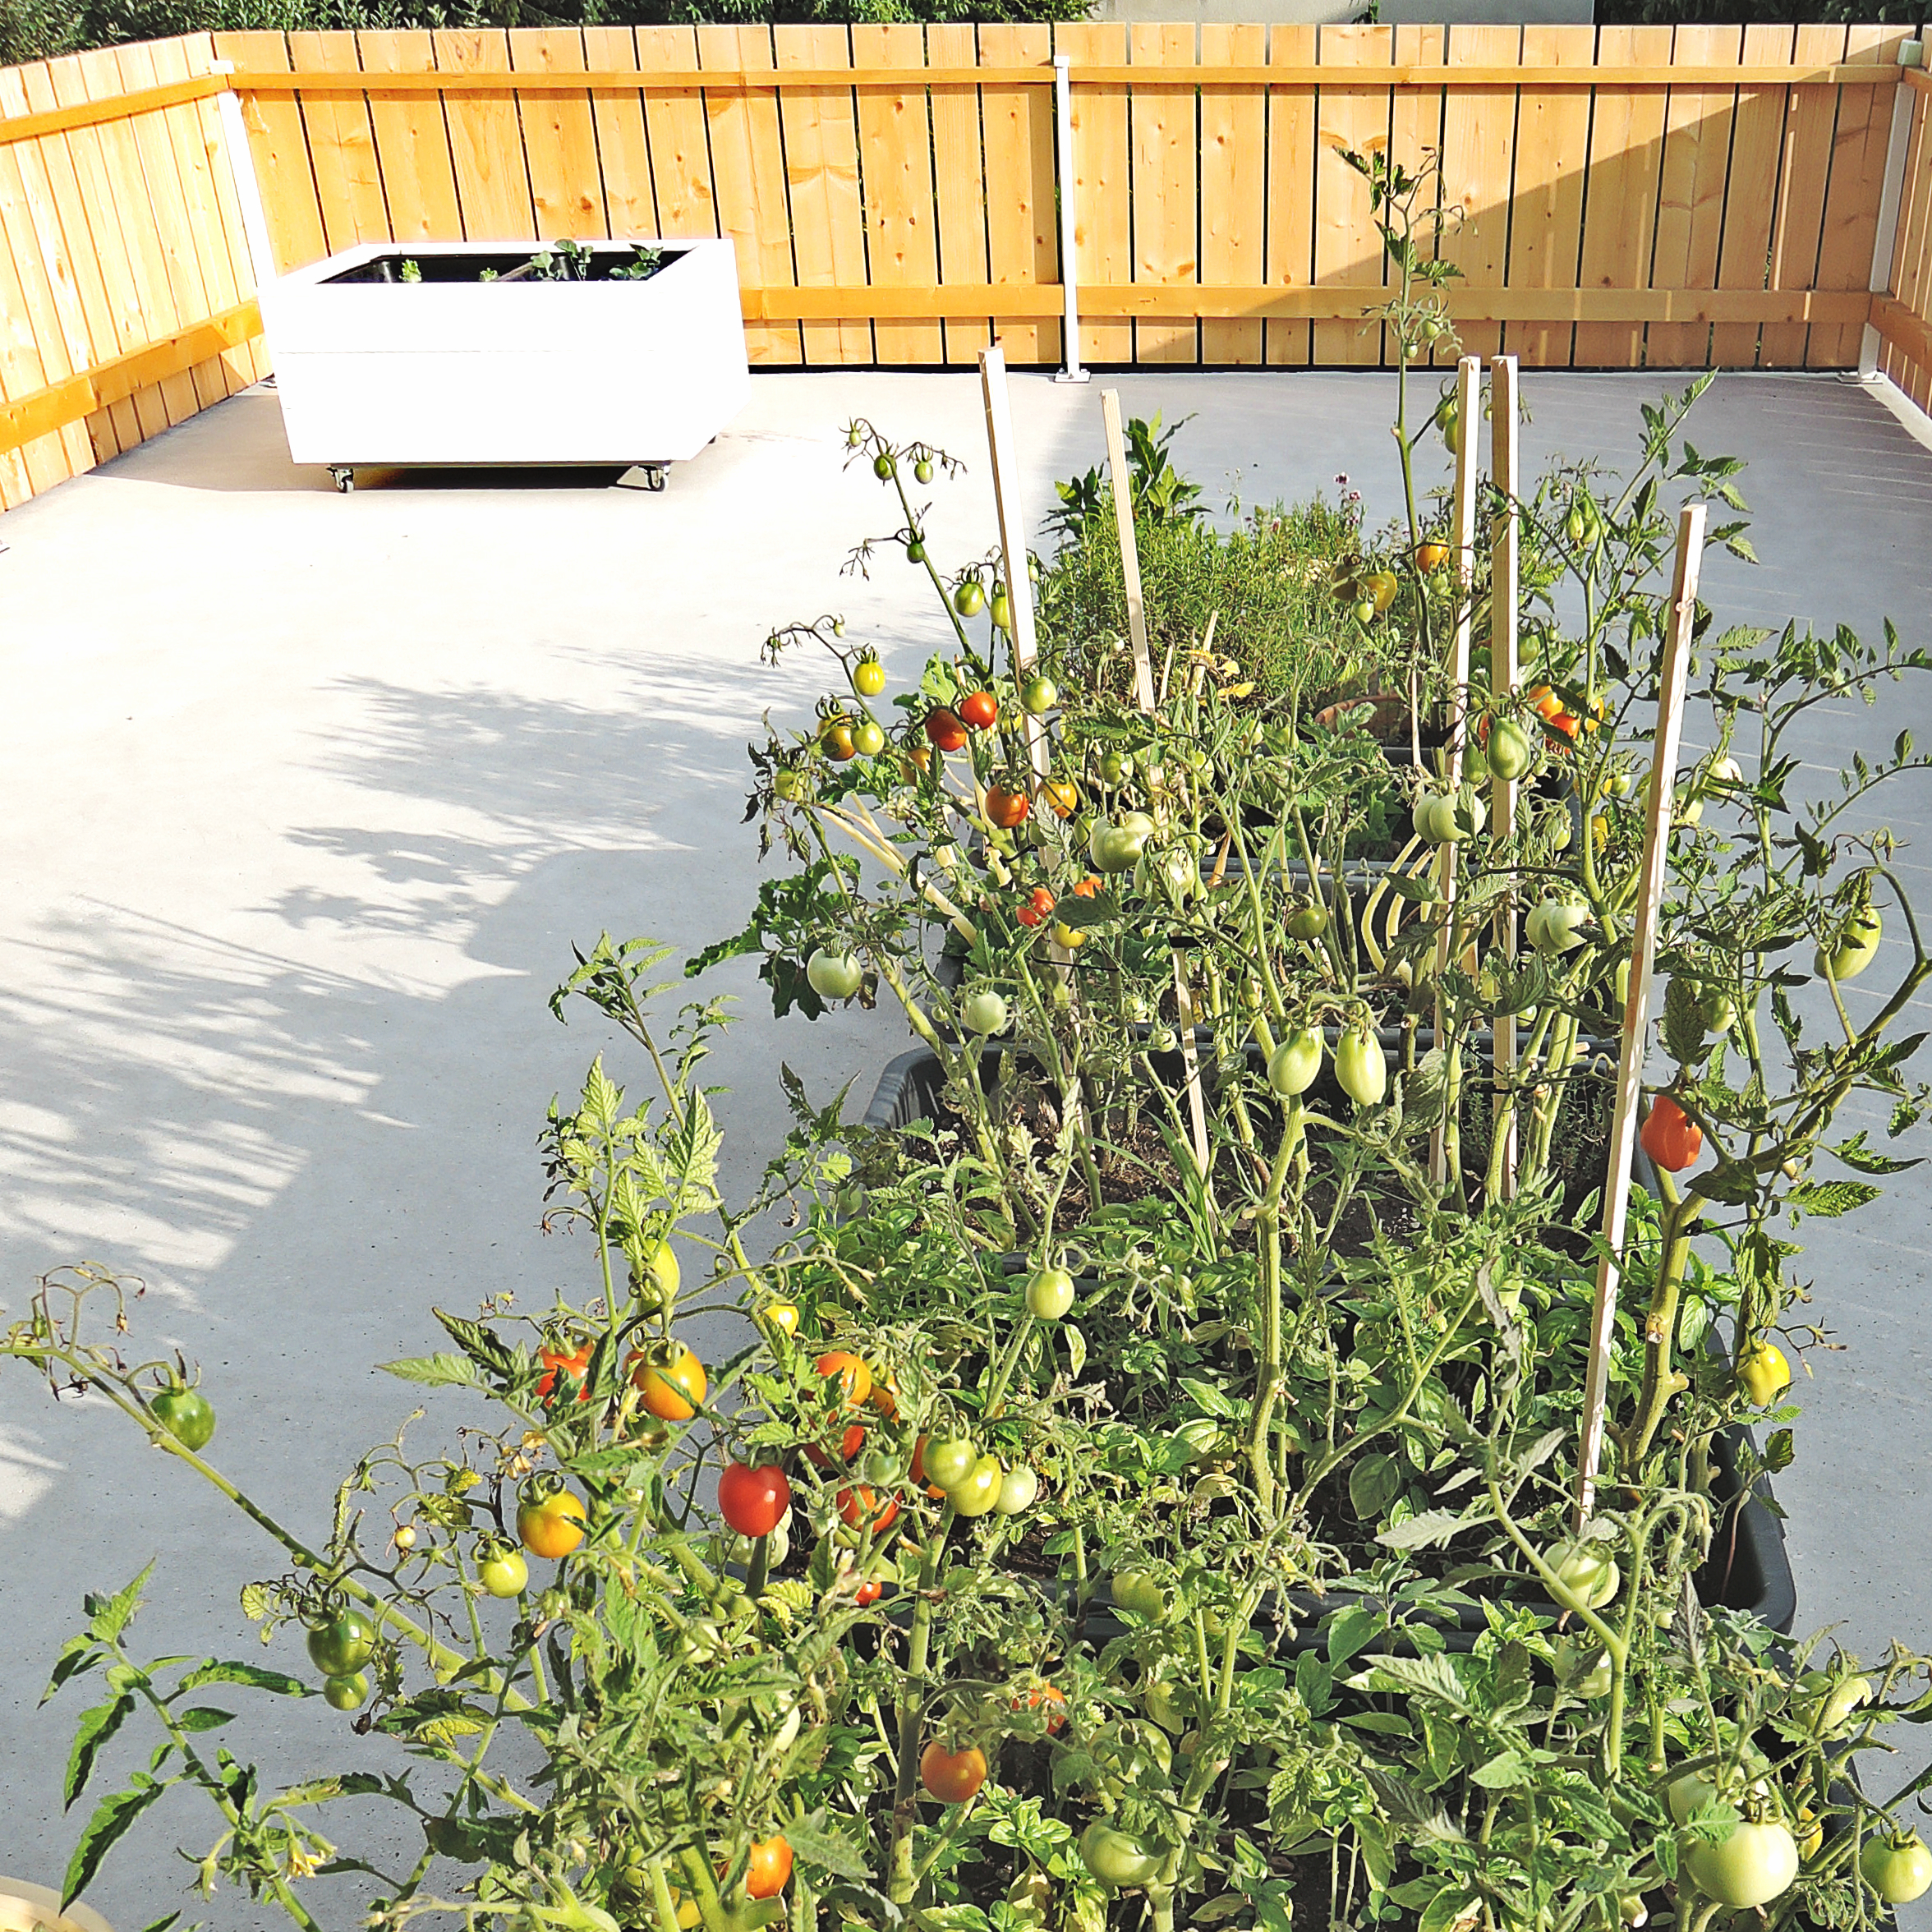
We have a really big terrace, which we’ve been slowly restoring since last fall. When I say a big terrace, I really mean it. It is 9 m (30 ft) by 5 m (16 ft), so overall 45 m² (480 ft²). There are a couple of posts coming up in the future about the new fence and concrete floors. Our dream is to slowly build a rooftop garden. About a third will be covered, where there will be an outdoor table and a hammock and the other two-thirds are reserved for planter boxes.

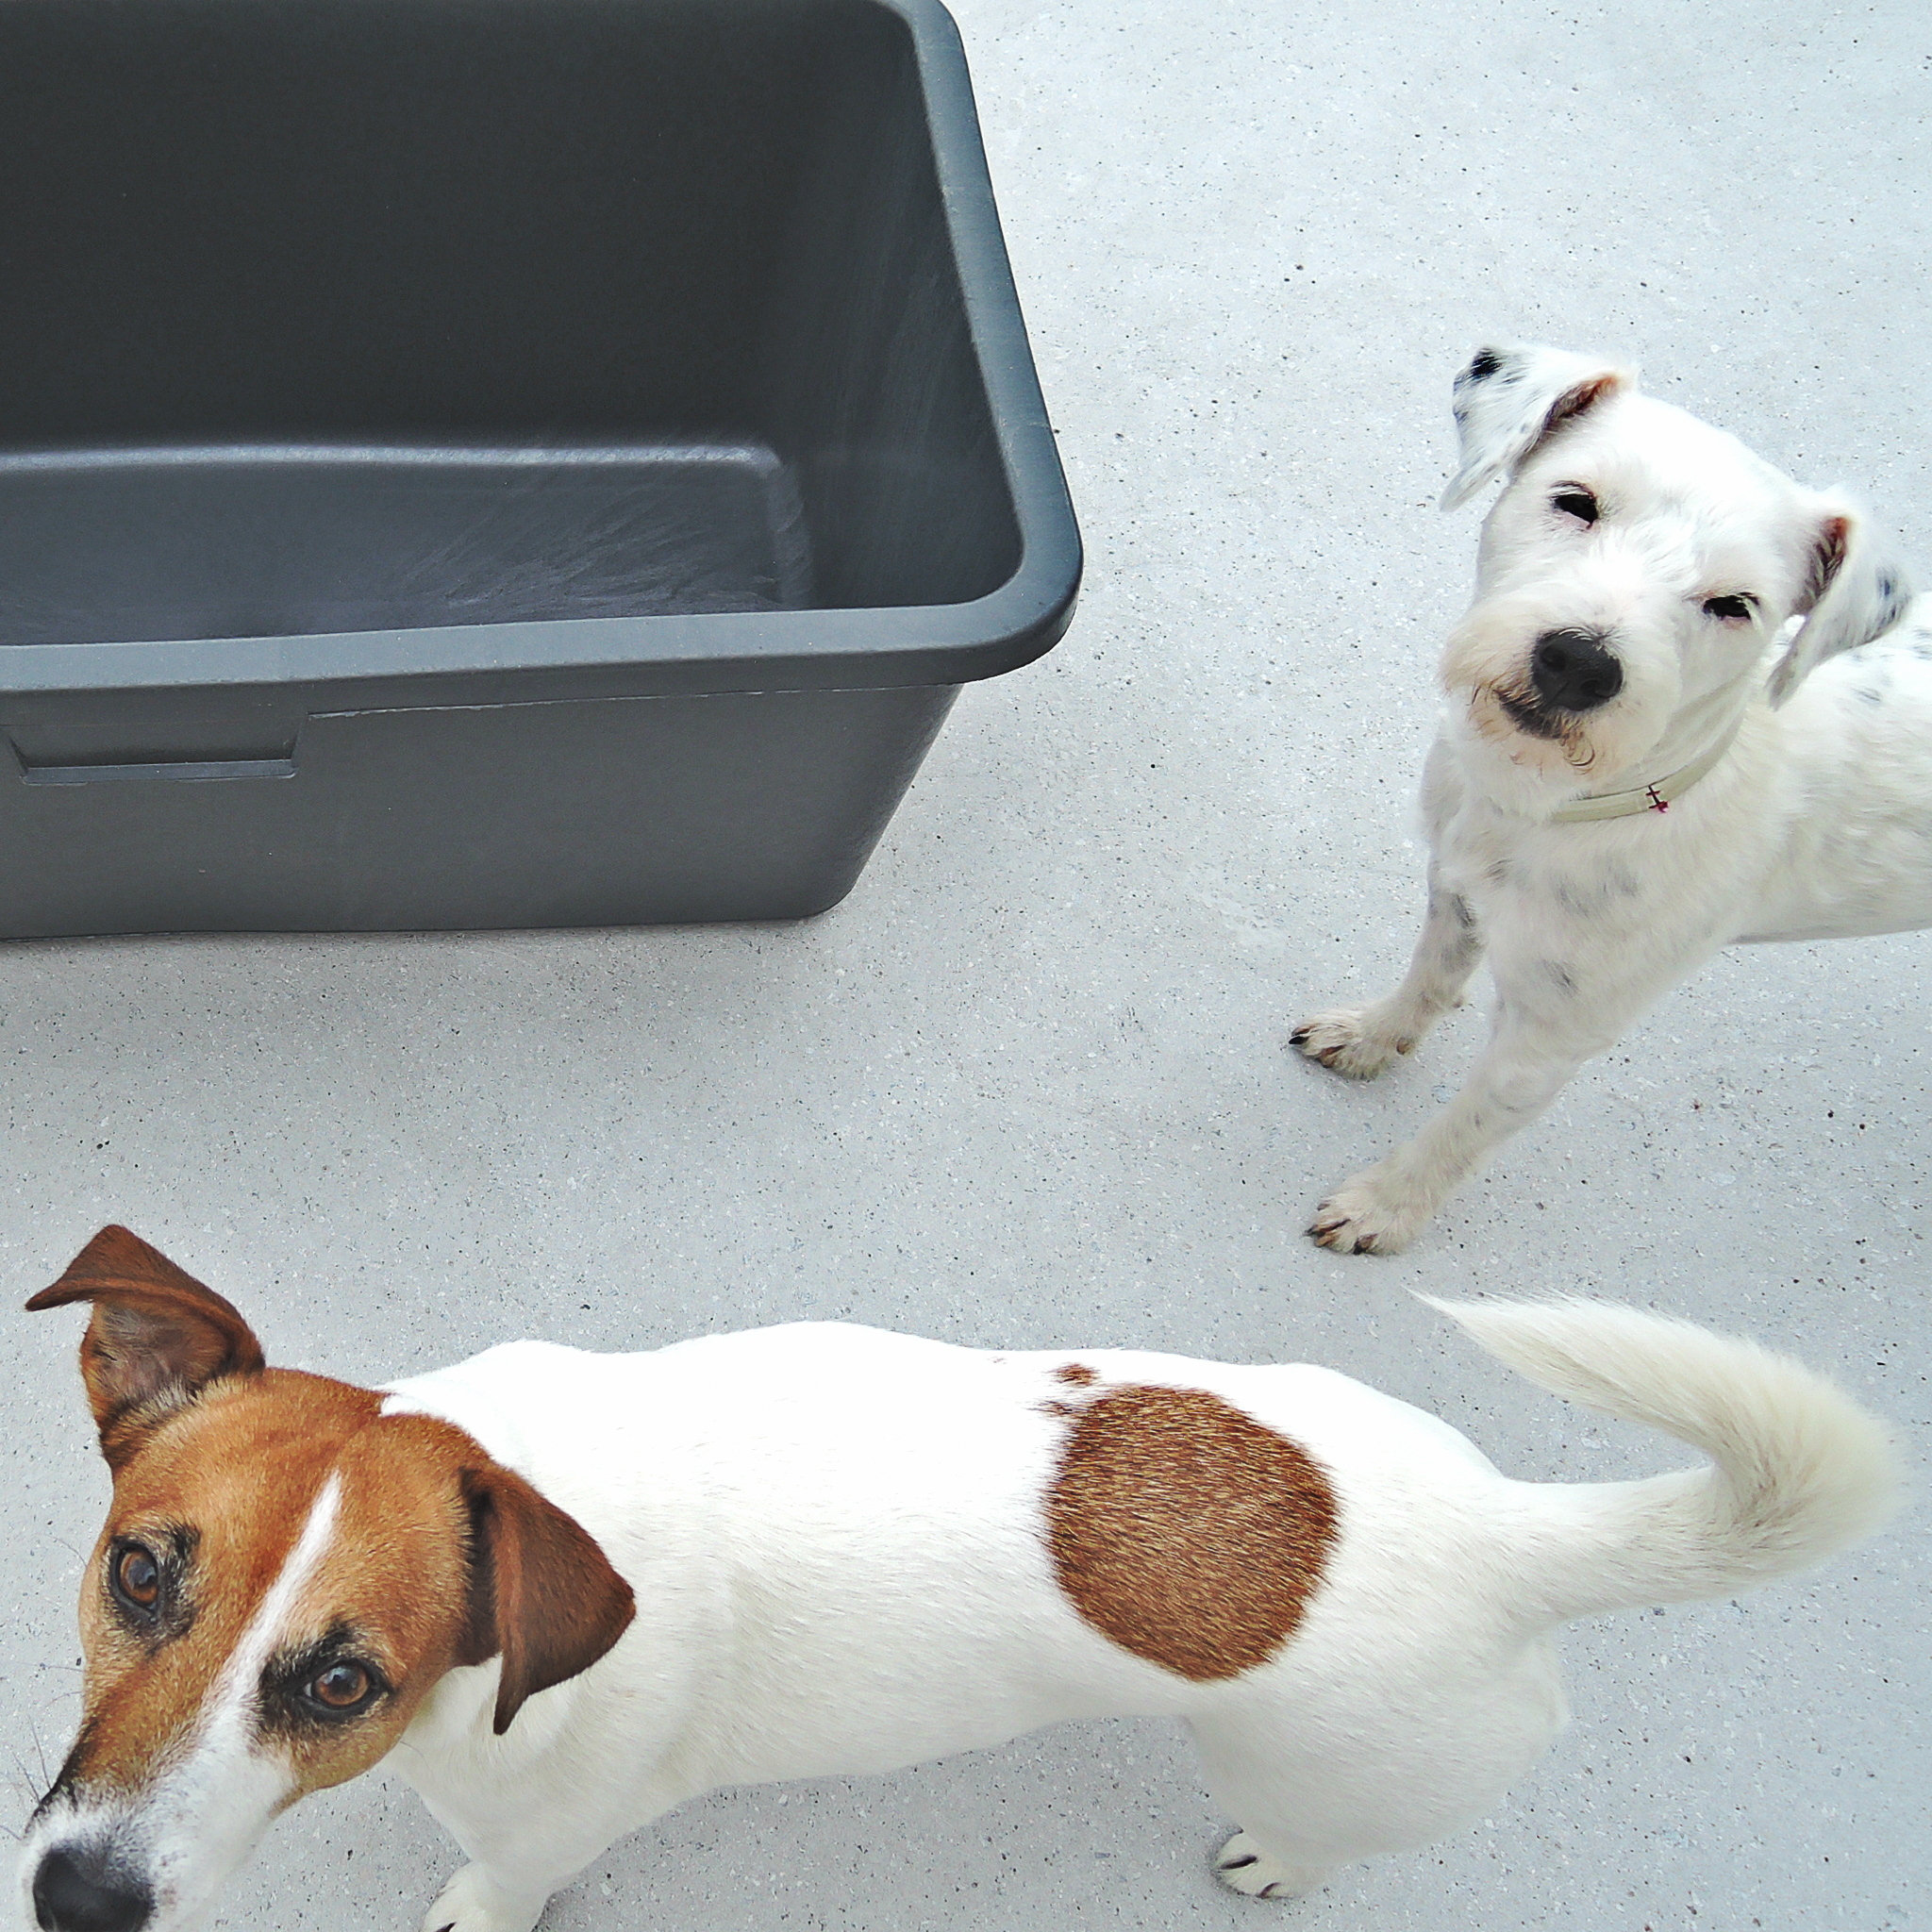
So this post is about how we designed a couple of planter boxes and made one (for now). These planters were a plan from the early spring, but first thing was to make a fence (which is still not quite finished, hence no post yet), so that Chia and Roo don’t go flying after some birds. Well… Roo doesn’t go flying after some birds. 🙂 The spring came really quickly and we had to do some improvisation. If we wanted to plant some vegetables, we had to start putting them in the ground in the end of April.
We bought 8 the largest construction buckets as we could get. The measurements of a bucket is approx 47,5 cm x 77 cm x 30 cm (18,7 in x 30,5 in x 11,8 in). So at the end of April I just drilled some holes at the bottom of the buckets for the drainage, put felt on the bottom and filled it with quality dirt. After that I planted some tomatoes, basil, lettuce and zucchini, all of which I’ve grown from the seed. The vegetables were growing nicely throughout the whole summer while we focused on other projects. Now is already August and just last week we finally found the time to make a planter for 2 buckets.

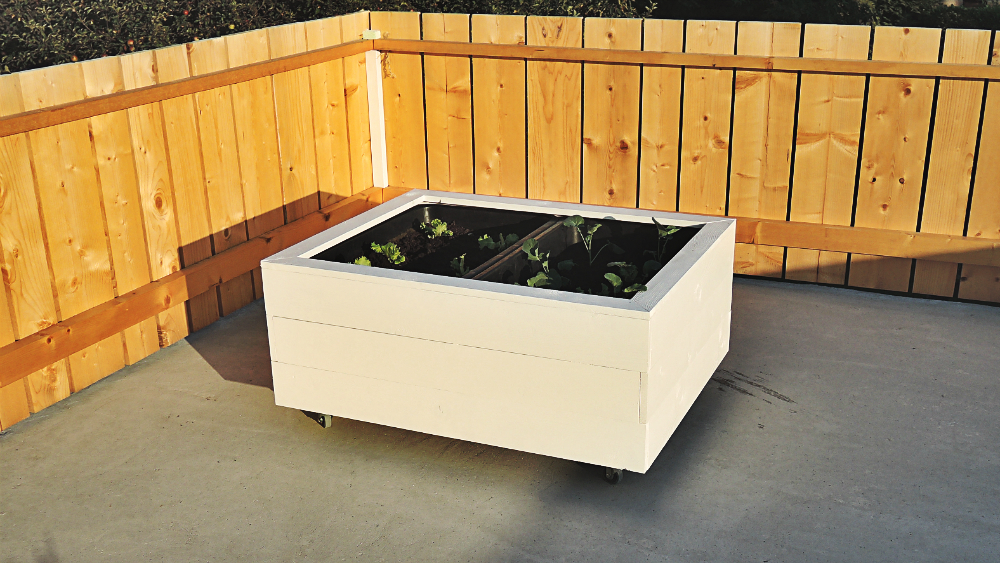
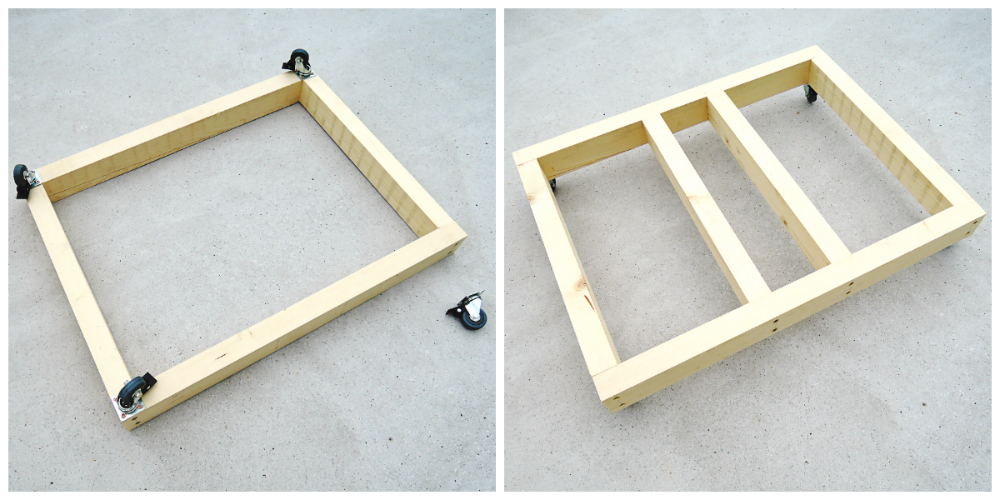
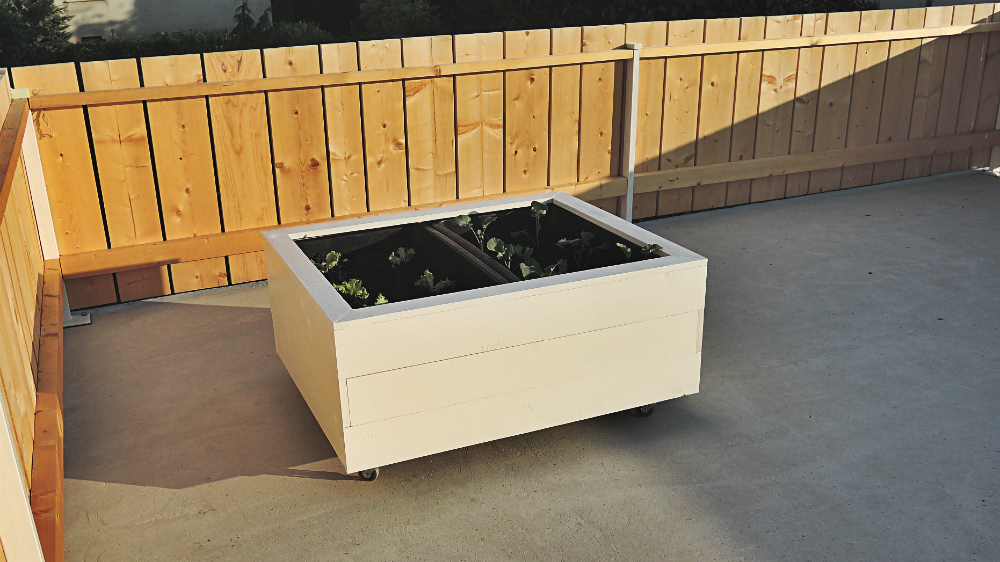
The plan was to build a planter box around the two buckets. We wanted the planter boxes to be on wheels, so that we can move them during the winter under the roof. Our winters are really cold and with a lot of snow so moving the planters will extend their life.
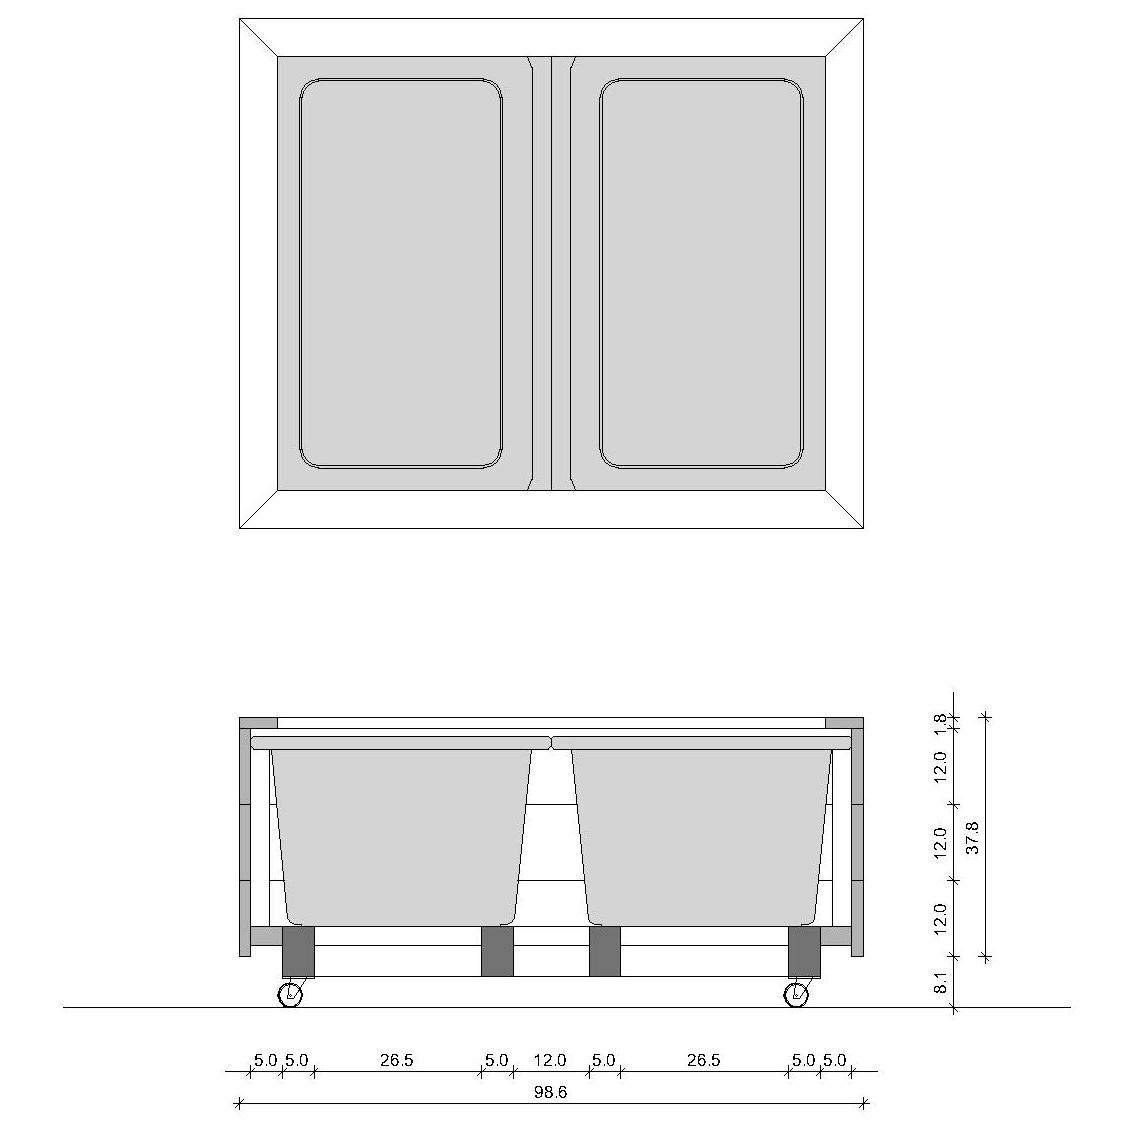
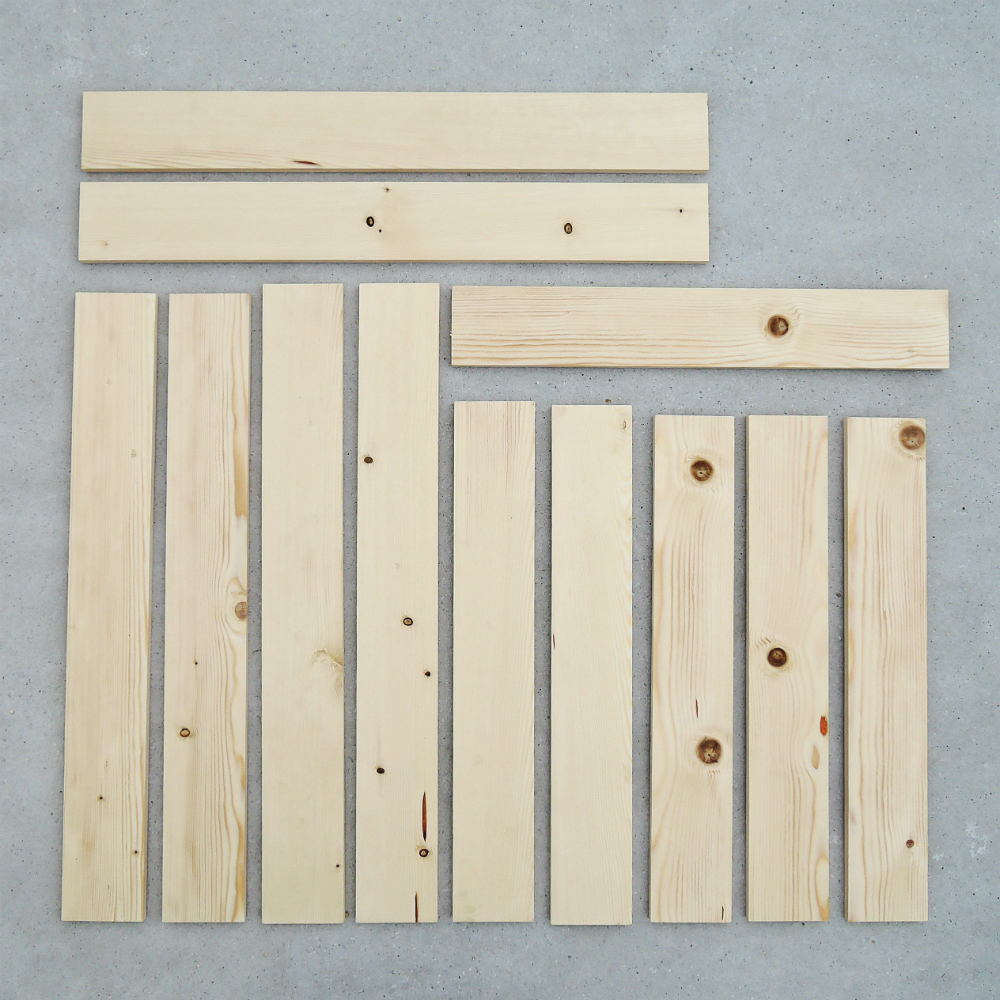
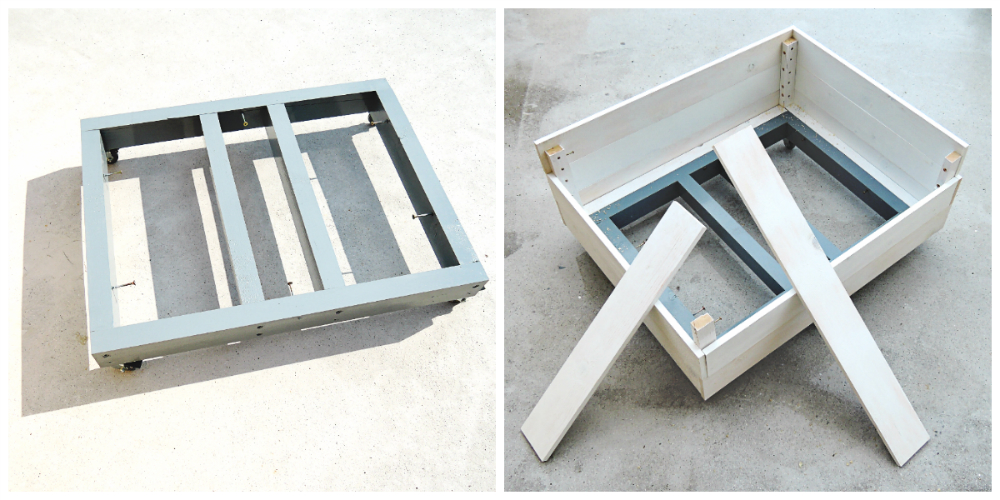
Evgen cut the wooden planks to the right measurements. All of them then I painted first with a primer. Evgen then put together the bottom part of the planter, screwed the wheels on and I painted it grey.
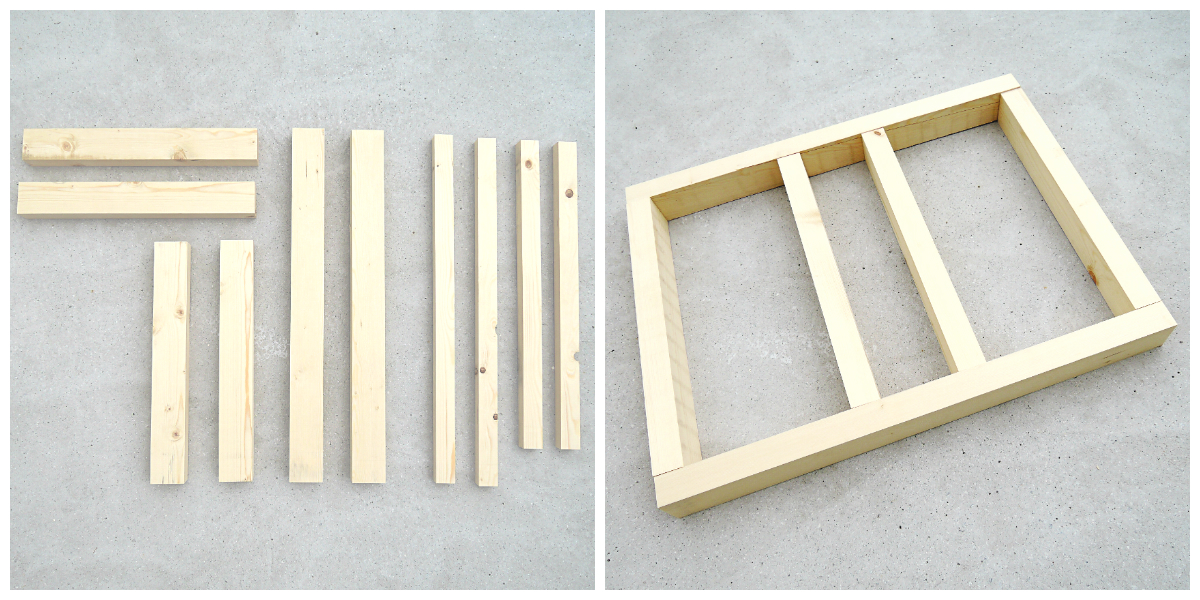
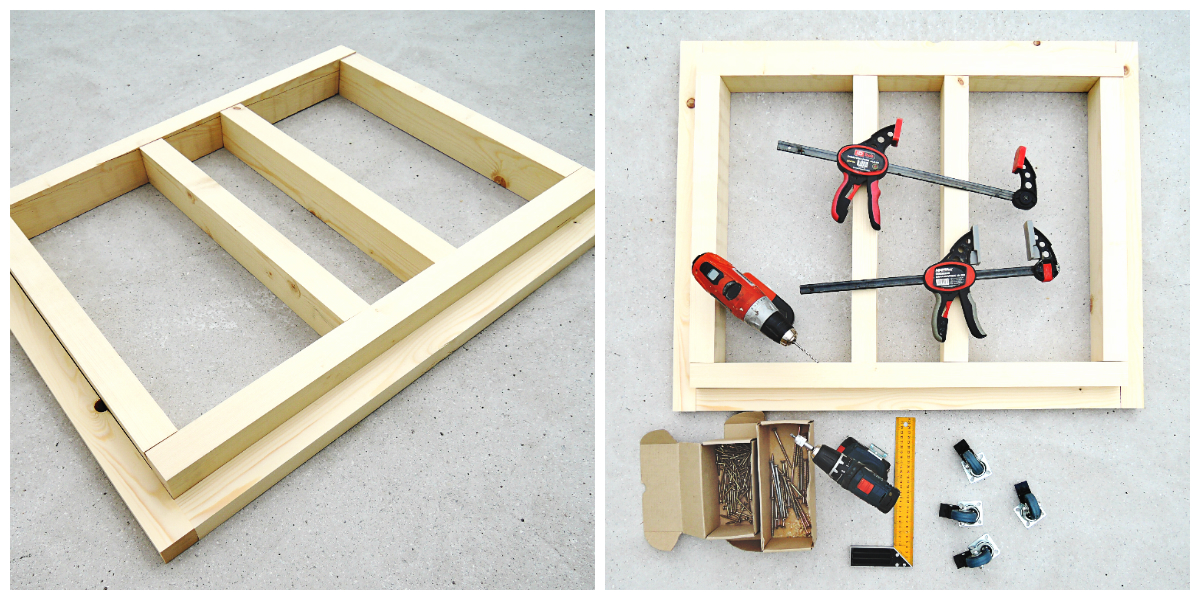


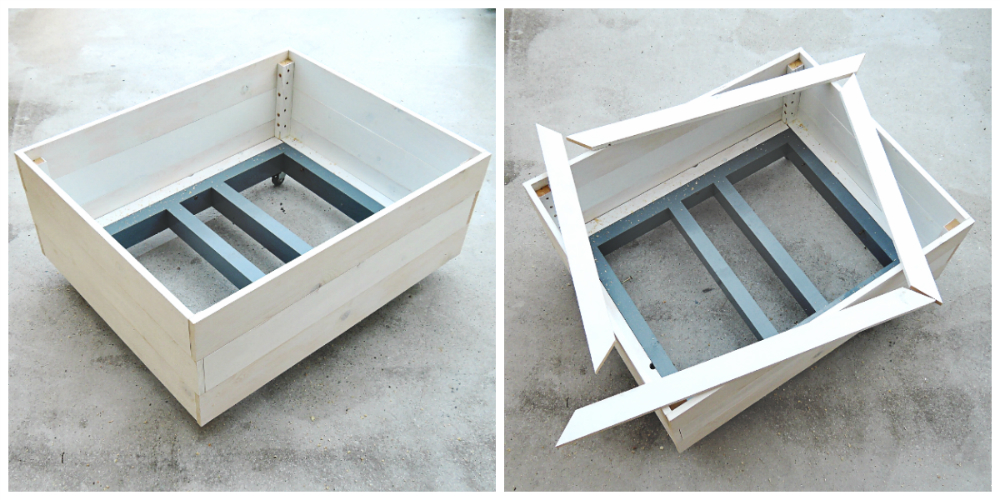
Over the bottom part came the frame that will hold the sides. On the frame came the planks and then I put a couple of coats of white paint over them. All of the paint that I used is meant for exterior use.
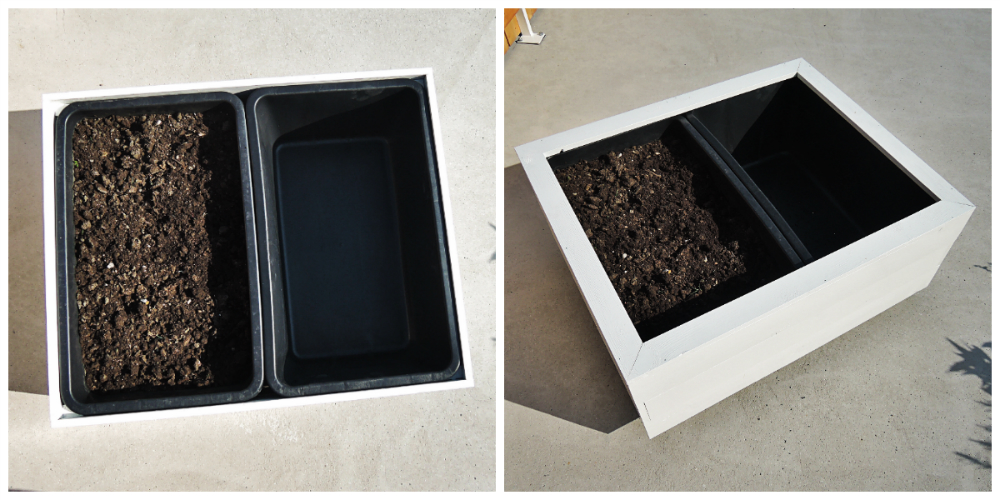
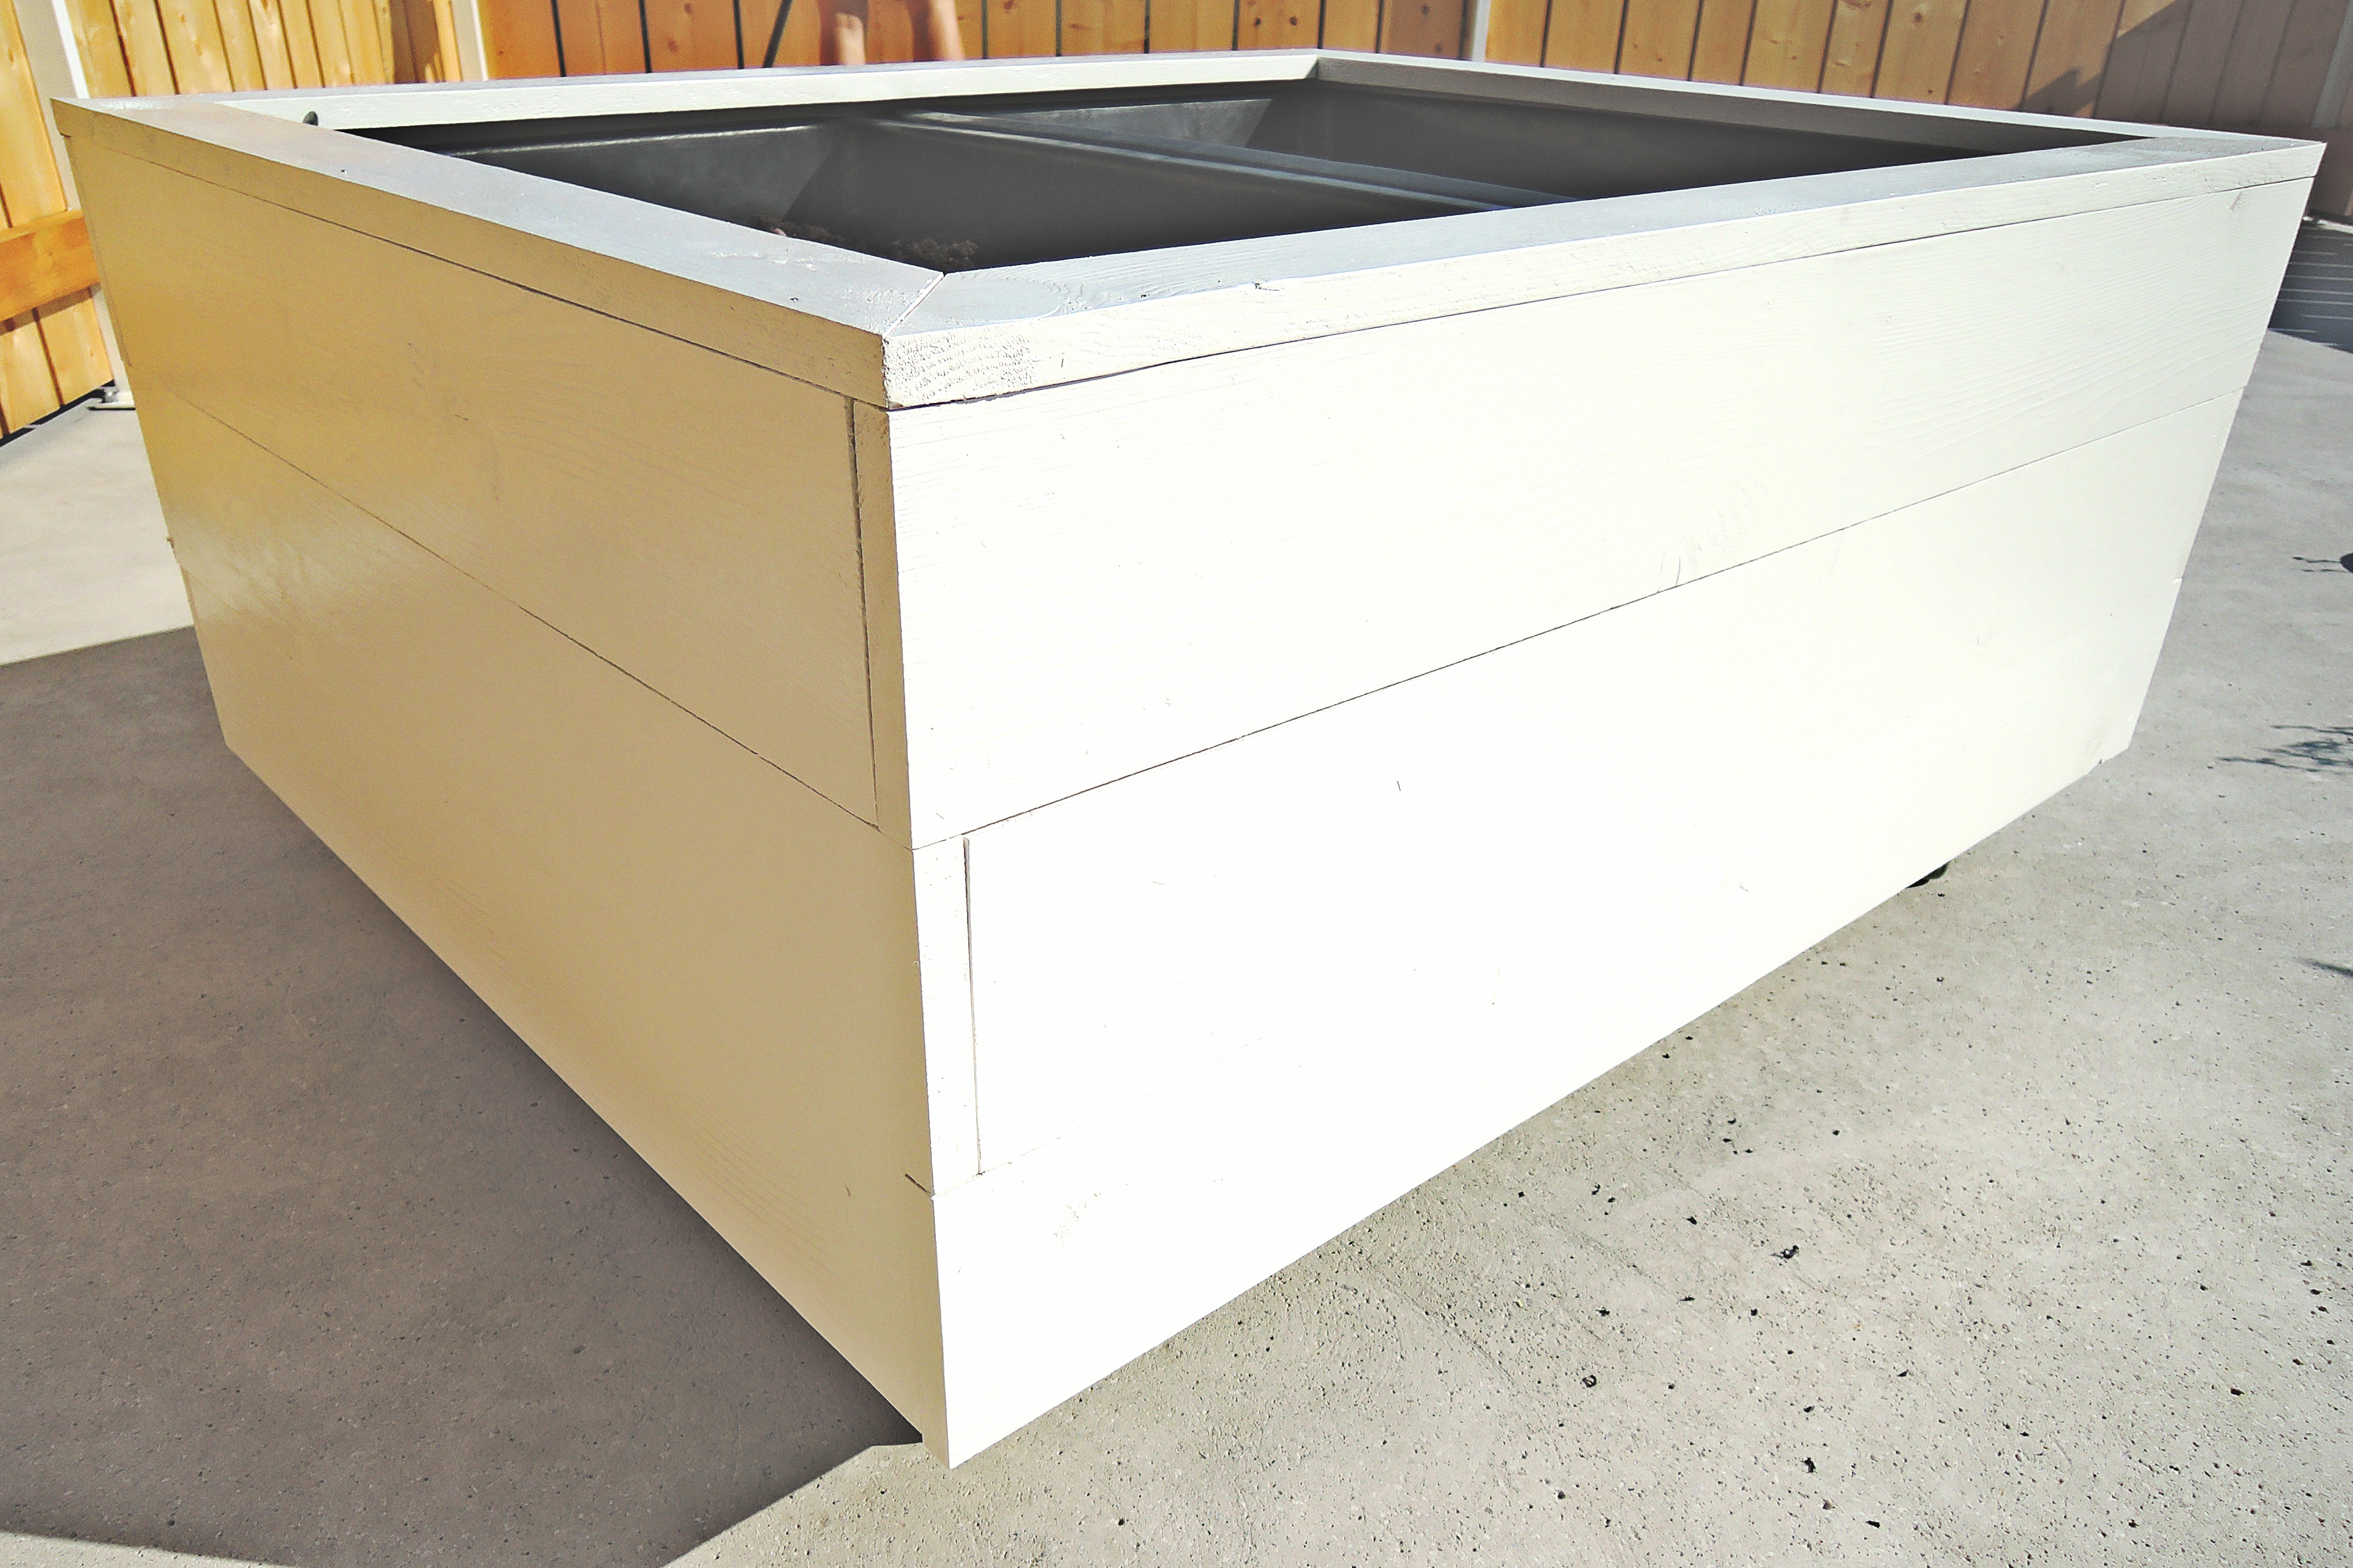
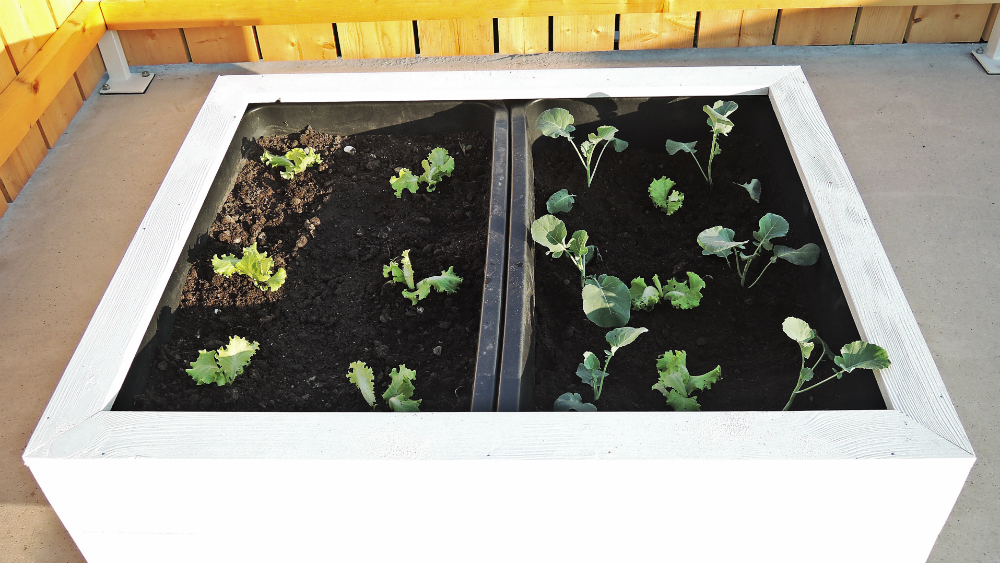
After the planks came the buckets. They were a tight fit, just like we wanted. The last part was to put the edge on, which will ‘seal in’ the buckets and hopefully keep out all of the rain from the planter box.
This planter specifically was already empty, because we ate all of the lettuce that was there. 🙂 So I planted some more lettuce and broccoli that will be ripe in the autumn. Yum!
One down, three to go!