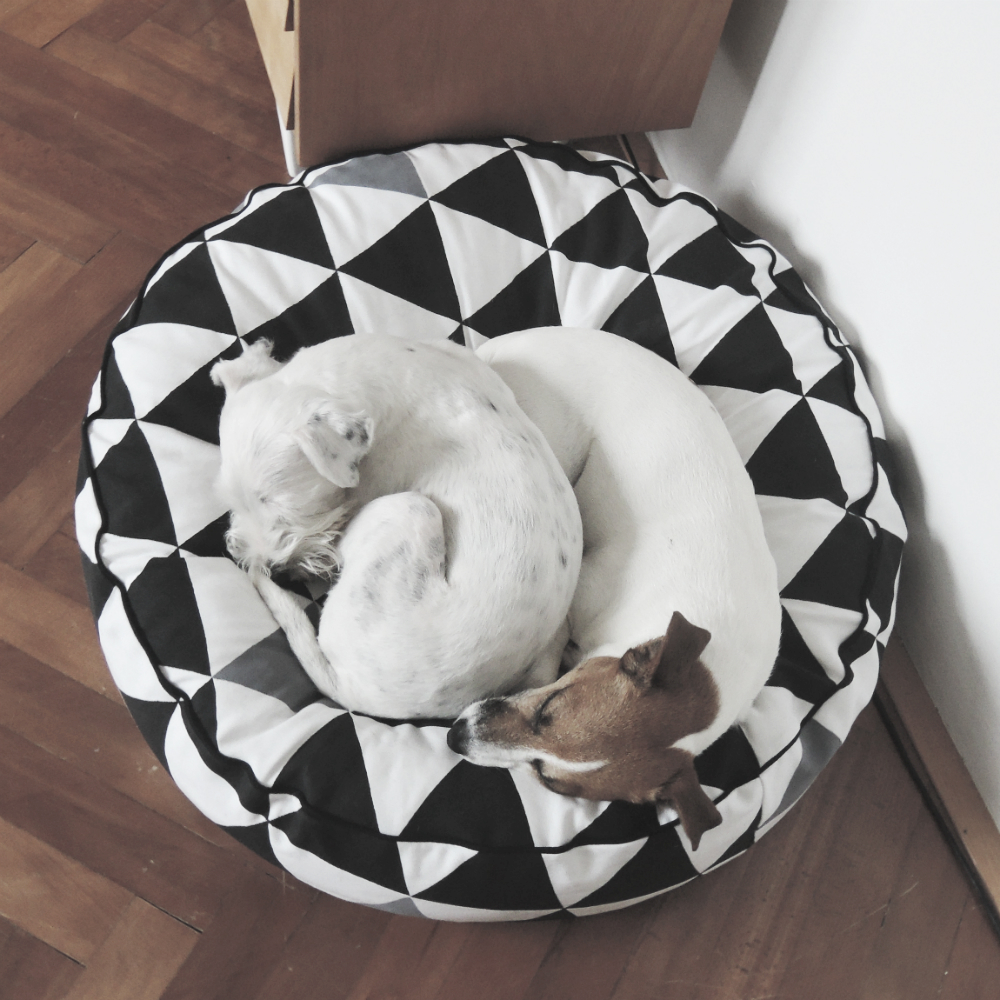
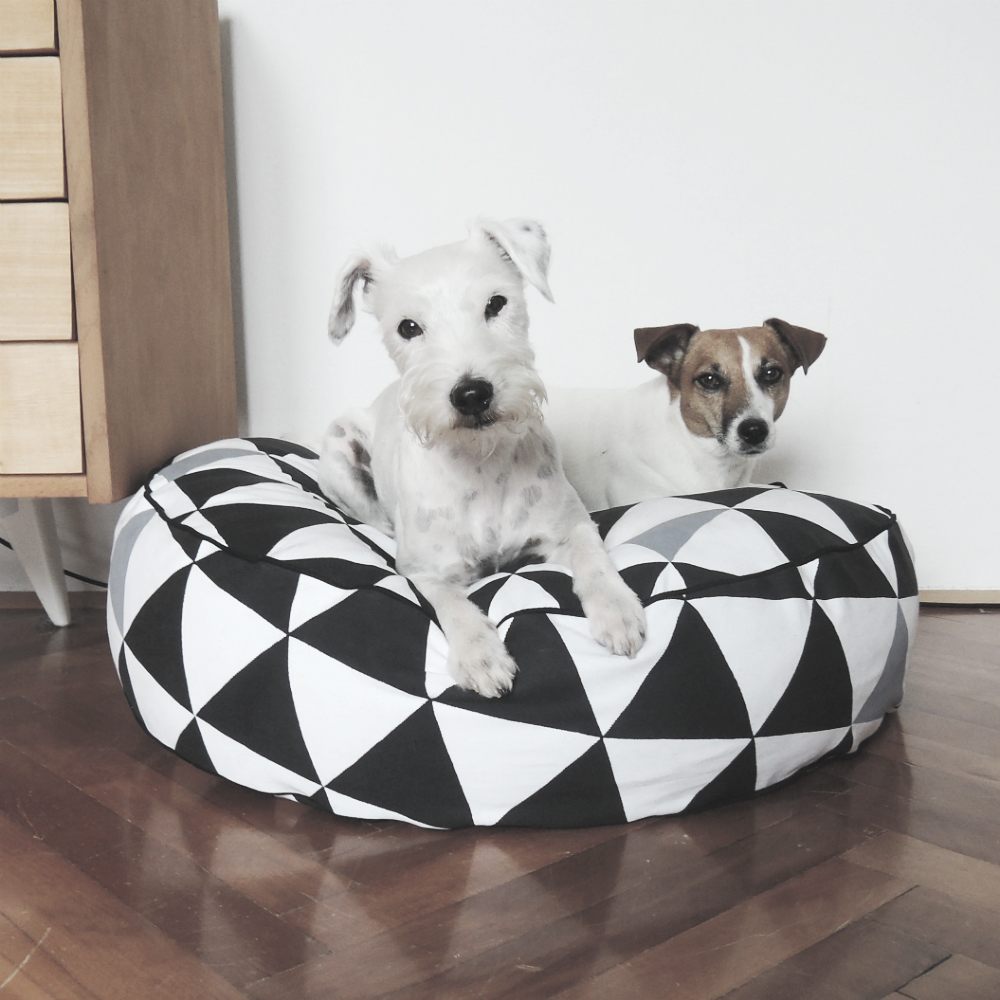
Let’s not kid ourselves, we all know that the real stars of this blog are Chia and Roo. Not mrs N’s sofa or the parquet table or even the cute mr Rhino, C & R are the real deal, the real superstars. Without them this would just be an ordinary DIY blog. So, as a sign of gratitude of all their hard work of being cute on a photo shoot, I had to do something special in return. They love to lounge on their dog bed in the living room whenever I work on the computer and the cover of the bed has definitely seen better days.
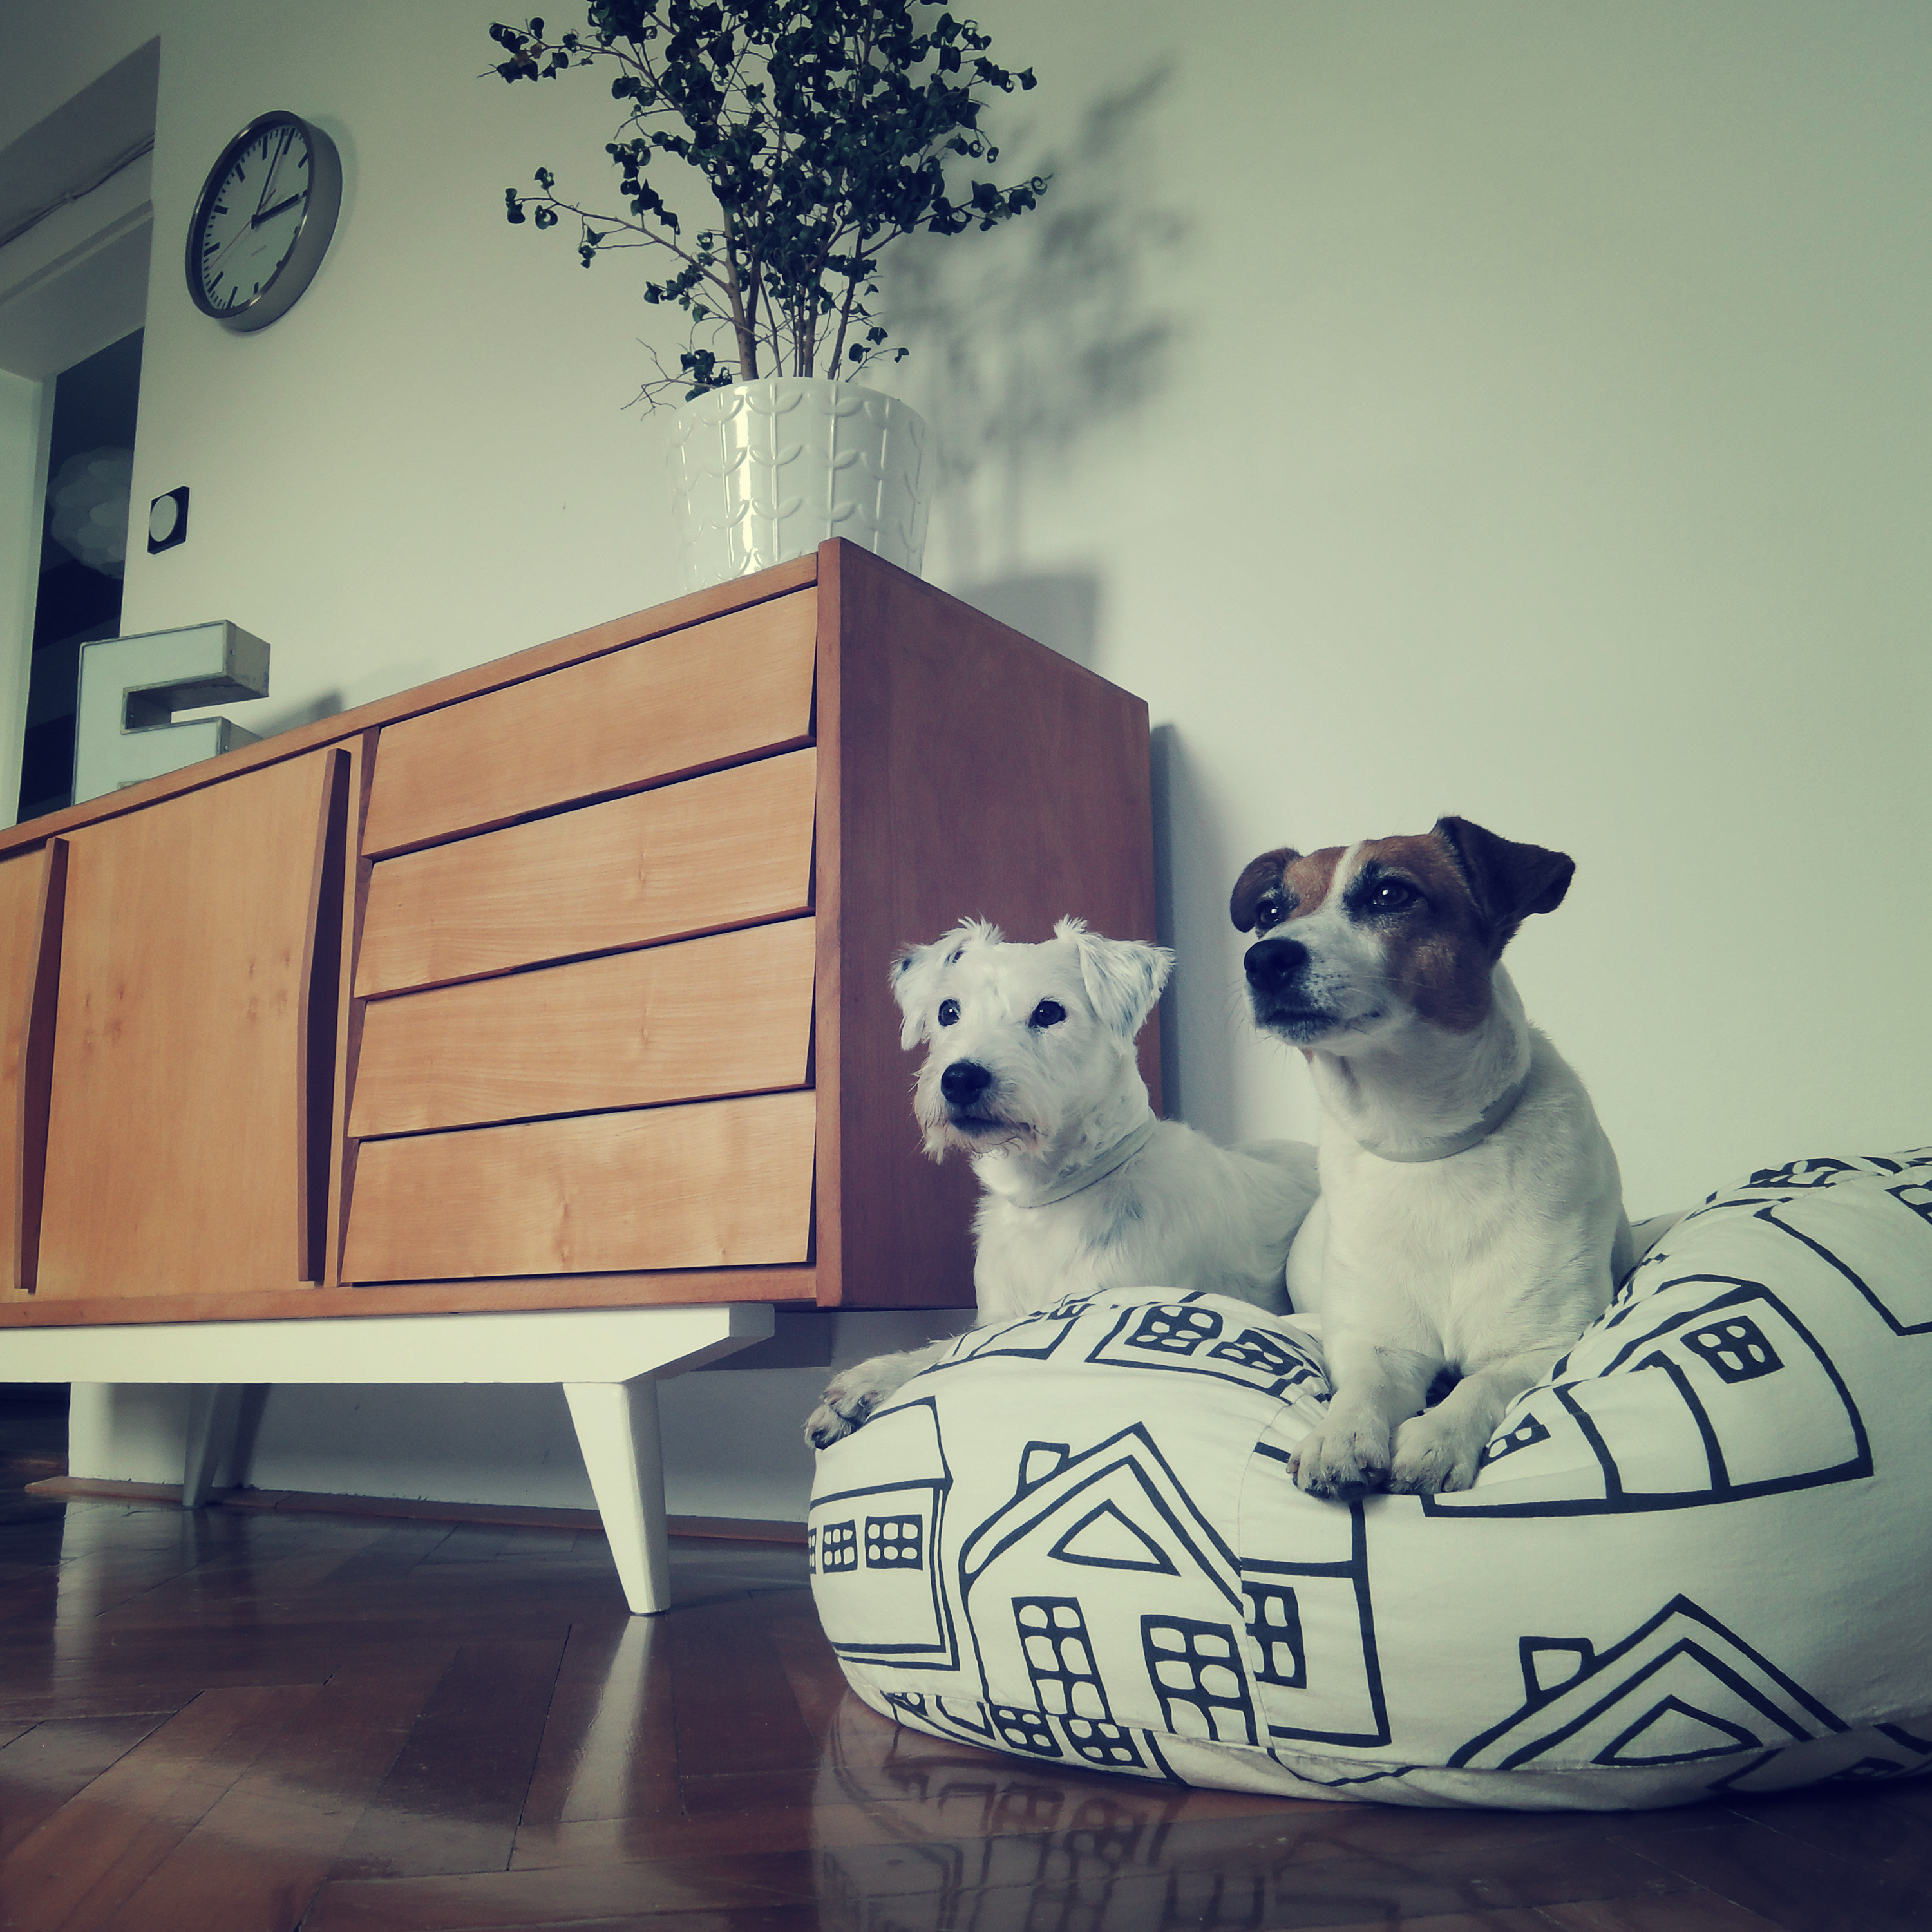
I made this dog bed a couple of years ago and once in a while, when the cover gets torn, the stain just doesn’t want to come out or I just get bored with the pattern, I sew them a new one. The last one was this one below with a fabric from Ikea. I knew it wouldn’t last long, since the fabric was so lightweight, but I just couldn’t resist the pattern. I like to make this dog bed in a light color, because then the hair, that they shed, just doesn’t show too much. 🙂 But then again I have to wash it more often because of the obvious – light fabric and dogs just doesn’t match.
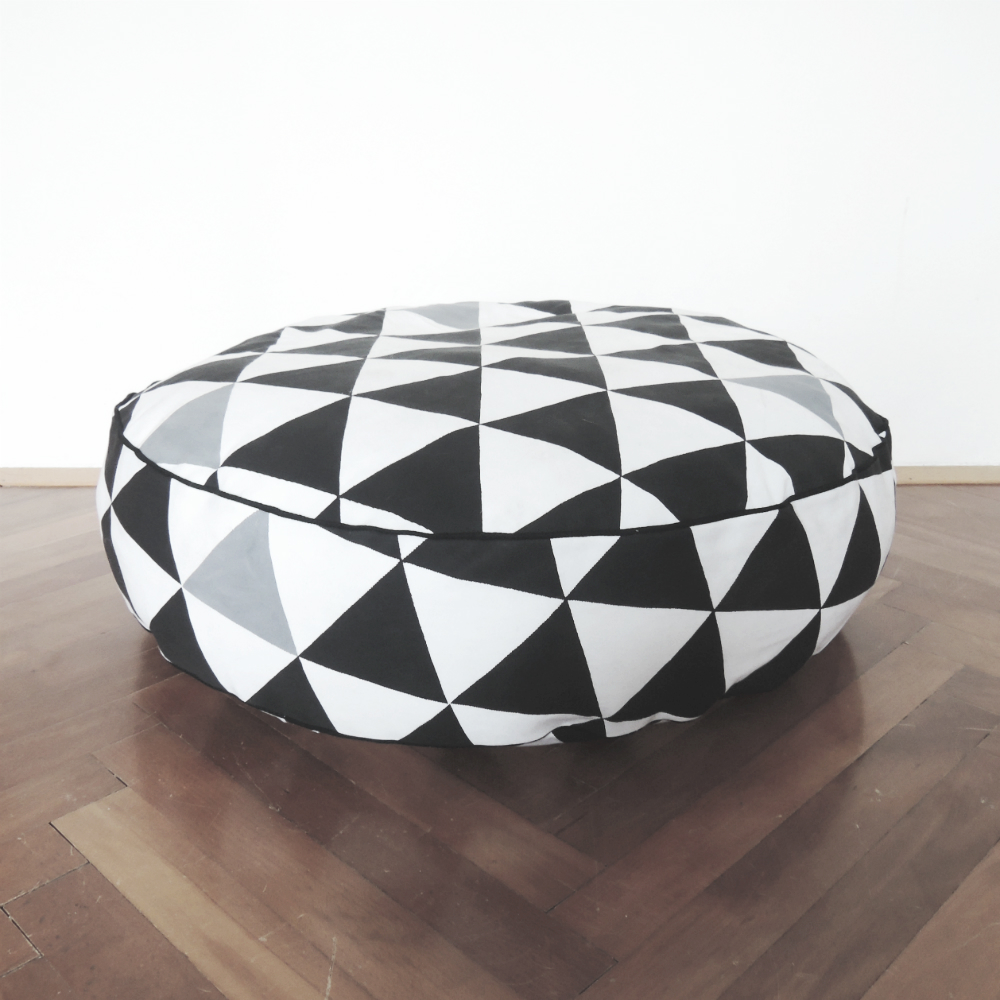
The insert of the dog bed is out of synthetic microfibres. The covers are made out of two circles and a long strip of fabric in between. I always insert a zipper on the bottom so they can be washed.
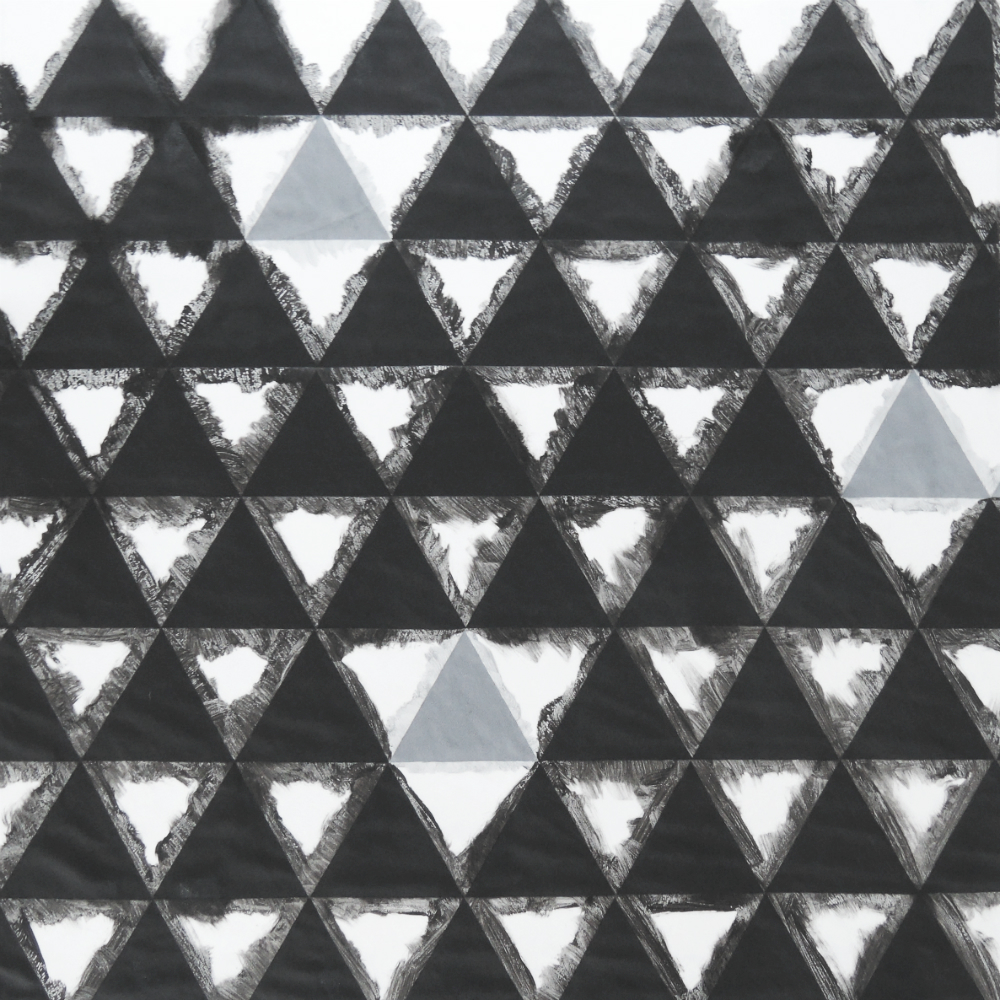
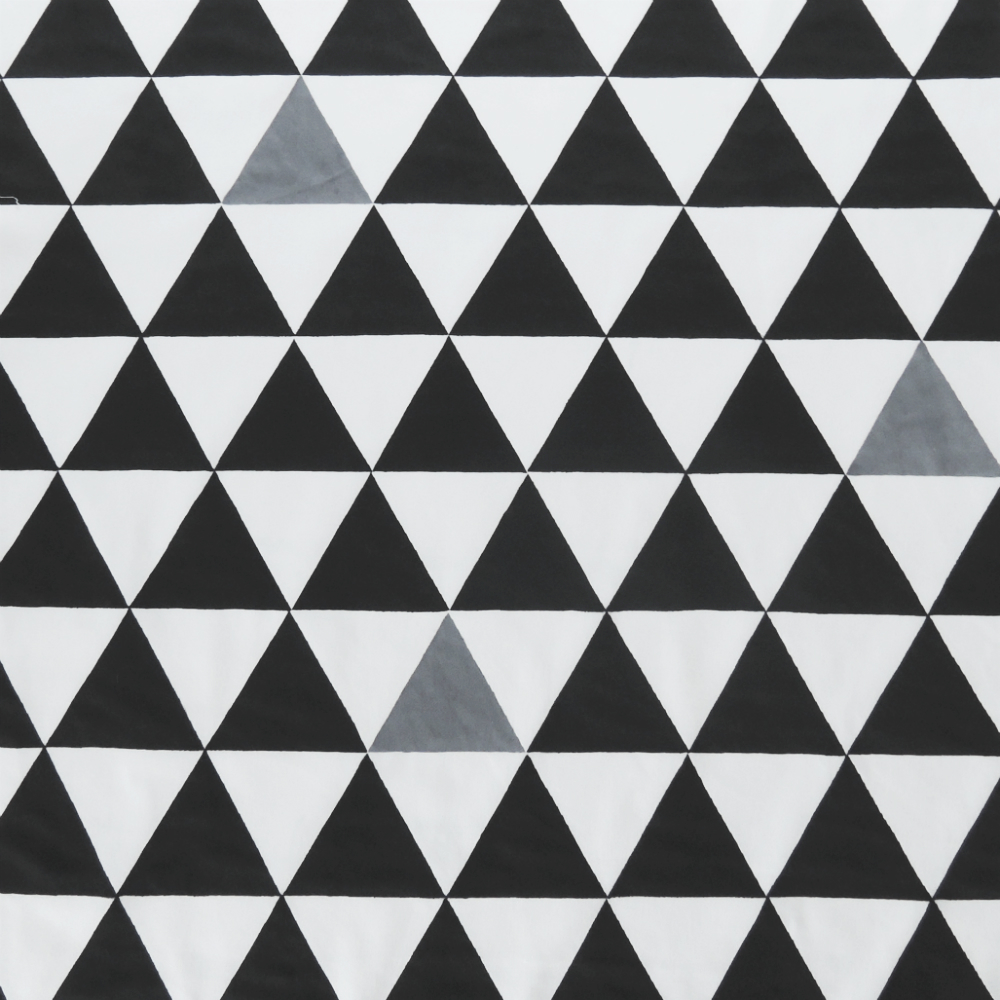
I couldn’t find anywhere a fabric pattern that I liked, so I decided to make my own pattern. I wanted to make one with equilateral triangles (all three sides are equal and all three internal angles are 60° each).
I went out and got:
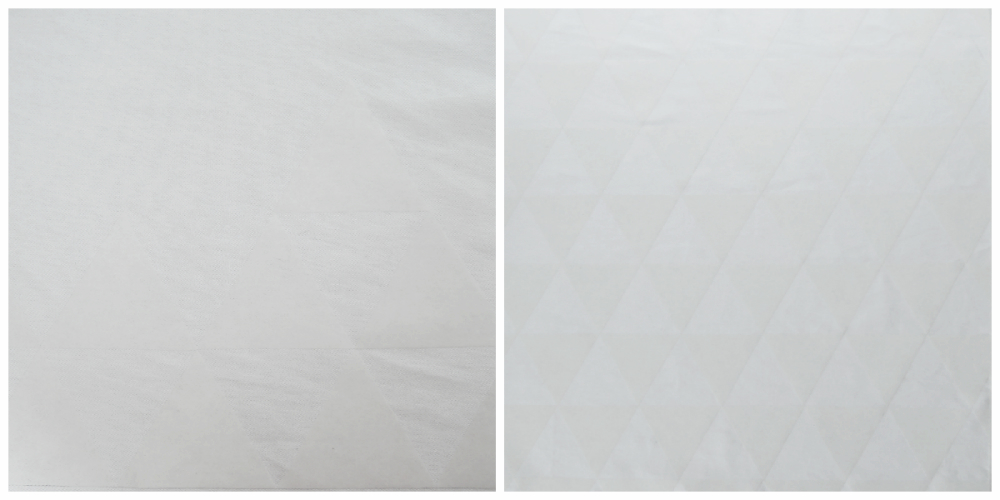
- 2.5 m of white cotton heavyweight fabric, which I washed first
- 4 m of the cheapest self – adhesive foil (45 cm wide)
- fabric paint (black and grey)
- pencils, rulers and a couple of brushes
I cut the fabric to an approximate size of the pieces, so they would be more manageable while painting on the pattern. The circles have a diameter of 70 cm (27.6 in), so I cut one square piece (about 80 x 80 cm, 31.5 x 31.5 in), one long strip for the sides (230 x 30 cm, 90 x 12 in) and two rectangles (60 x 80 cm, 23.5 x 31.5 in) for the bottom circle, where the zipper is inserted.
Then it was time to cut out a million triangles. I spread out the foil, draw the triangles on it and cut them all out. I thought that was the tough part. Oh, how was I wrong! The toughest part was to stick all the triangles back together on the fabric so that all the corners would match. This was the part that took me the longest. I was a very happy camper when it was all done.


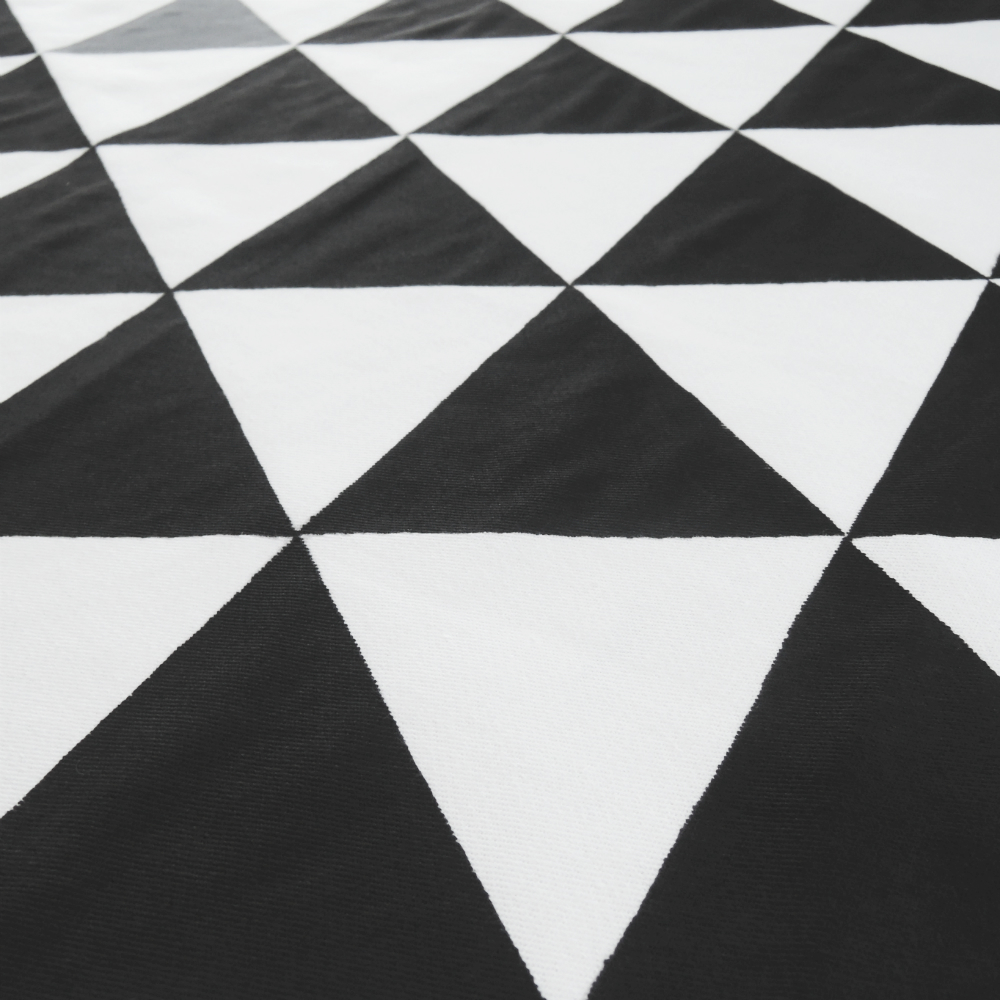
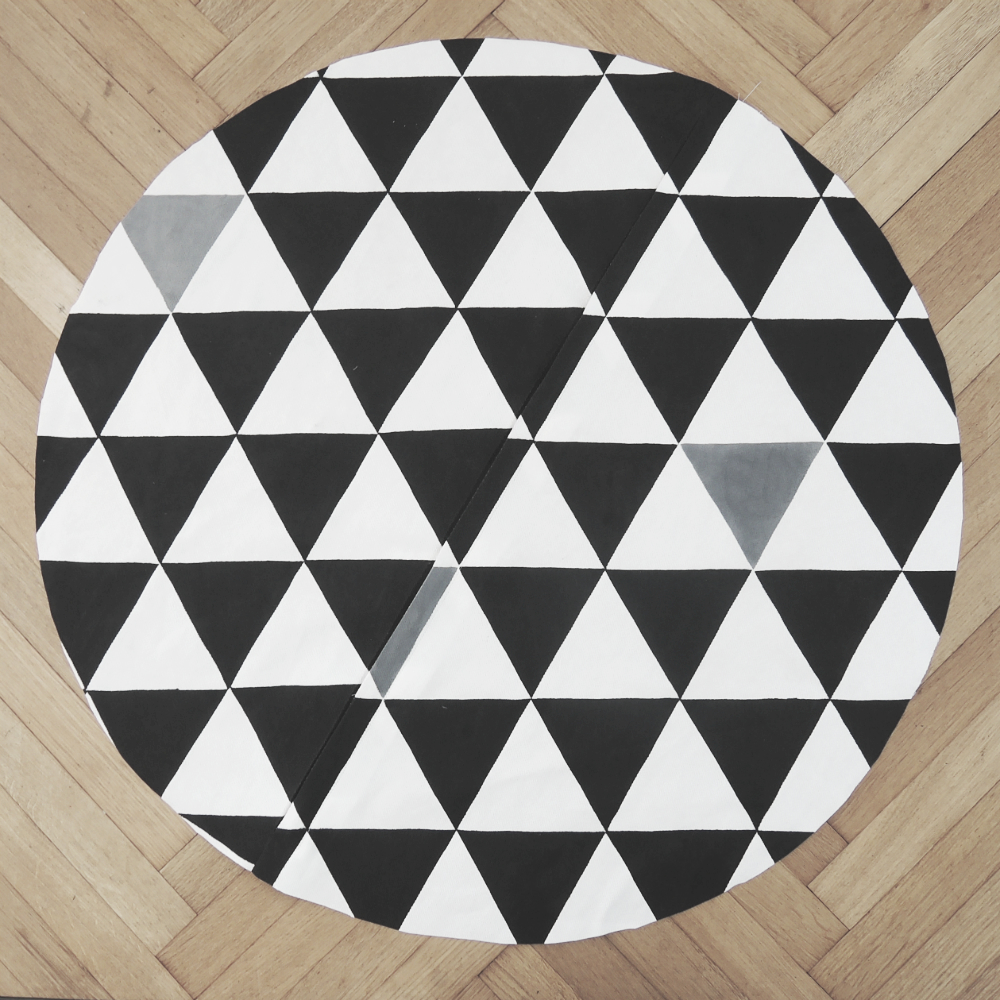
Next I painted all the black triangles and just for fun a couple of grey ones. When it was all dry, I peeled off all the triangles and was left with a pretty nice pattern. The instructions of the paint said to iron the fabric for 3 min to fix the paint. So I did just that.


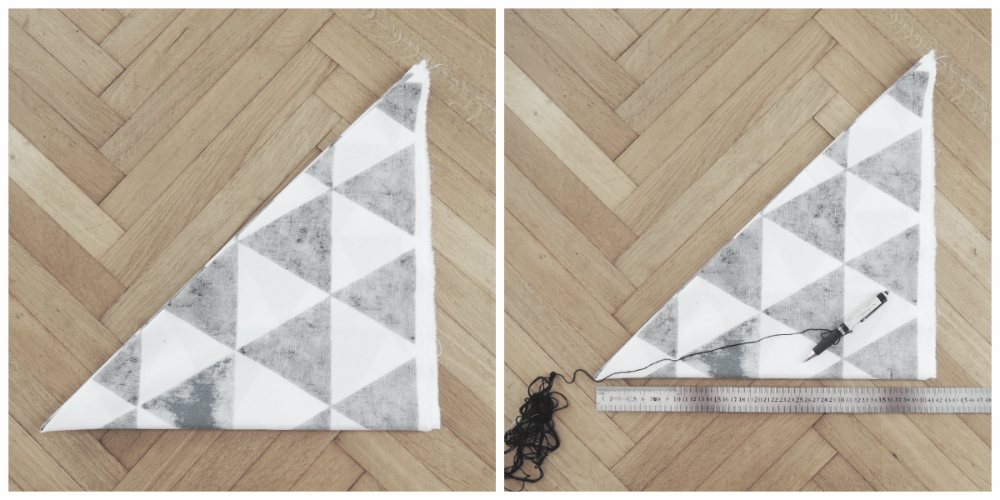
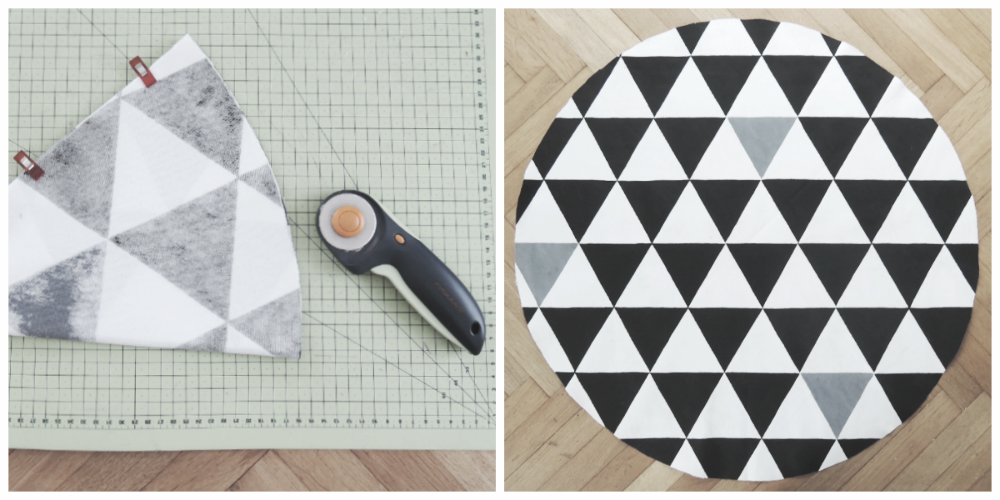
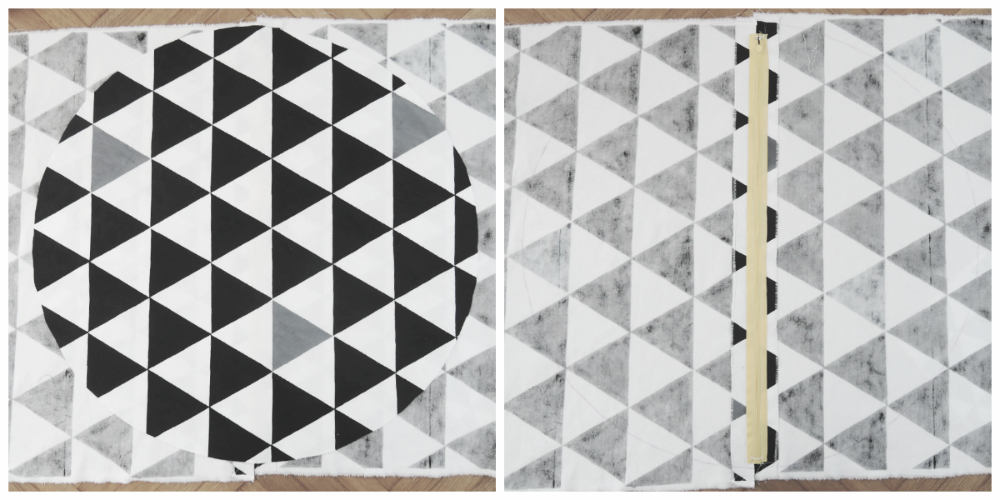
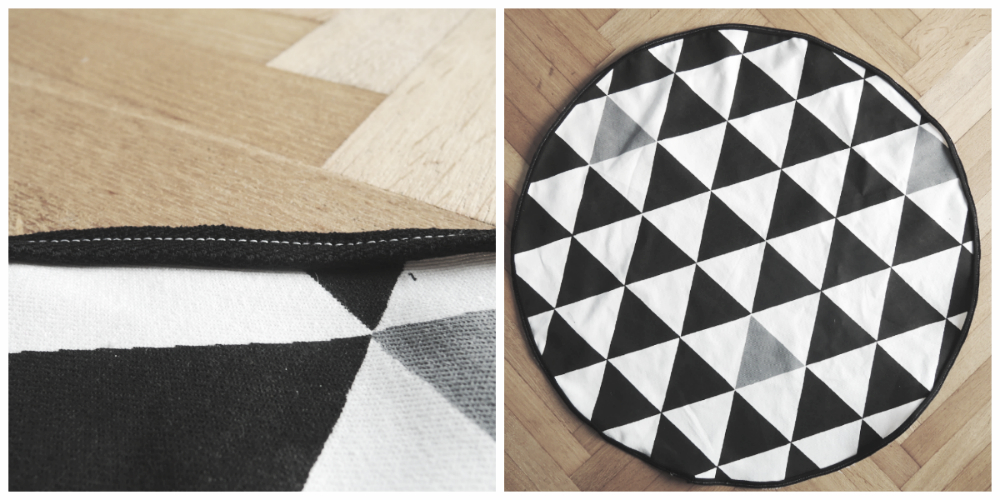
When the pattern was done I cut out the circle. To do that, I folded the fabric as you can see on the picture and then with a simple method of ‘a piece of string tied to a pencil’ draw an arc with a radius of 35 cm (13.8 in). What I got was a circle with a diameter of 70 cm (27.6 in).
For the bottom circle, I first inserted a zipper in between the two rectangles. Then I cut out a circle. For that, I just laid the upper circle onto the fabric and drew around it and then cut out the bottom one. This is a great tutorial about how to insert a zipper.
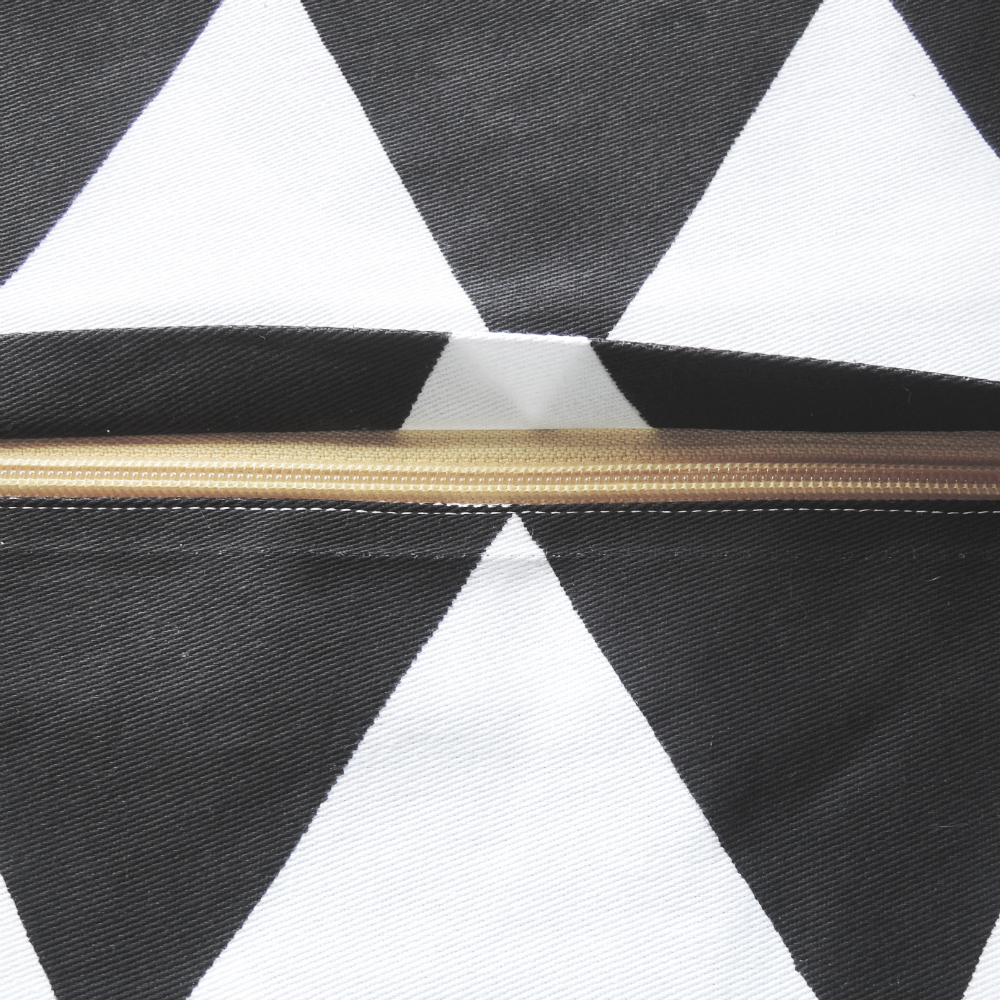
To make the dog bed a little fancier I inserted piping in between the circles and the sides.
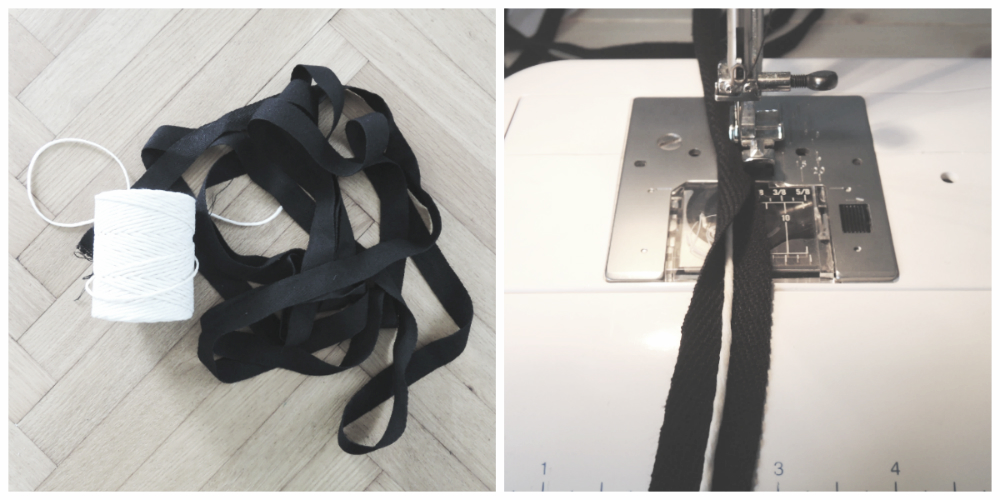
Now all I was left to do was to put the three pieces together and that was it.


I hope the doggies like the bed, well at least I like it. Oh who am I kidding! They don’t care about the pattern, as long as it is comfy enough they’ll like it. 🙂

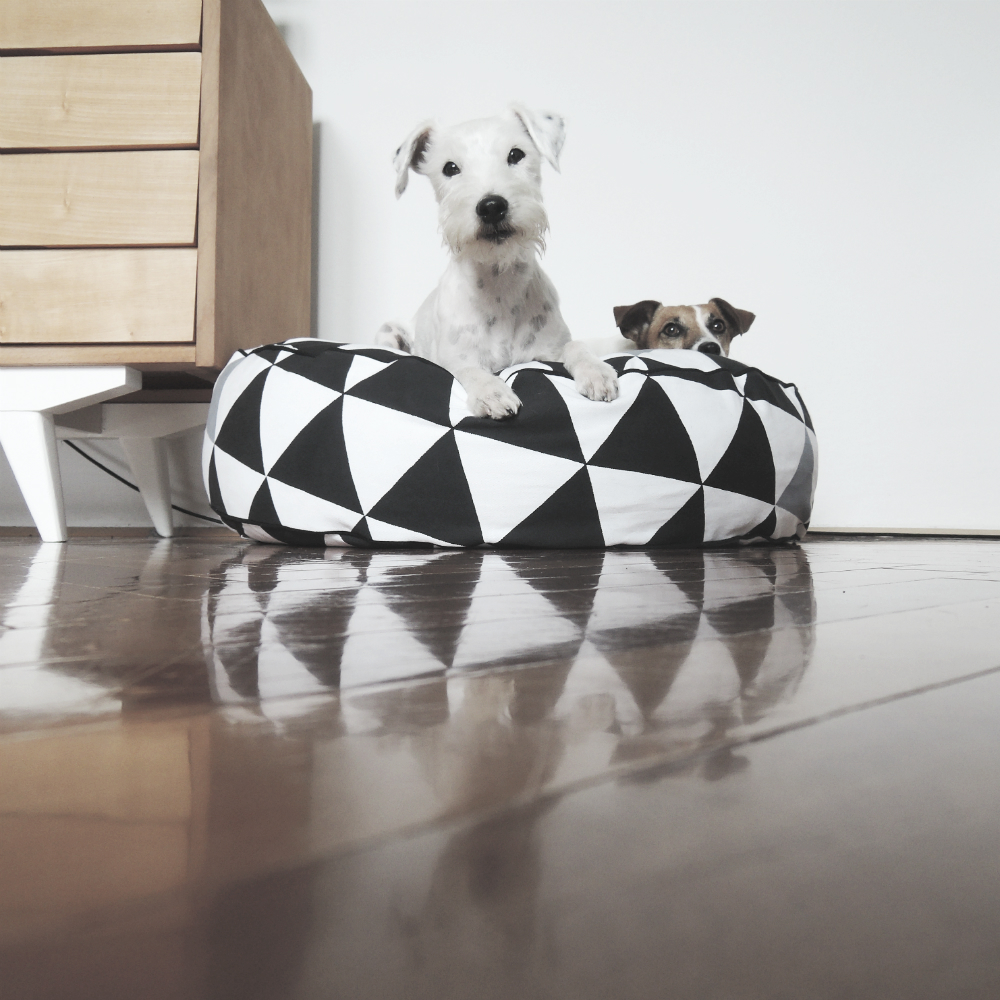
Oh, and while I’m writing this post, they are sound asleep on the dog bed. I’ll take that as a stamp of approval. 🙂