While we save up some money to invest in a proper front door, we decided to insulate them and make them a little more sound proof. I don’t know why, but our front door is just a regular door made for the inside of a building. They are really slim, the sound and heat just goes through like they weren’t there. And to be honest they are just plain ugly. Last year I painted them white, but the ugliness still shone through. 🙂

For a long time we wanted to try our hands at veneering, so we thought this was a great chance to try it out.
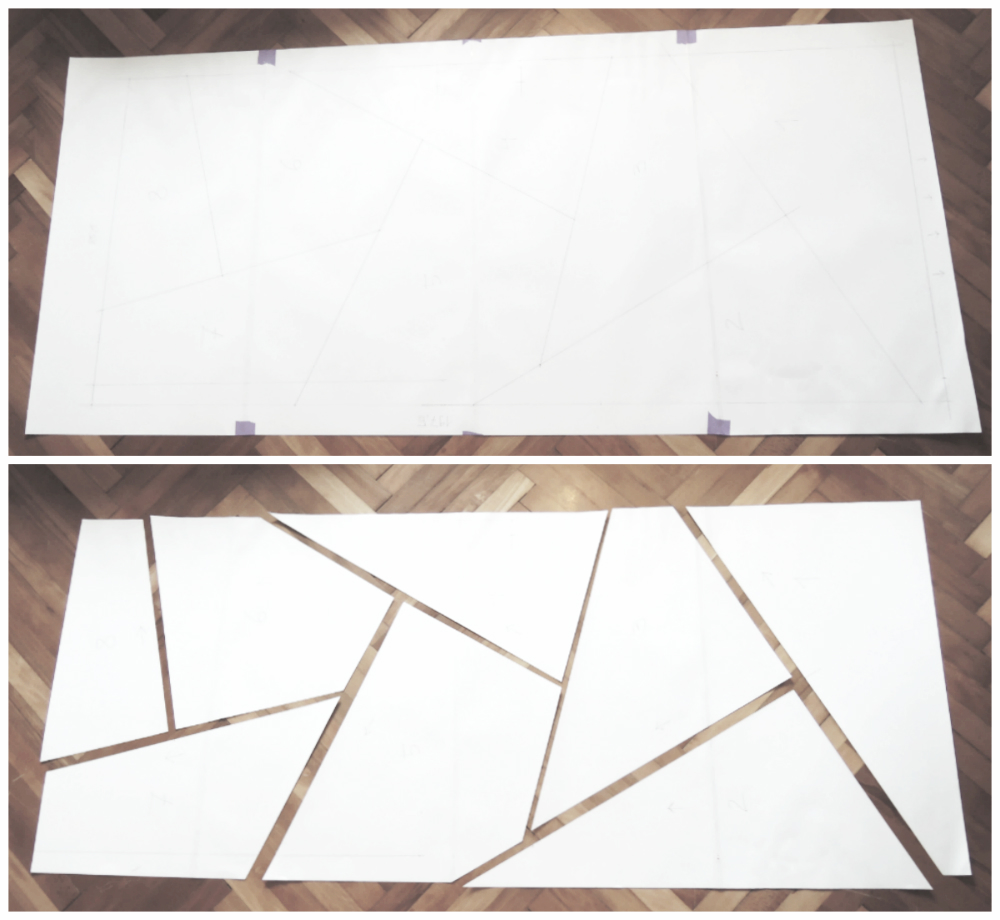
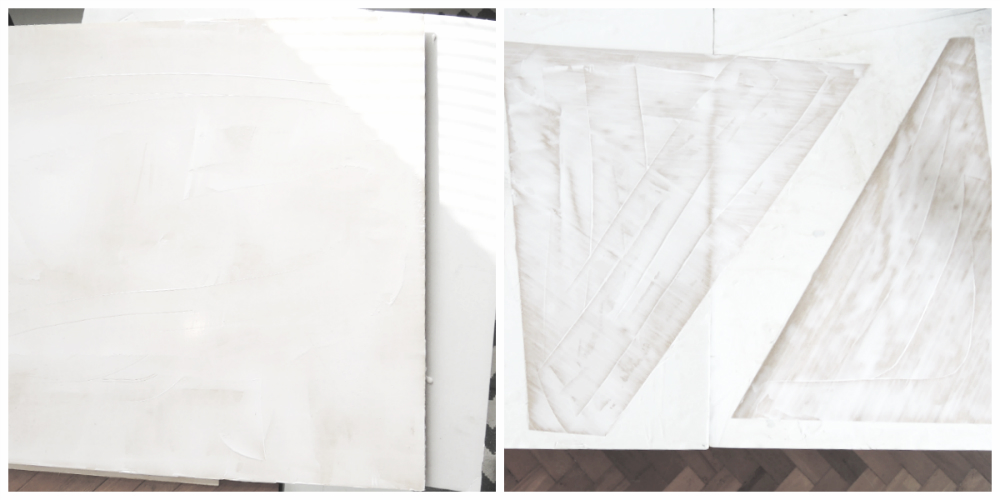
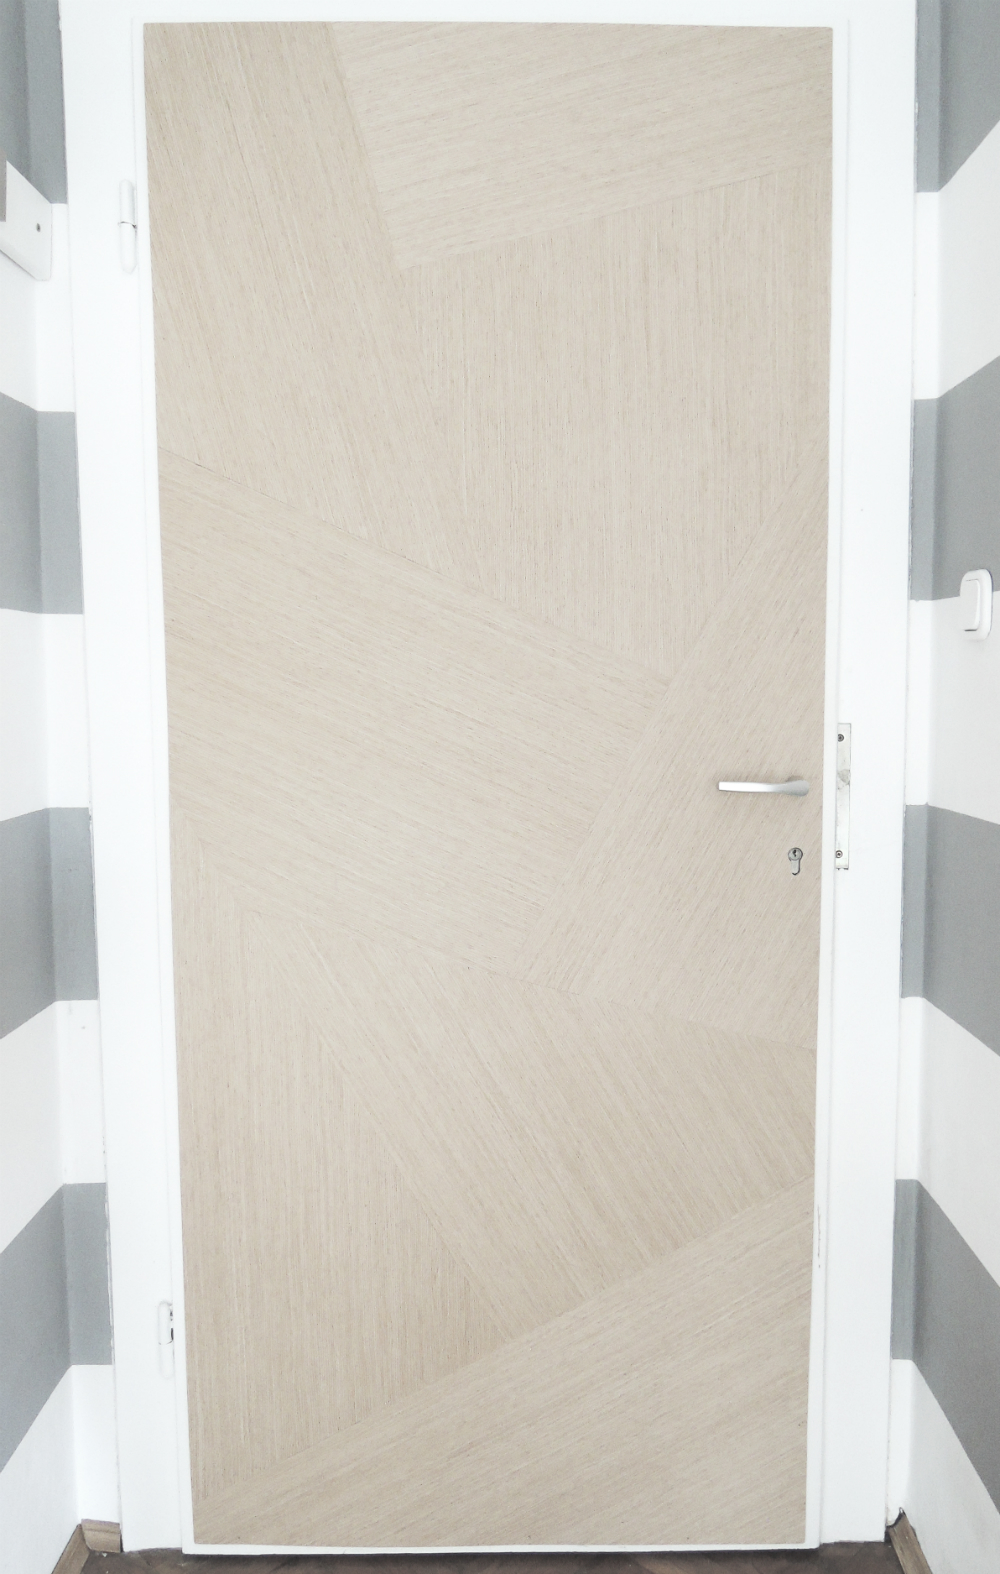
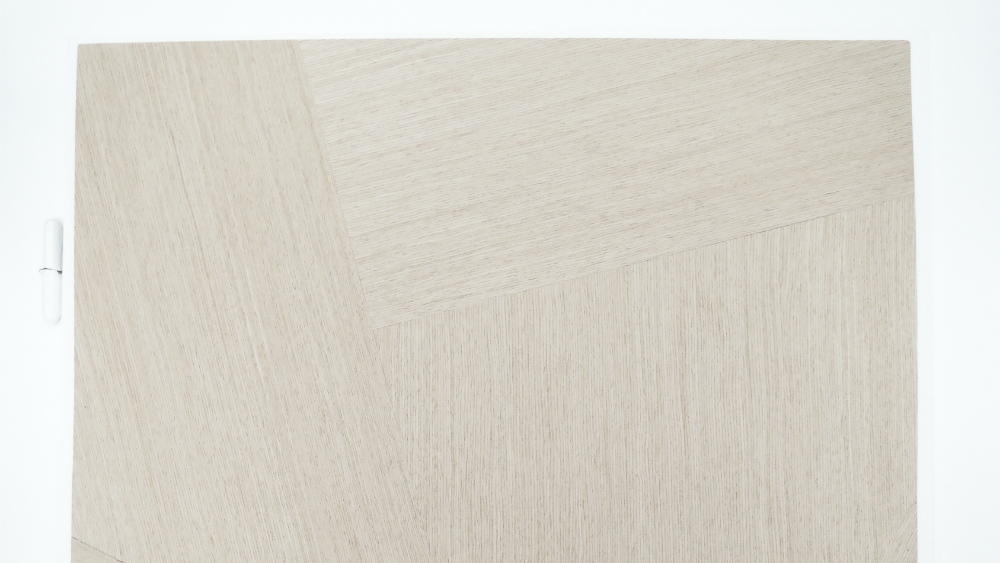
First we choose a design that we both agreed on. We wanted the panels of the veneer to come together at different angles and we didn’t want to totally hide the original door. That is why the new panel that covers the door has an offset of about a 1.5 cm from edge.
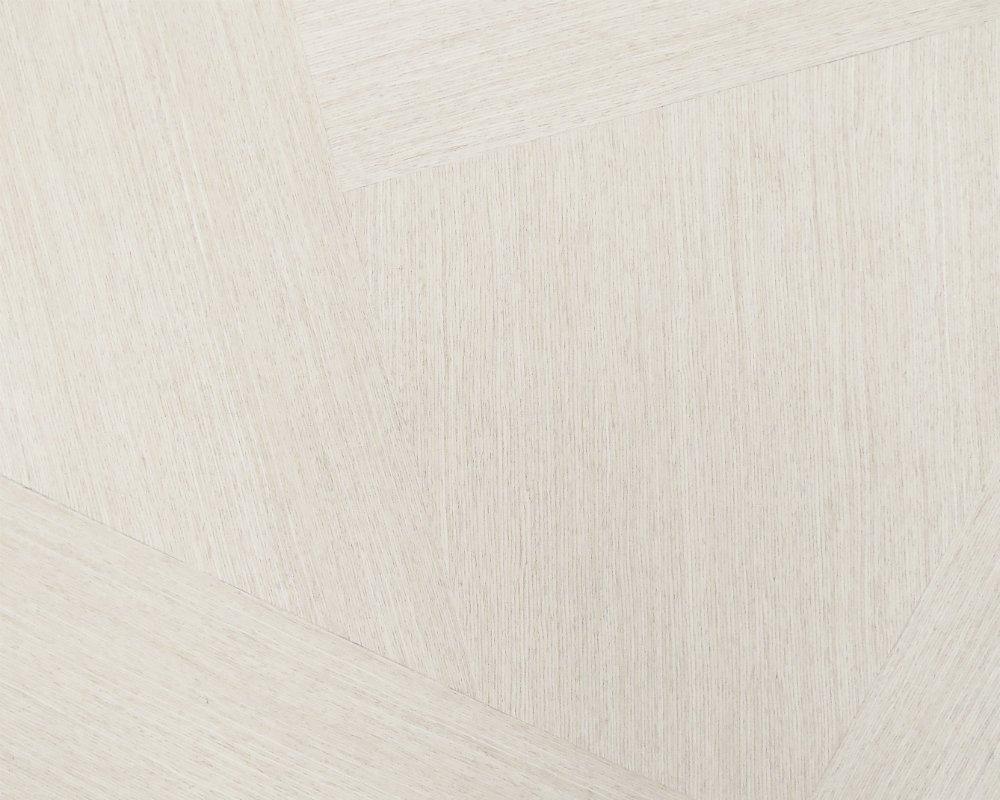
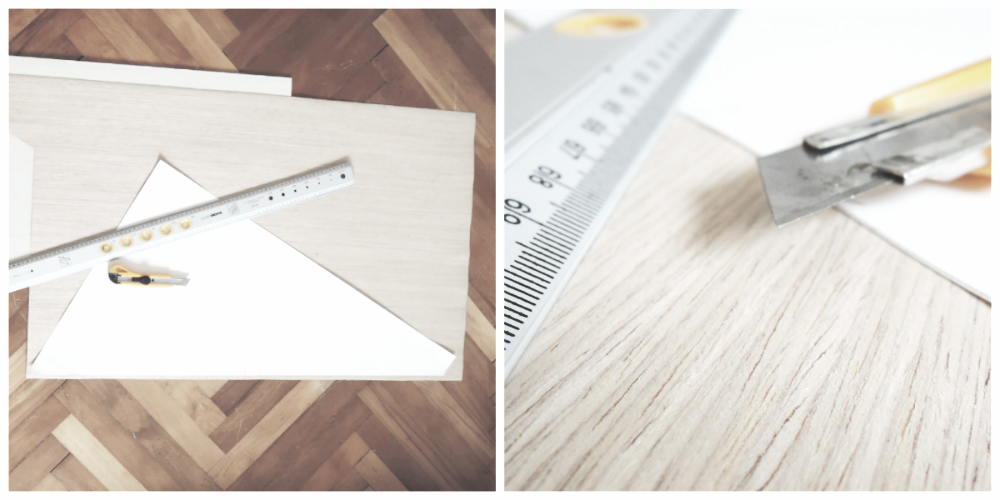
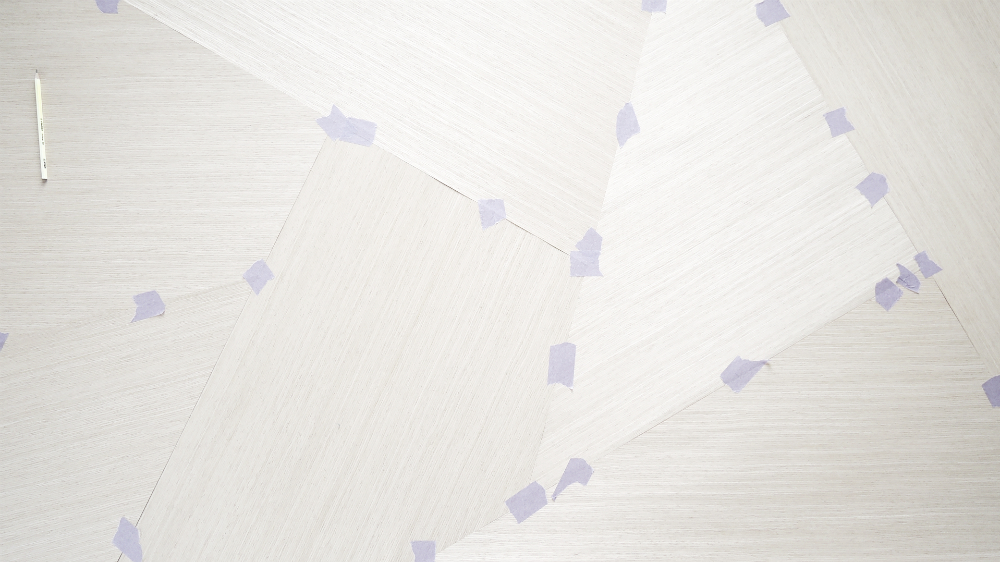
Next we drew the design on a big piece of paper and cut out the pieces. Then we laid the pieces on the veneer (a fineline oak veneer) at an angle that we wanted the grain of the wood to show. With the paper pieces on the veneer, we cut out the panels.
We found out that this is the best way to cut the veneer to get a straight, crisp line. When we drew a line straight on the veneer and then cut it out, the veneer crumbled at some points. So the best way was to lay the paper on the veneer, on the paper a long ruler and with an exacto knife cut out the pieces. We left the panels a little bigger at the sides of the big rectangular, so that when everything will be glued together and dry, we would cut out the rectangular at the desired dimension.
The plan was to glue the veneer on a 4 mm thick piece of plywood and then this sandwich onto the door. To glue the veneer on the piece of plywood we used a glue that was intended for glueing parquet. We applied the glue on the back of the veneer panel and on the piece of plywood. When it was almost dry we put them together.
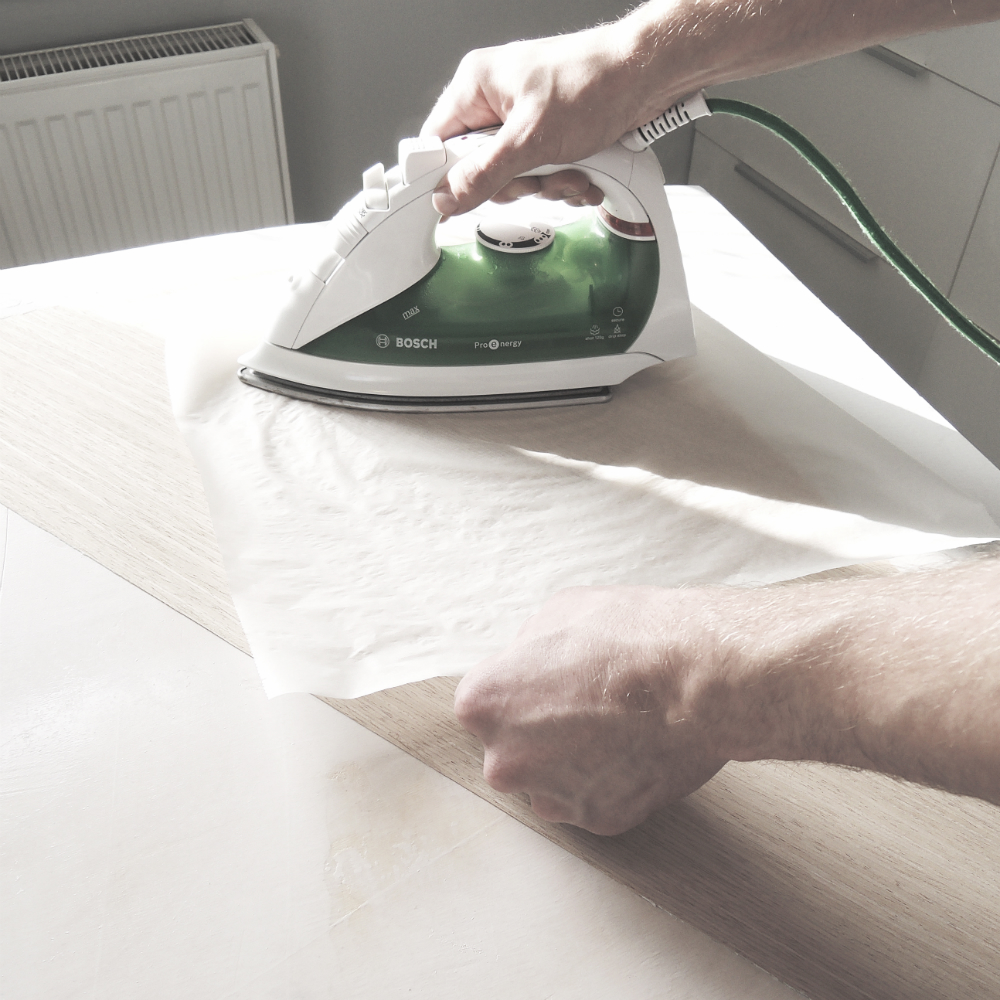
 To get them to really stick together you have to iron them together with a piece of parchment paper in between. With the applied heat the glue becomes liquid again and gets in all the nooks and crannies of the veneer and the plywood board. It pushes all the air bubbles out too.

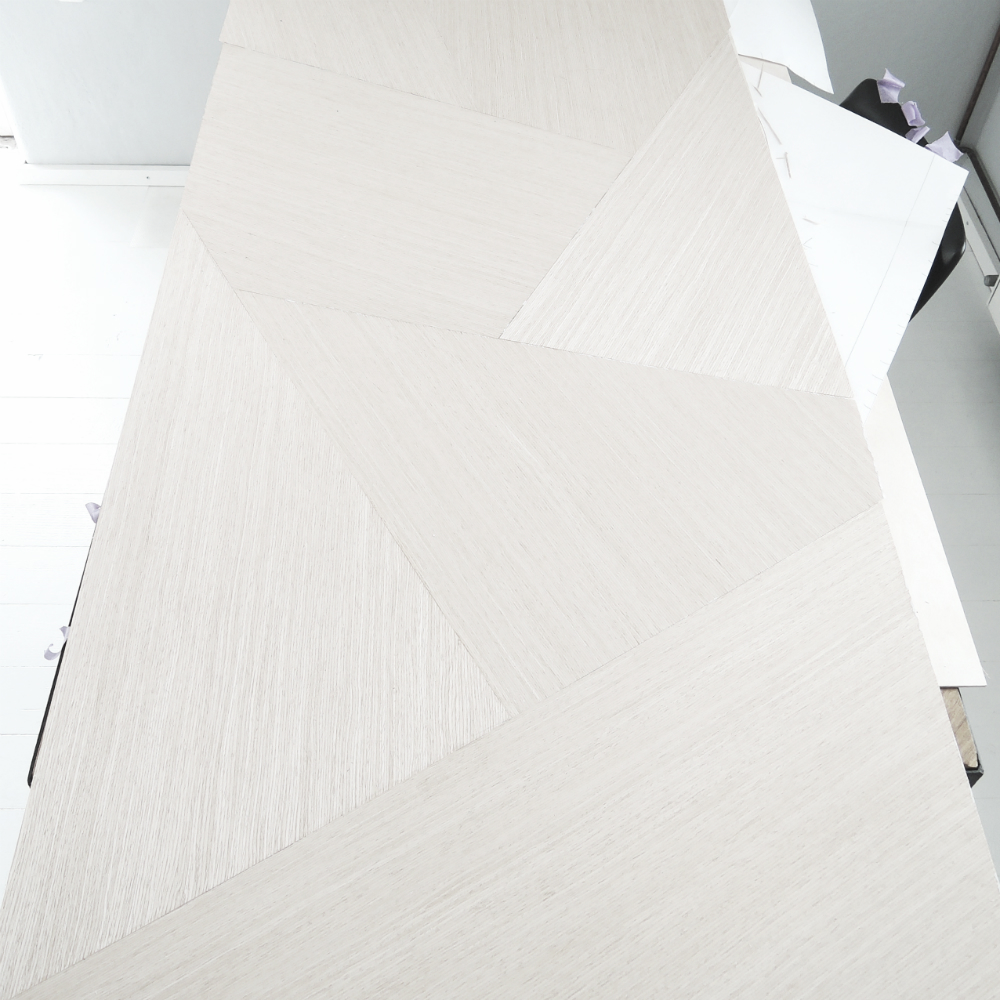
Every piece of veneer was glued on the plywood separately. When all the veneer was glued on the board, we left it to dry through the night.
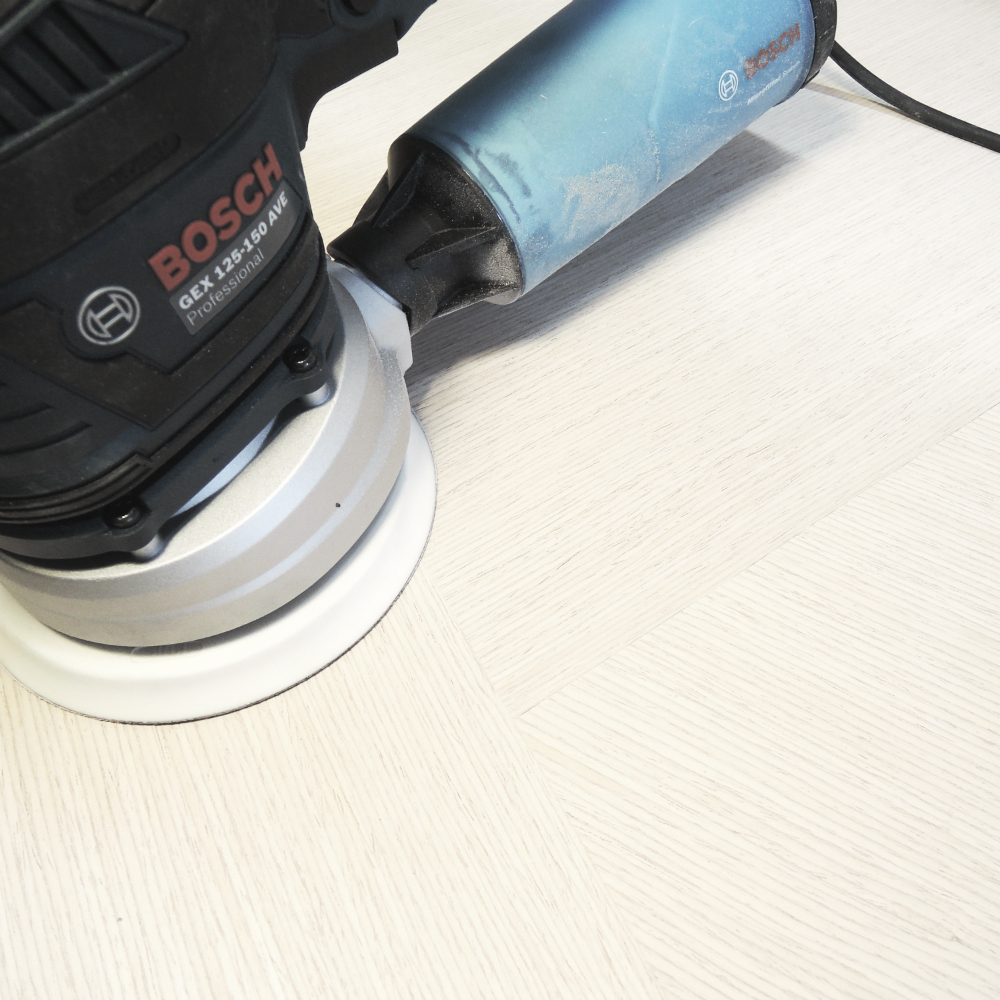
The next day Evgen cut the dry panel to the right dimension and then sanded it with a random orbit sander with a 120 grid sand paper.
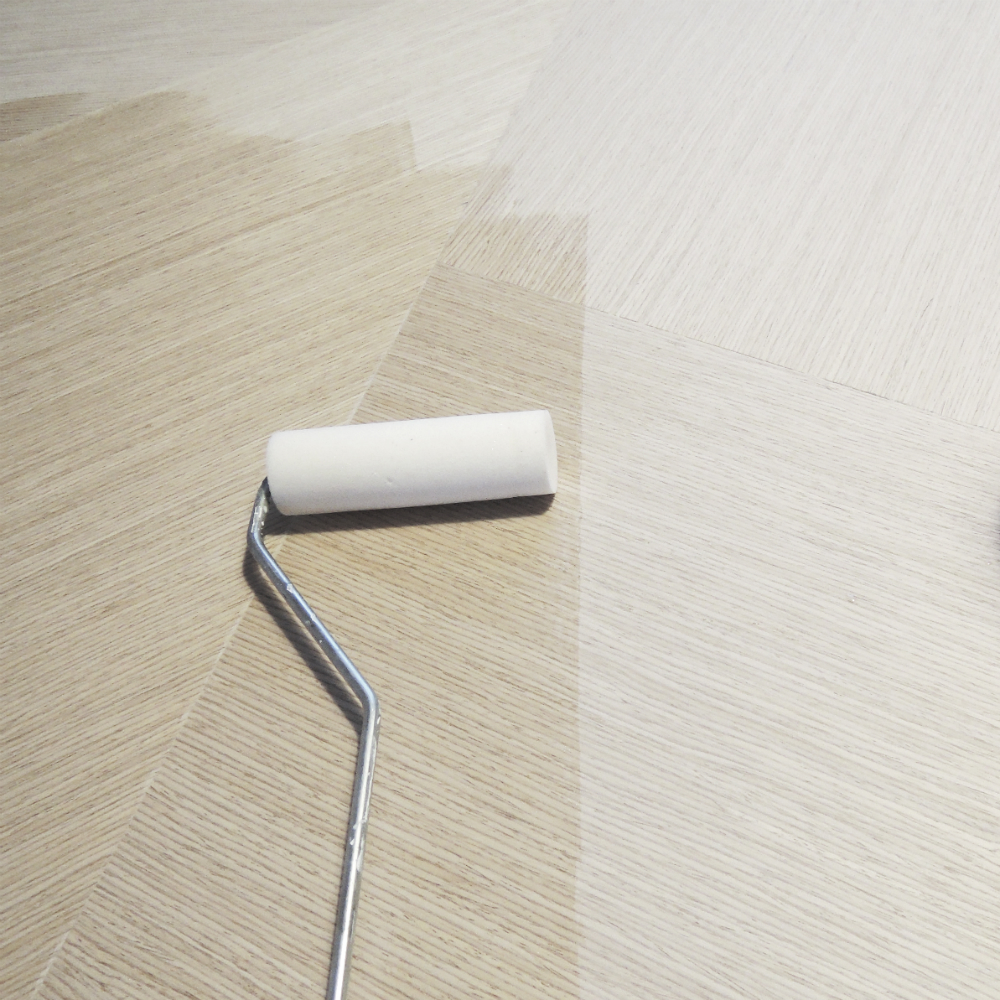
After that I applied a couple of layers of water based translucent varnish just to seal everything. We thought about staining the door with oil, but since this is the front door and could / will get scratched and dirty by our two lovely dogs, we decided it was a better idea to apply a varnish as a final coat.
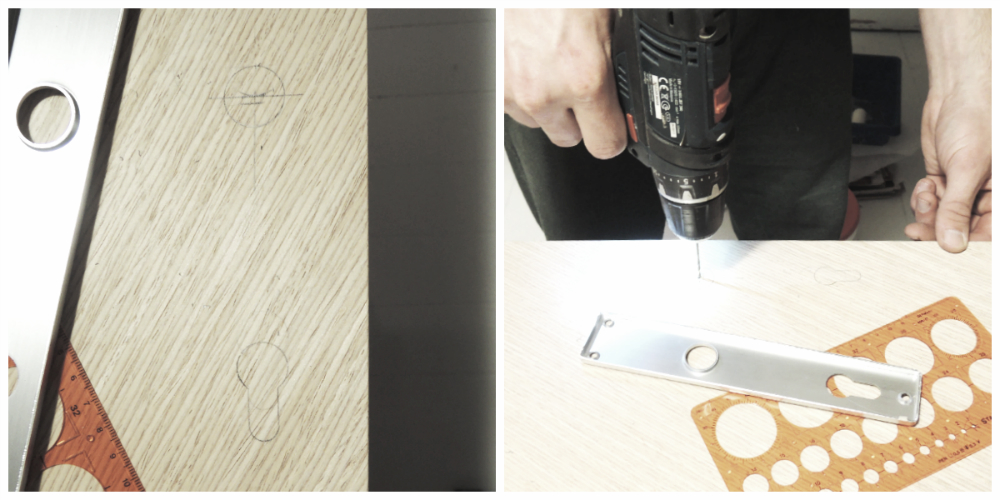
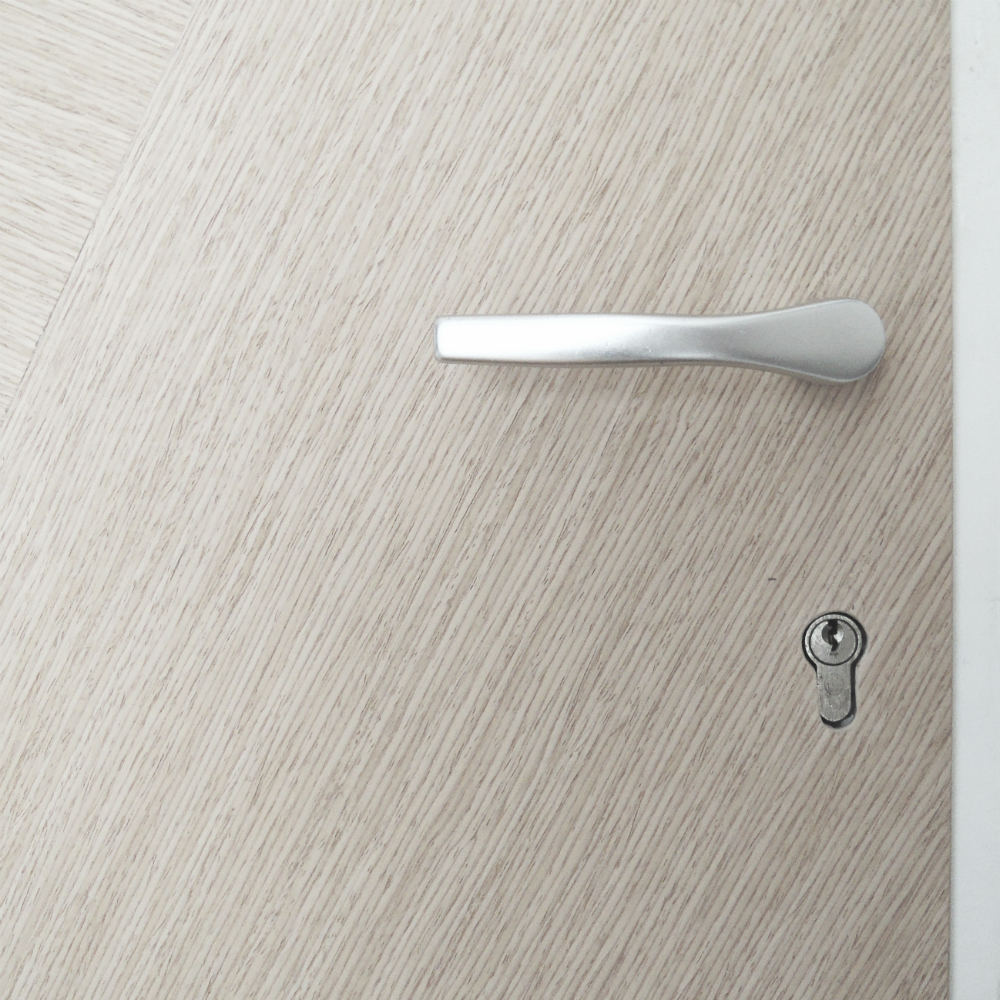
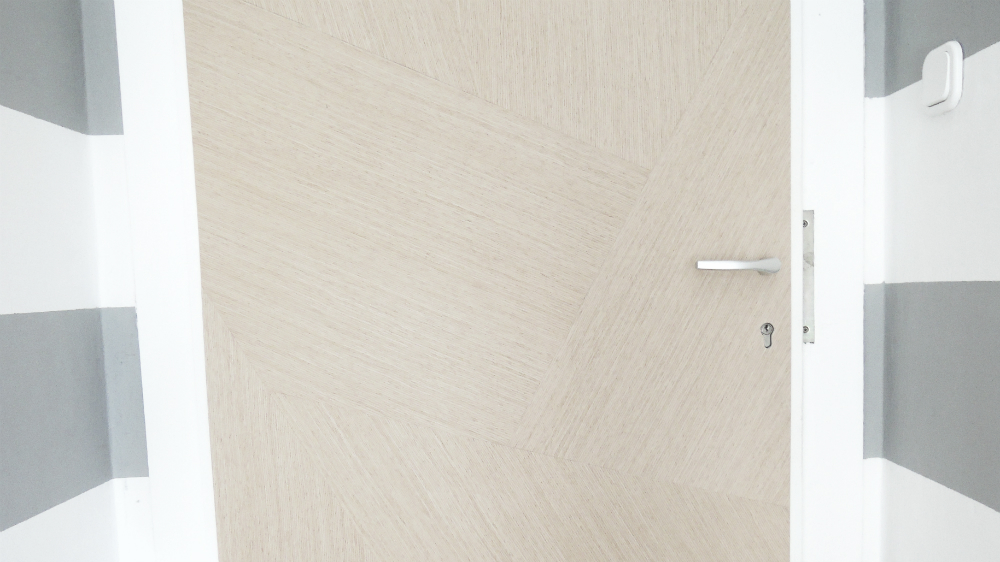
When the varnish was dry, Evgen precisely cut out the holes for the handle and the lock.

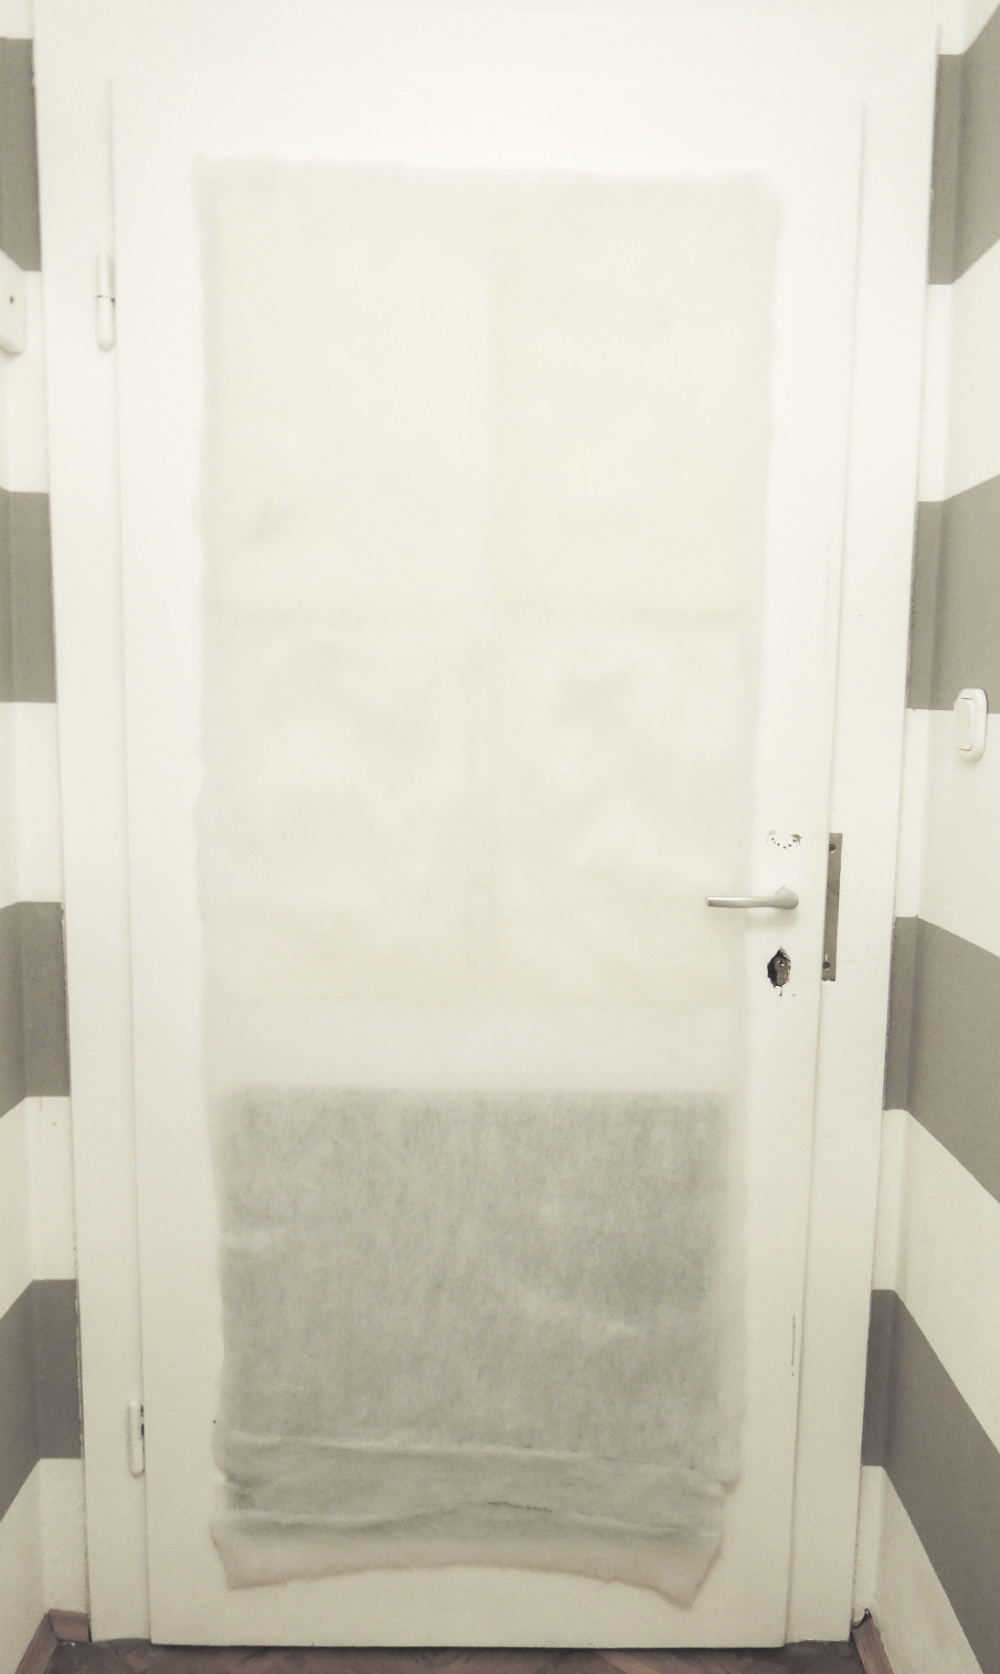
After that, we used the remaining foam and dacron that we had left from the Mrs. N sofa project and filled in the panels of the door.
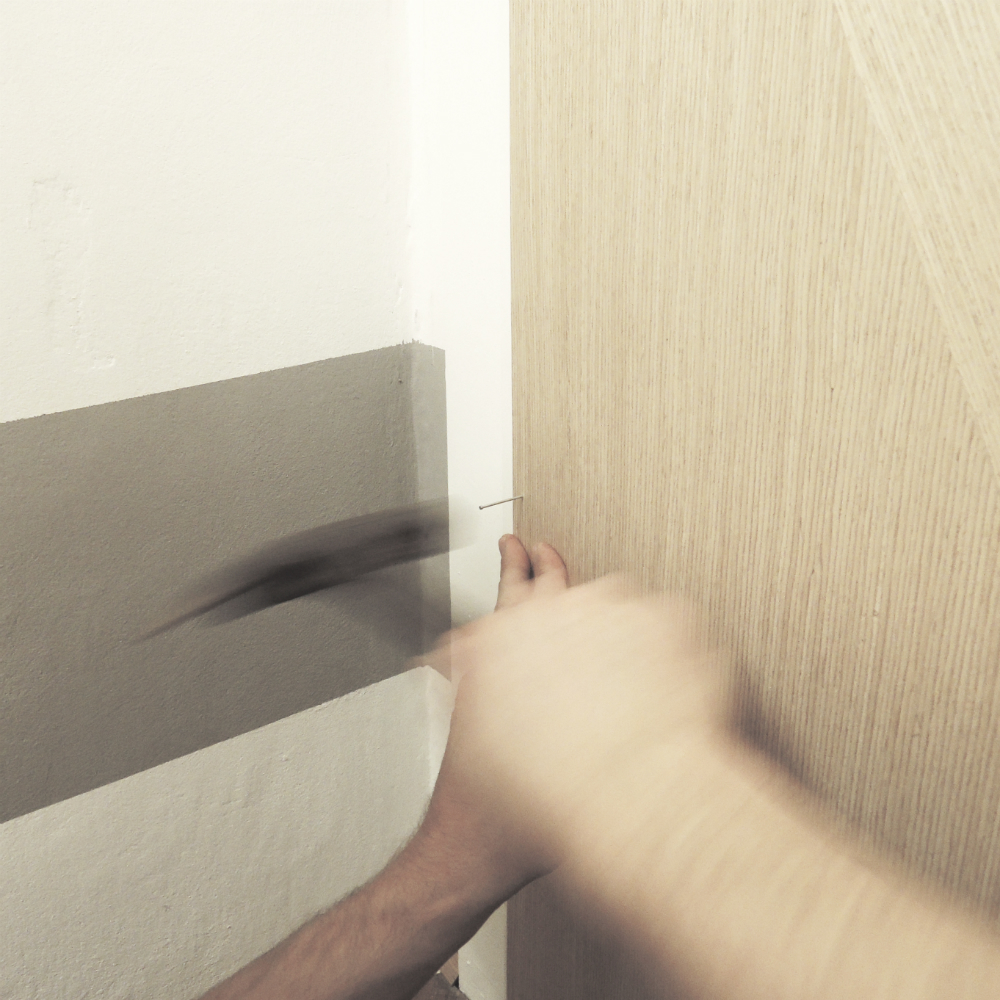
After the foam we put on the new wood panel and with a couple of tiny nails nailed it to the door.
Last thing was to put the handle back on and that was it! Almost a brand new door! We really like the end result!


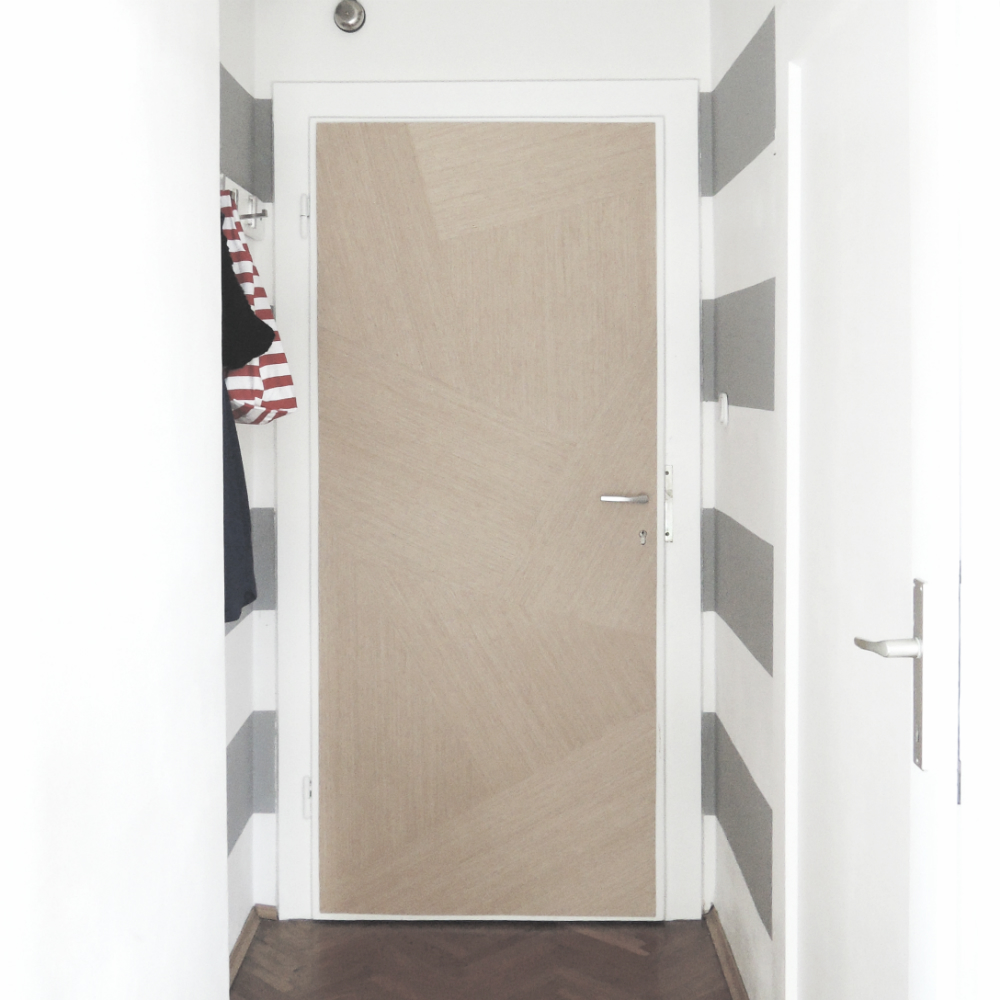
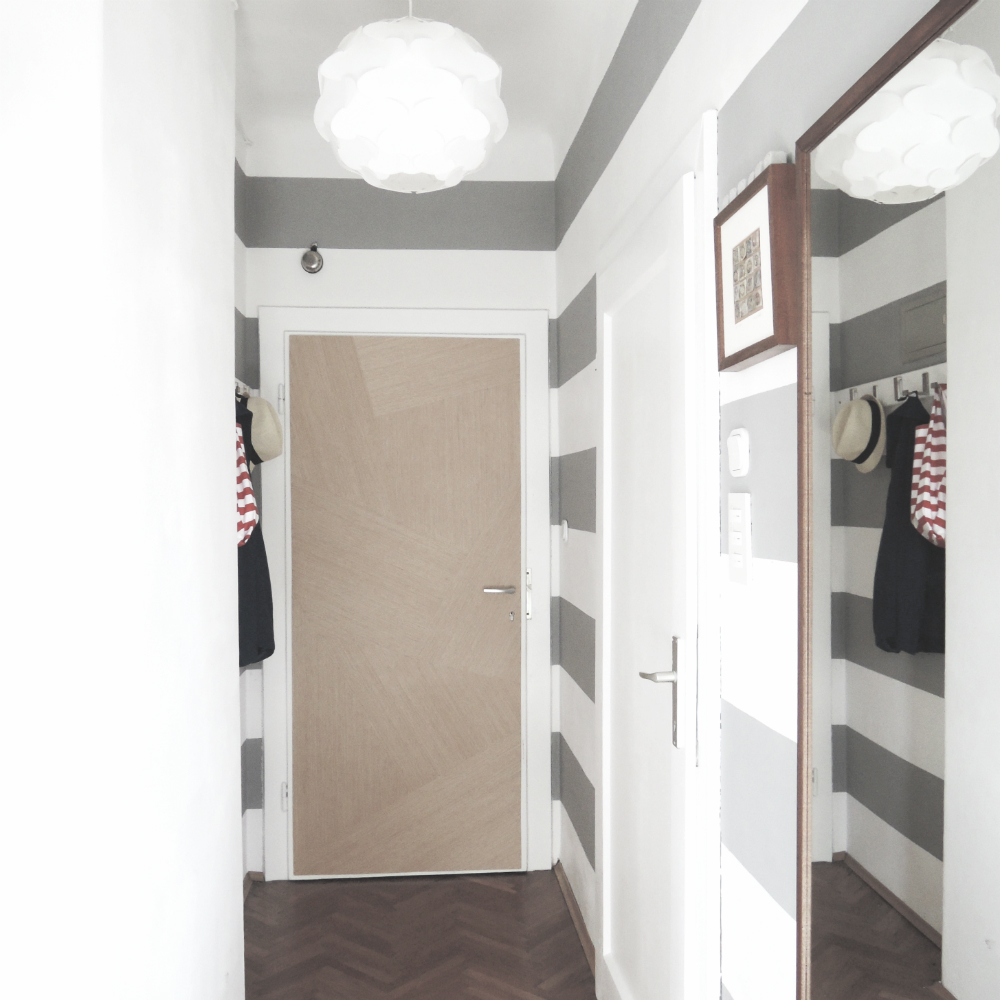
Unfortunately we are still left with the other side to do this weekend! 🙂
I just discovered your blog and I love your style, the quality and aesthetics of everything you do.
I think the door would show better in a higher contrast picture or in a darker stain, but I bet in reality is wonderful.