Two summers ago we tackled a renovation of the upstairs bathroom. Unfortunately we don’t have any before pictures. This whole post will be a little sparse with pictures, since this project was finished two years ago. At that time we didn’t even think of documenting it for the blog. So this will be a little mashup of pictures from mobile phones and a couple that we fortunately did take.

The original bathroom was really teeny – tiny, you could barely turn around in it. But next to the bathroom was a little room that was used for storage. So we decided to join these two rooms together to make one decent size bathroom. With that in mind we also wanted to change the floor plan a little.
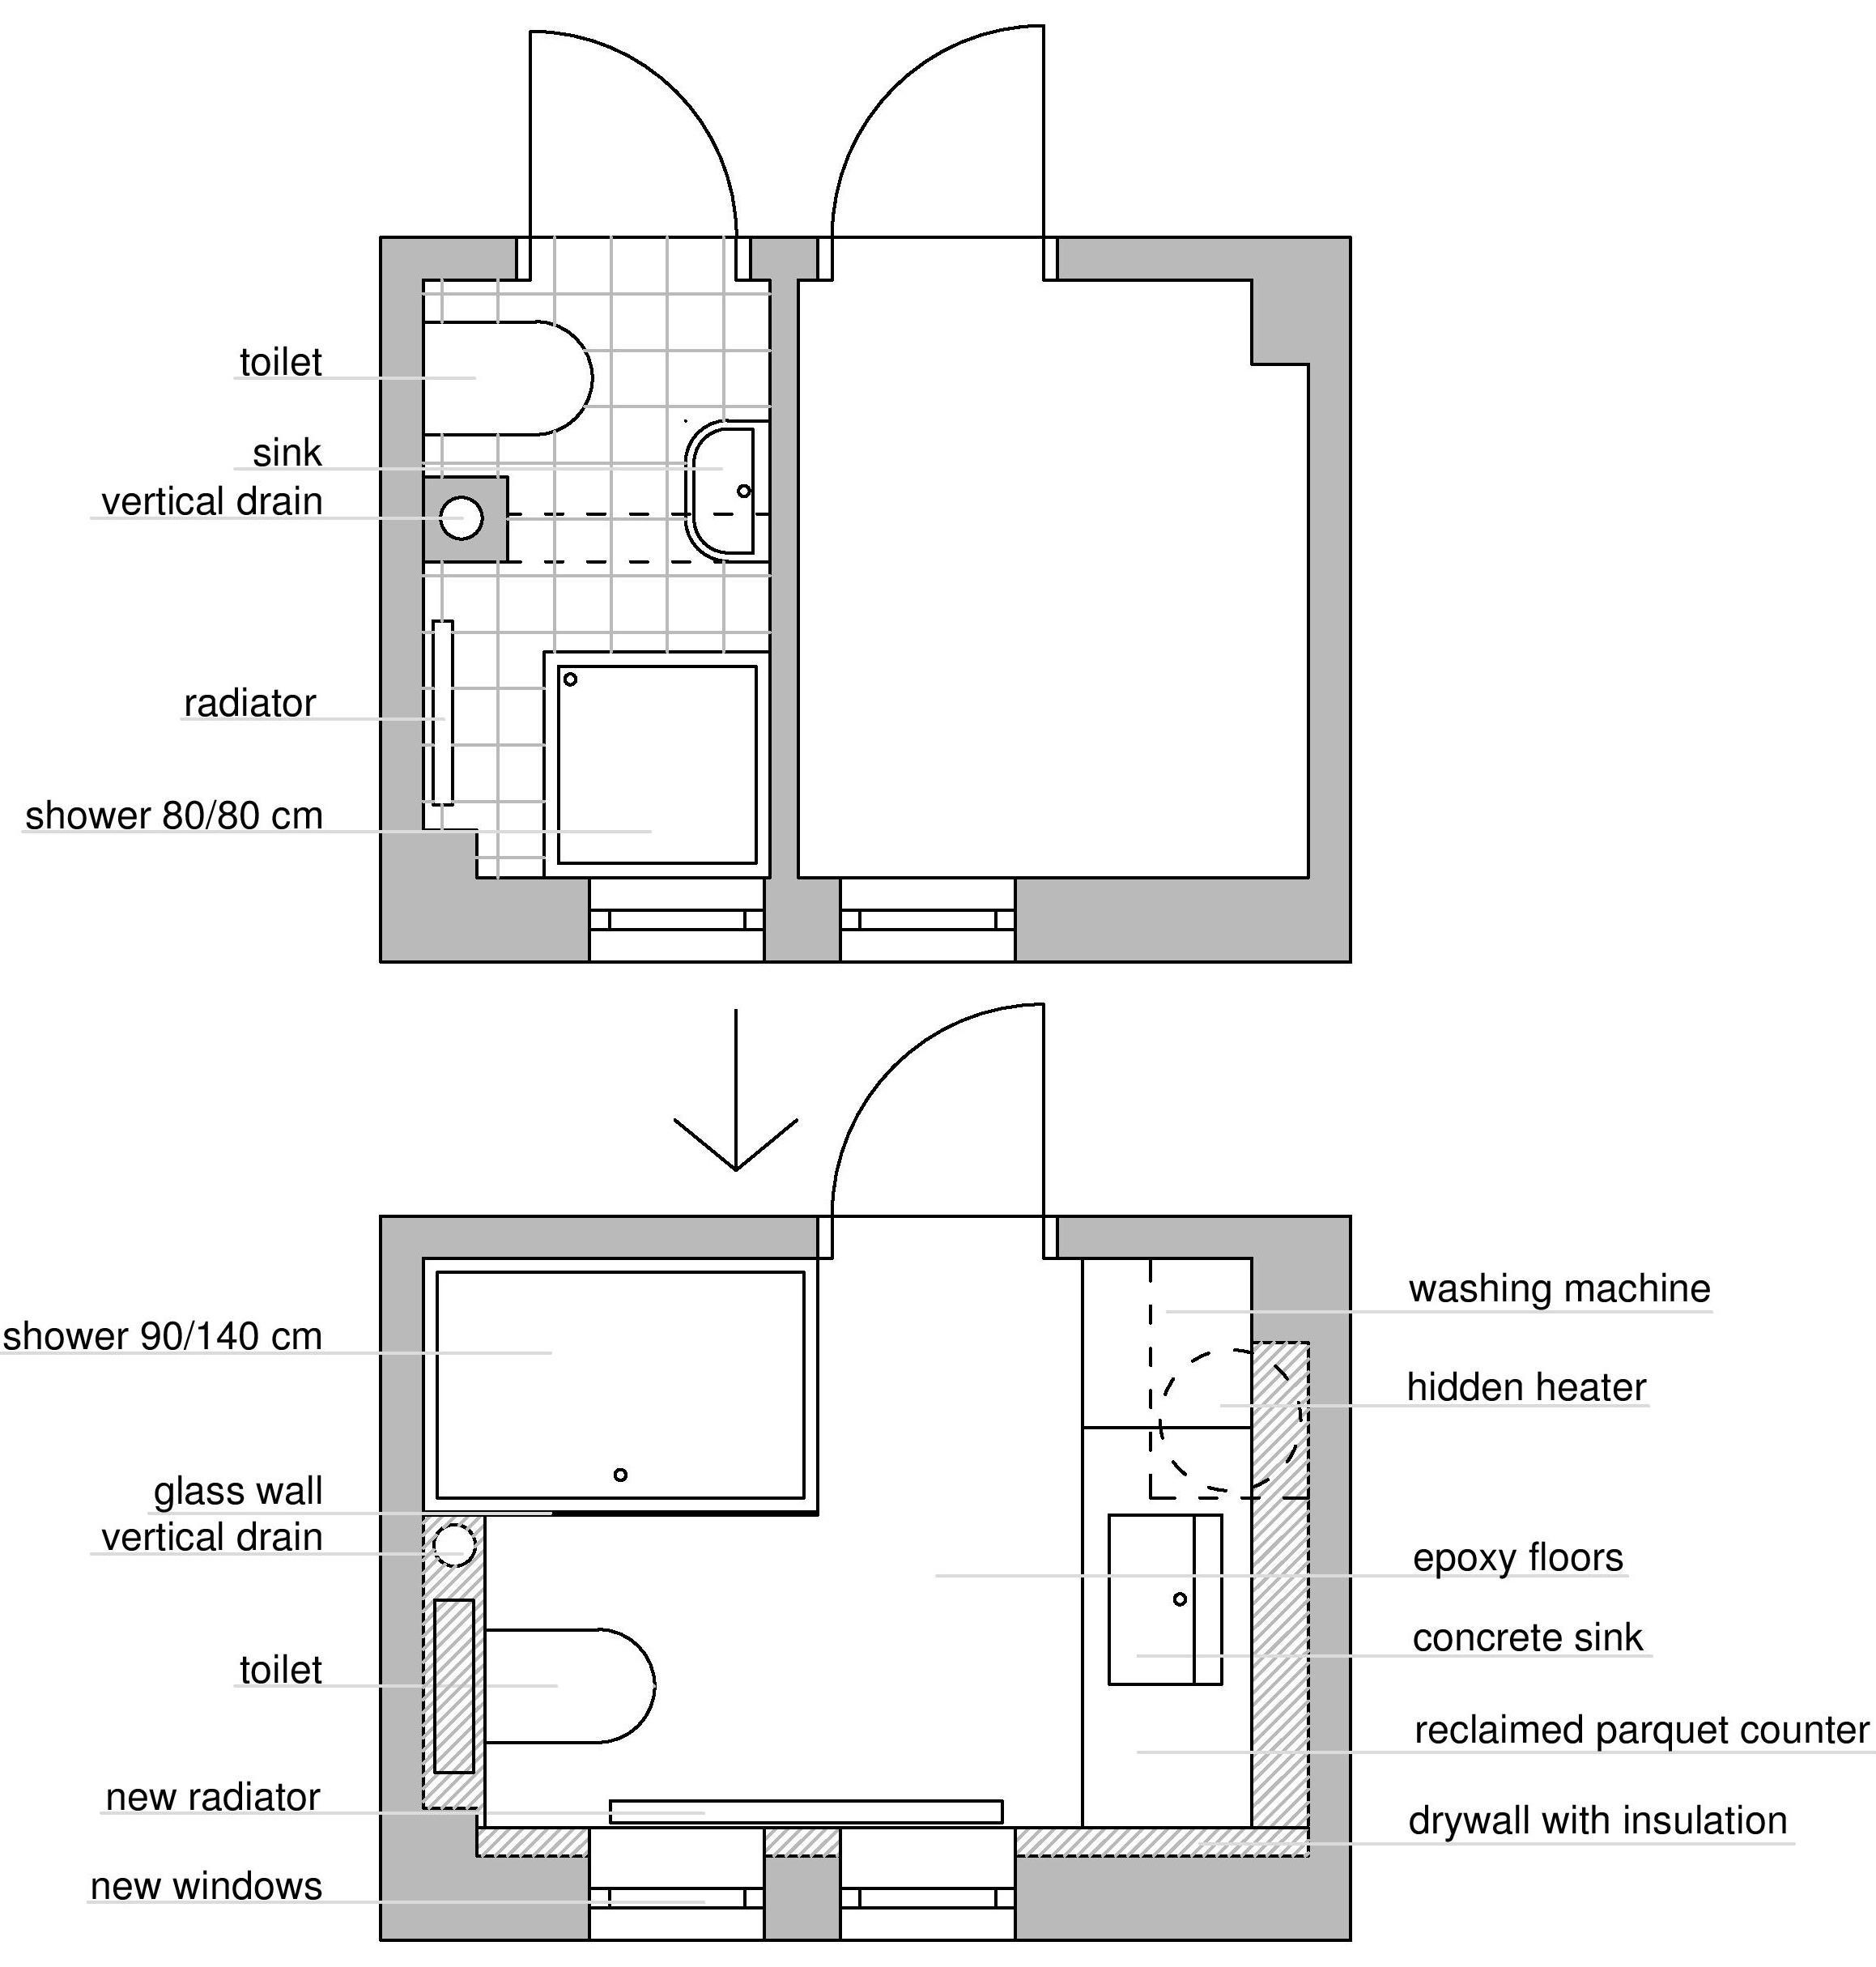
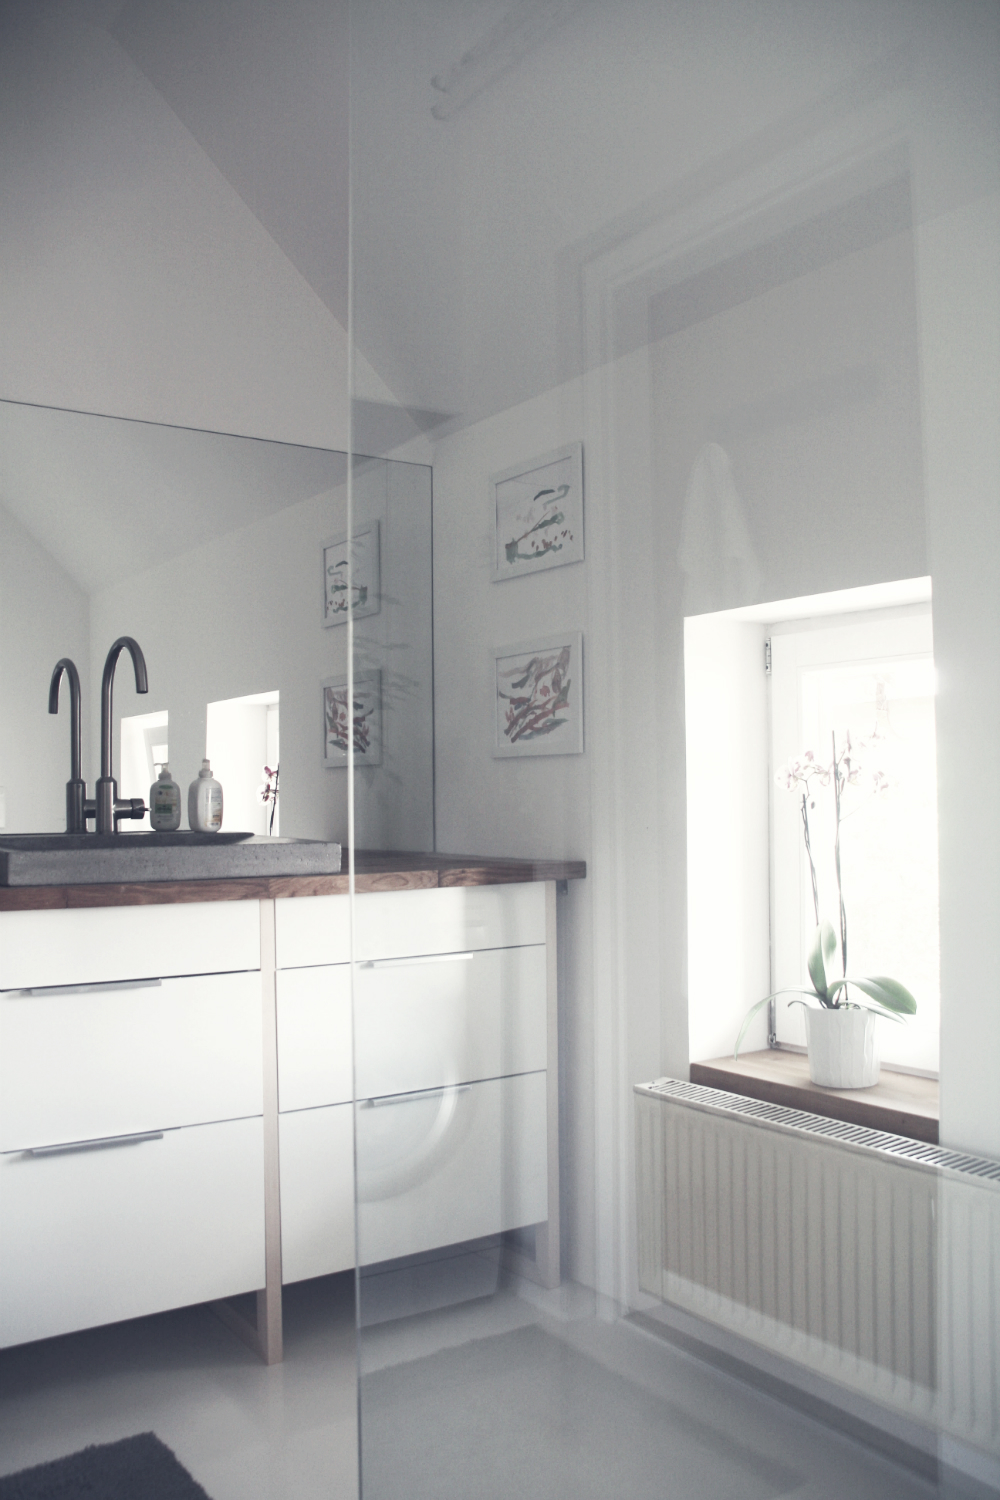
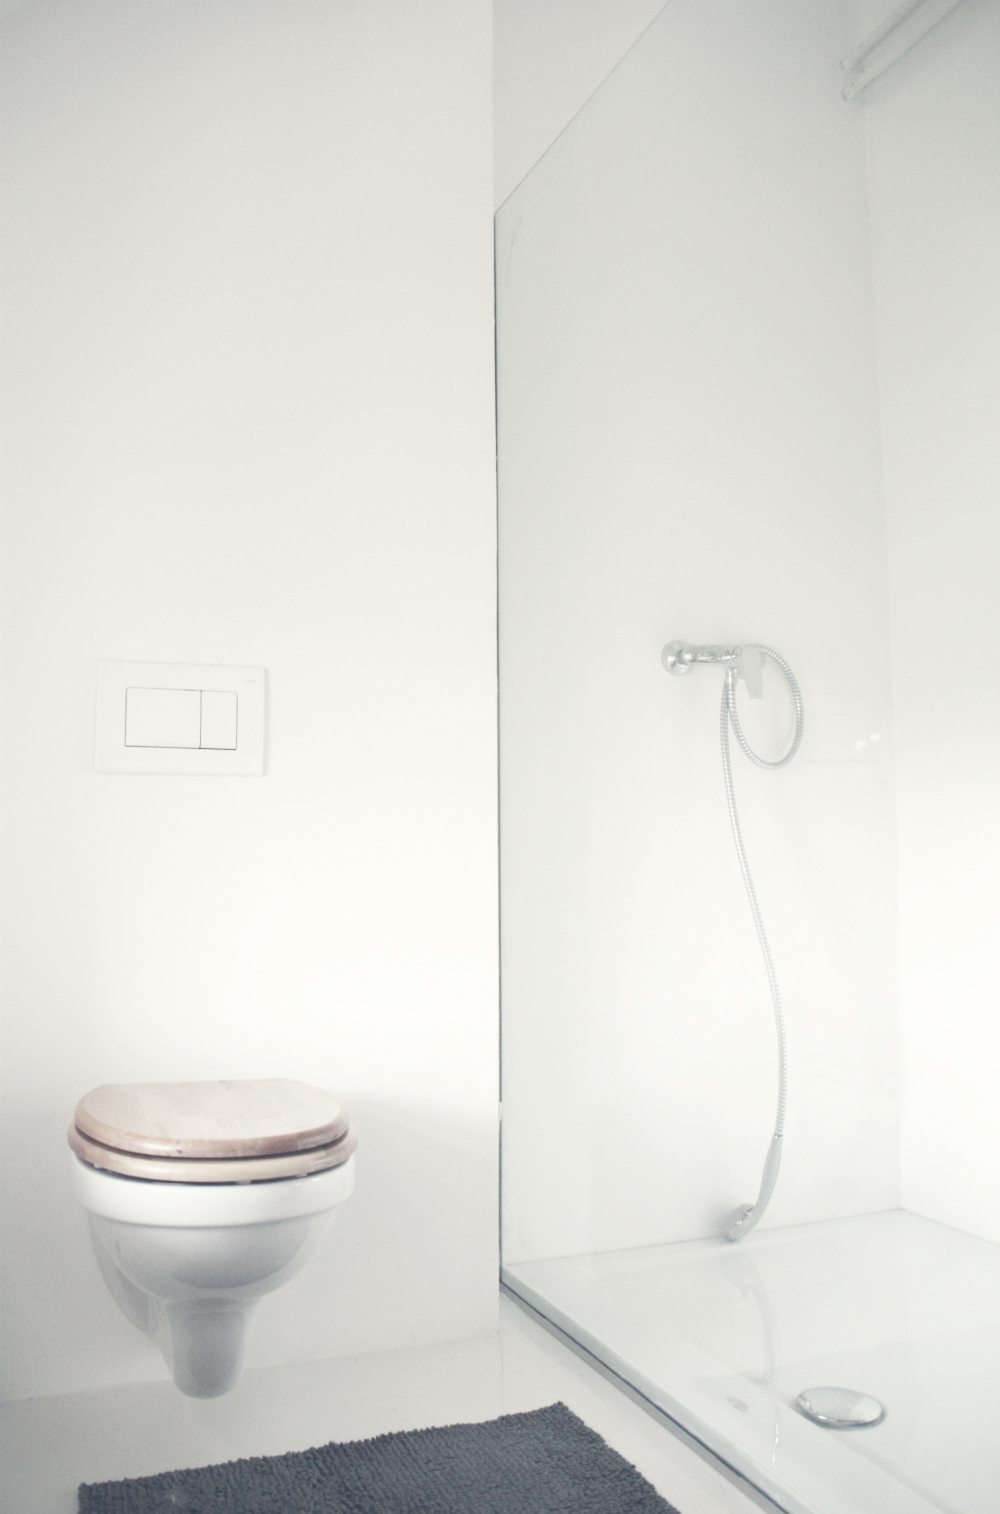
The vertical drain and vent had to be replaced so we moved it a little bit towards the windows. That way we were able to fit in a big shower (90 by 140 cm). The walk – in shower is closed up on one side with a glass panel. On the other side we closed the opening where the doors were originally. On the other side of the drain we put the toilet. Both of the windows needed to be replaced. We even decided to insulate the whole room from the inside, because there is no insulation on the outside walls. On the other side of the room we put the washer and some storage underneath the counter. The counter was also made by us. It is made out of reclaimed parquet floors. The same that we used for our kitchen table. On top of the counter there is a concrete sink that Evgen of course made himself. For that, he made a mould and poured the concrete in. When it was dry, he sanded it down and sealed it with polyurethane. Polyurethane was also used to seal the walls in the shower. Behind the counter is a wall to wall mirror and above the mirror is a heater hidden behind drywall. The chandelier we found in the attic and for the flooring we chose epoxy floors.

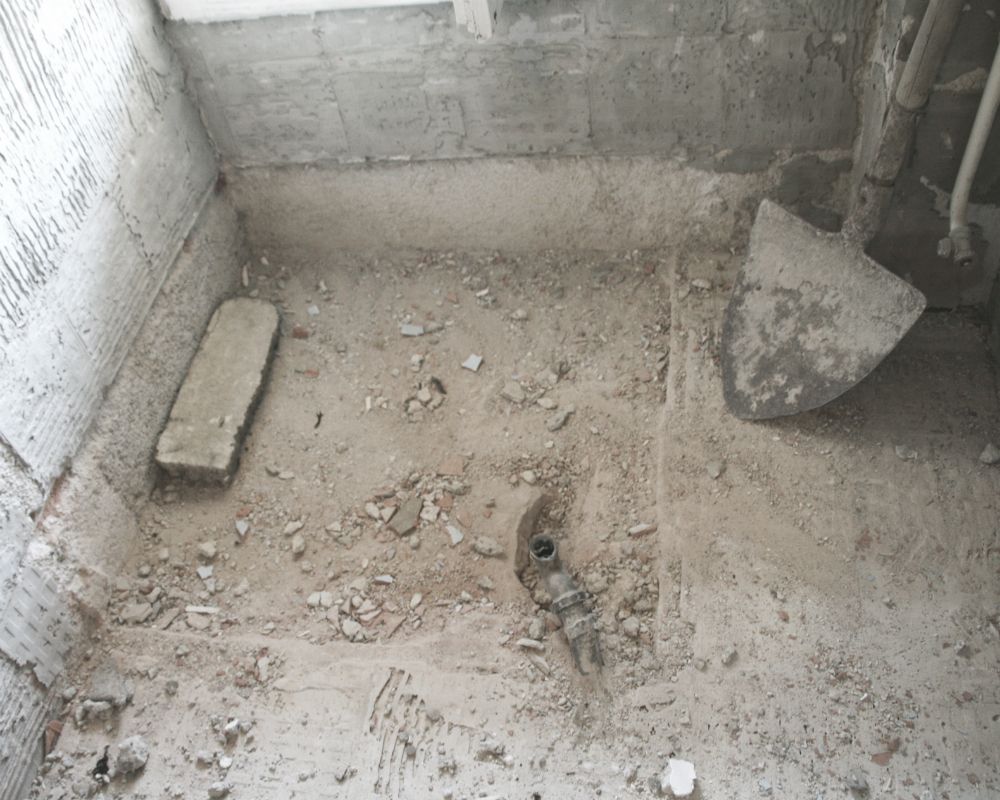

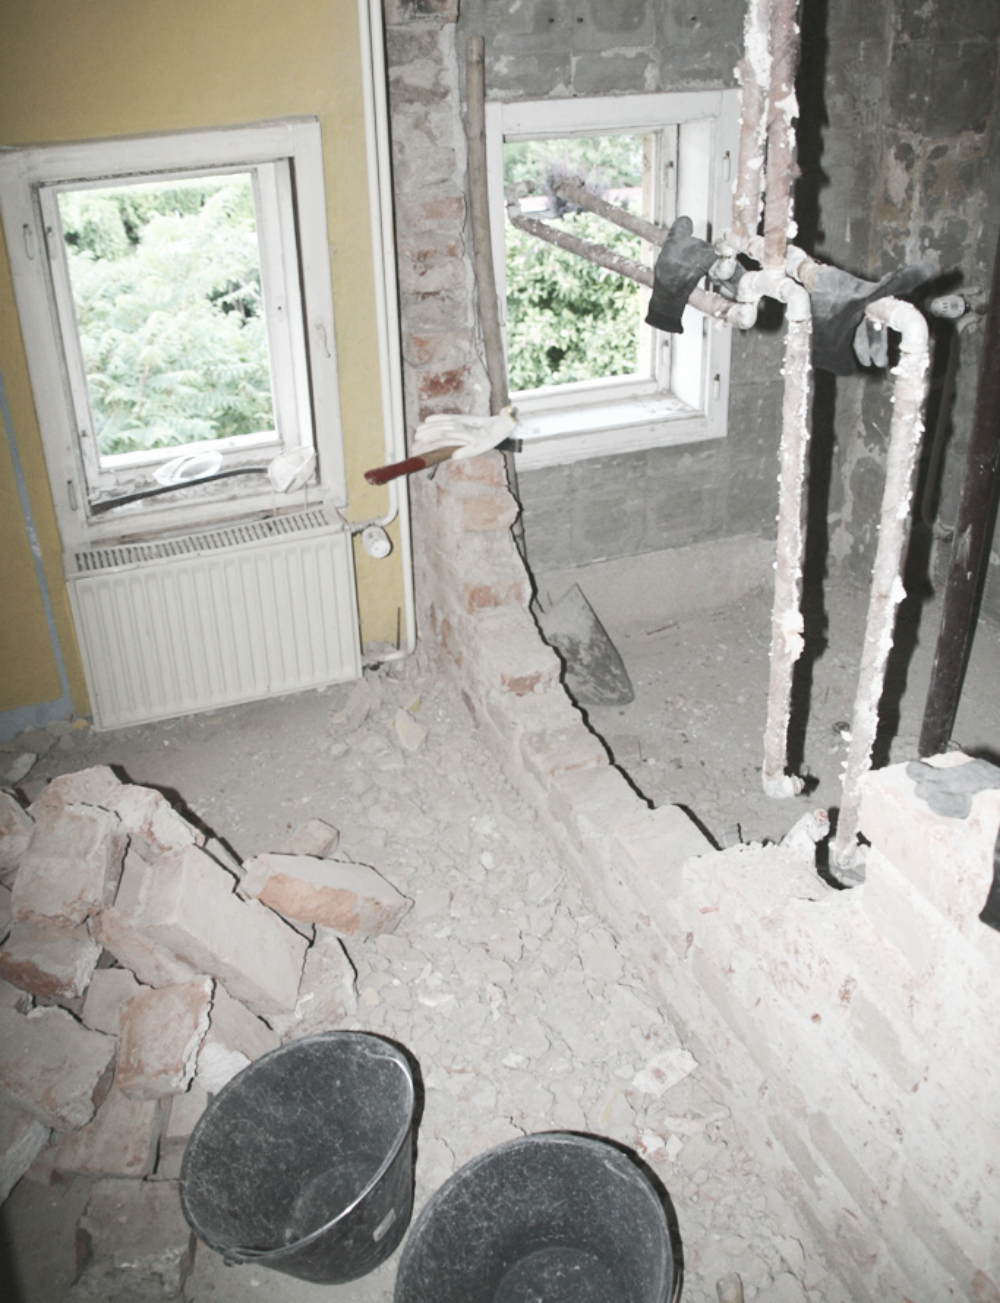
First thing was to demolish the old bathroom. The tiles were so old and crumbling that they snapped right off the walls. Then it was time to bring down the wall that separated the two rooms. After the wall came out the floors in the storage room.

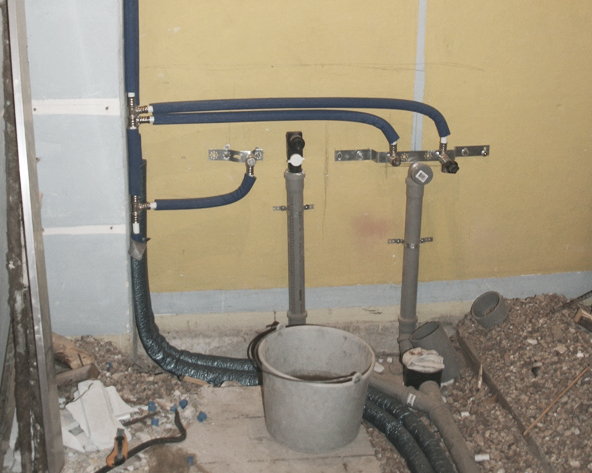
Next came the plumber and put in all the necessary fixtures and removed the old ones. He also adjusted the heating system for the new radiator underneath the windows. While the plumber was at work, Evgen redid all the electrical wires and replaced the windows.
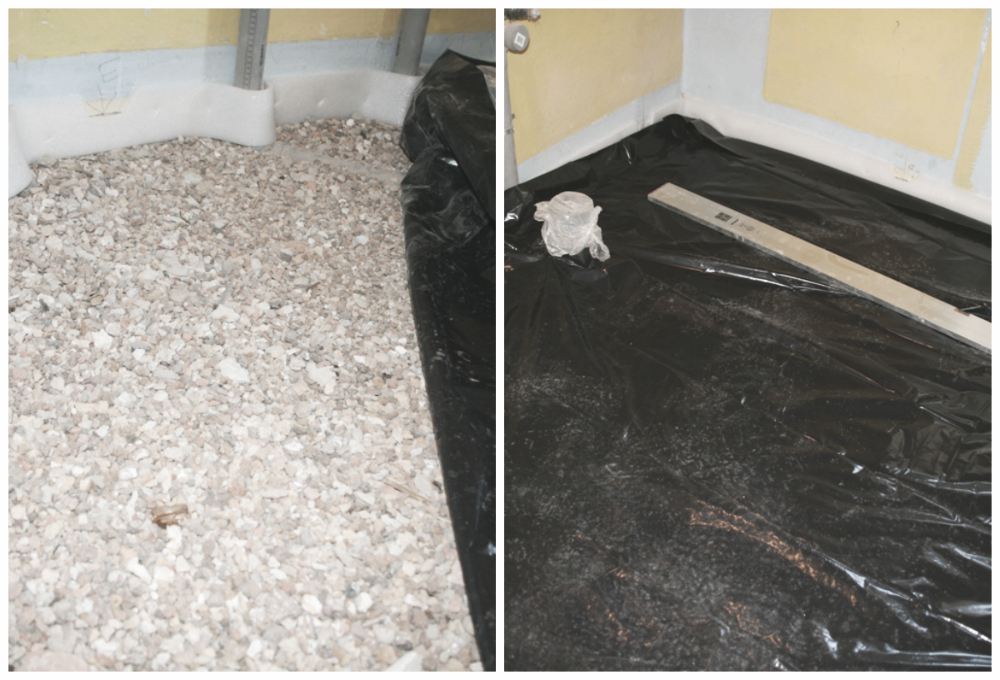
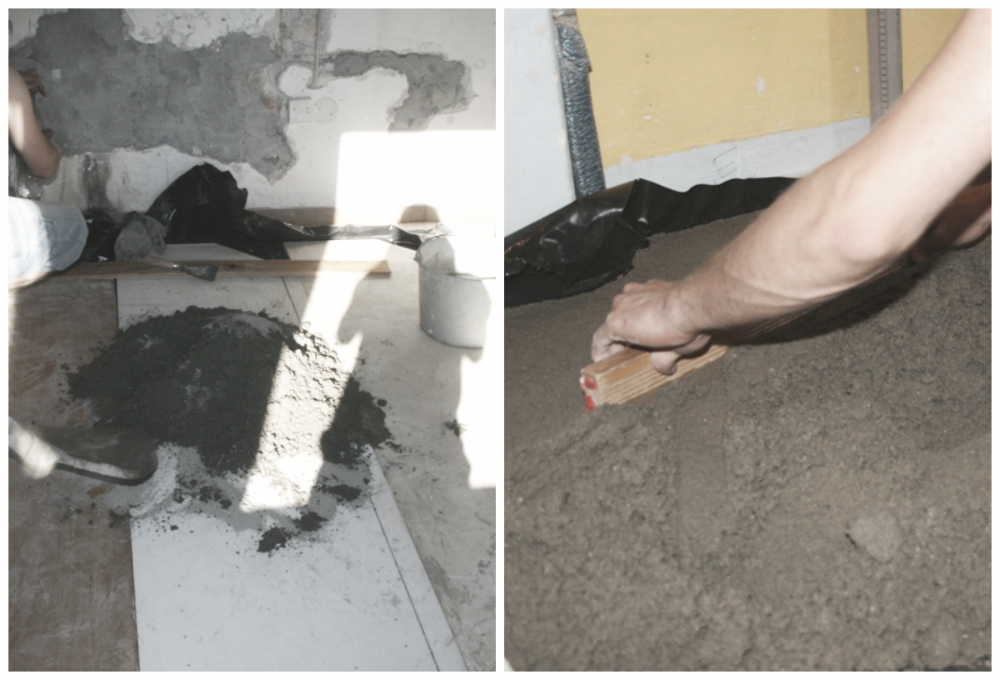
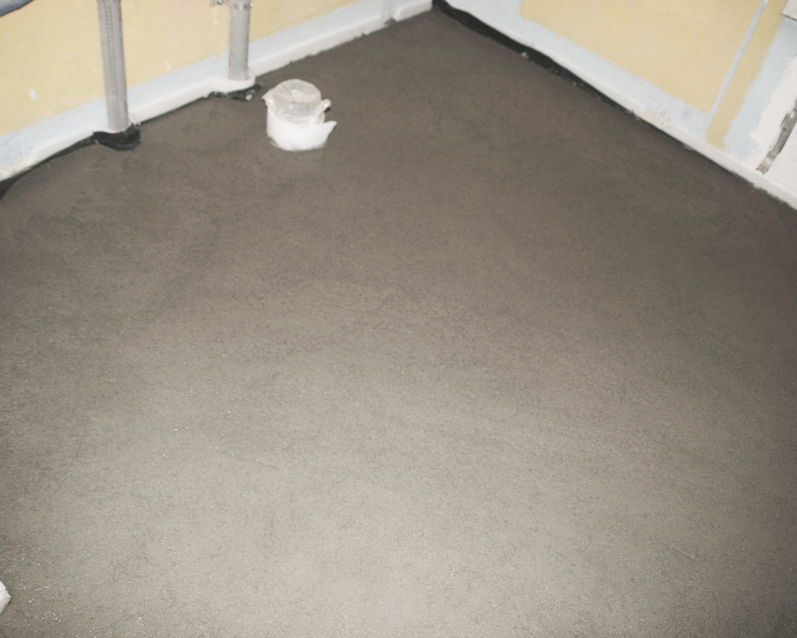 When the plumbing was done we leveled again all the gravel and put a layer of hydro insulation over that. Over that layer came 5 cm of concrete with a minimum fall.
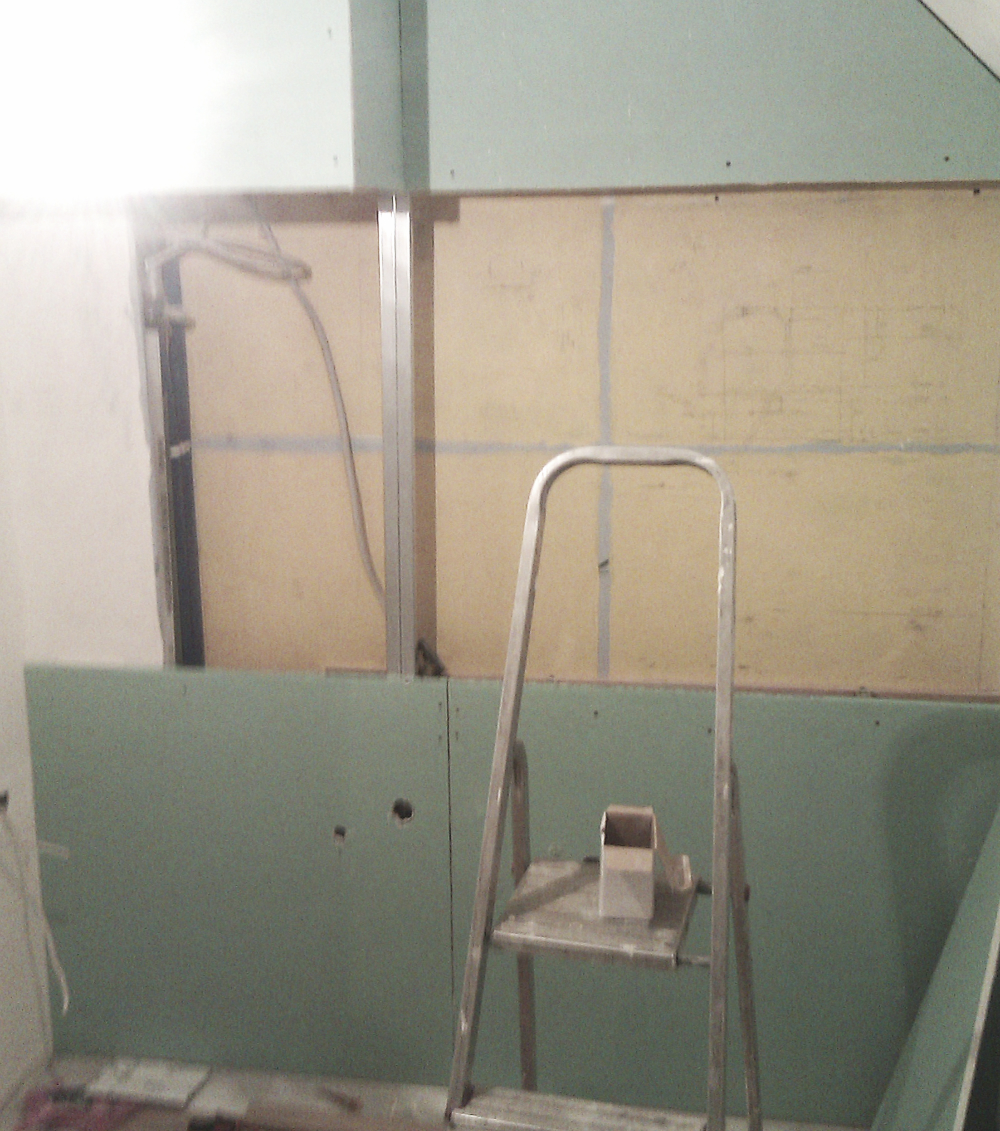
When the floors were done and dry it was time for drywall. Now we were beginning to see the final shape of the room which was really satisfying. At the same time is also very very very annoying, because of the never-ending sanding. I don’t mind never doing it again. But I probably will do! 🙂
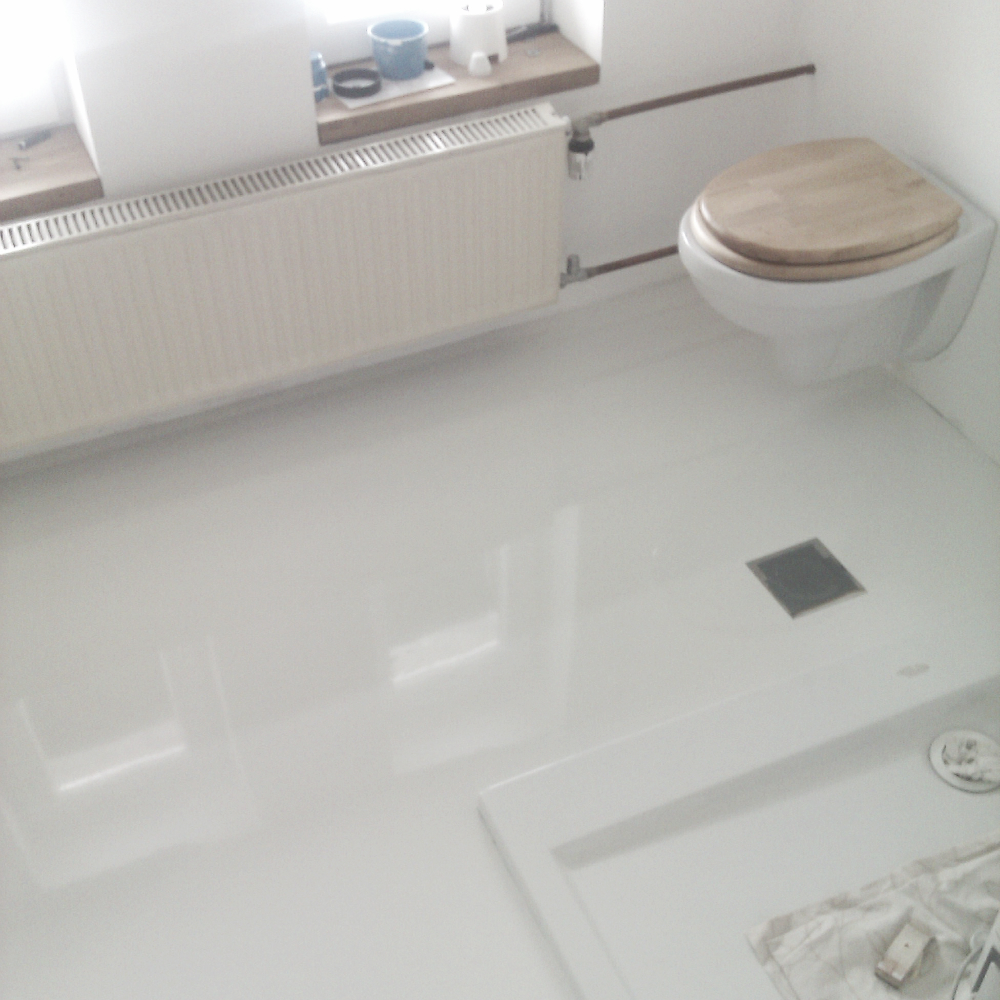
After the drywall came the paint and would you look at our shiny new epoxy floor! 🙂

The last thing that came in the room was the concrete sink. It weighed a tone!
We did everything ourselves with the help of our friends, from demolition, dry walling to electrical outlets and epoxy floors. The only thing that we hired a professional was for plumbing. We didn’t want to have a finished bathroom and then find a leak somewhere a month later.
izgleda super, bravo! 🙂
Kje sta kupila lestenec? Zgleda fantastično!
Če misliš lestenec v kopalnici, smo ga pred davnimi leti našli na podstrešju. Tako da se ga najverjetneje žal nikjer ne da kupiti. 🙂
Tega ja. Škoda. Najlepša hvala za odgovor!